I drove the car to Saltgrass tonight and the gauges worked again lol. I'm guessing they just got too hot, but who the hell knows.
And it only clicked once when I was starting it cold, and I don't think it did at all after dinner. Weird. Still gonna look into it though.
Build thread
-
speedjunkie

- Senior Member
- Posts: 5337
- Joined: Wed Jan 02, 2008 9:14
- Location: Colorado Springs
- Contact:
Re: Build thread
In regard to the wheel studs/spacer issues, do you have open ended lug nuts? I read you don't want to be swapping wheels all the time, but you don't want to waste good rubber on street driving either. Was wondering if pass through lug nuts would alleviate the issue.
example: http://www.frsport.com/Wheels-RS-Z-Lug- ... oCbArw_wcB
example: http://www.frsport.com/Wheels-RS-Z-Lug- ... oCbArw_wcB
-
speedjunkie
- Senior Member
- Posts: 5337
- Joined: Wed Jan 02, 2008 9:14
- Location: Colorado Springs
- Contact:
Re: Build thread
Yeah I'm using some because I thought the 2.5" lugs might be too long but they've never come through the end. The lug nuts don't have anything to do with the problem. I'll see if I can draw some pictures because it's kinda hard to explain in just words.
-
speedjunkie
- Senior Member
- Posts: 5337
- Joined: Wed Jan 02, 2008 9:14
- Location: Colorado Springs
- Contact:
Re: Build thread
I drove the car last night and did some logging and sent them to Chris after we installed the new firmware. It's unreal all the capabilities this ECU has.
I just tried to figure out how to mount the relay and fuse boxes and I think I have a plan, but it's going to require some thick aluminum plate, some fabrication of brackets, and some welding. I also troubleshot the water injection issue a bit but didn't get too far. The circuit breakers are working, the control box is grounded, I'm thinking it has something to do with the wiring to the harness going into the ECU. I didn't hook up one of the wires because I wasn't planning to use it and I would have had to tap into the harness that Chris made and I didn't want to do that, but I'm wondering if that is causing my problem. I'm not sure why it would though.
I just tried to figure out how to mount the relay and fuse boxes and I think I have a plan, but it's going to require some thick aluminum plate, some fabrication of brackets, and some welding. I also troubleshot the water injection issue a bit but didn't get too far. The circuit breakers are working, the control box is grounded, I'm thinking it has something to do with the wiring to the harness going into the ECU. I didn't hook up one of the wires because I wasn't planning to use it and I would have had to tap into the harness that Chris made and I didn't want to do that, but I'm wondering if that is causing my problem. I'm not sure why it would though.
-
speedjunkie
- Senior Member
- Posts: 5337
- Joined: Wed Jan 02, 2008 9:14
- Location: Colorado Springs
- Contact:
Re: Build thread
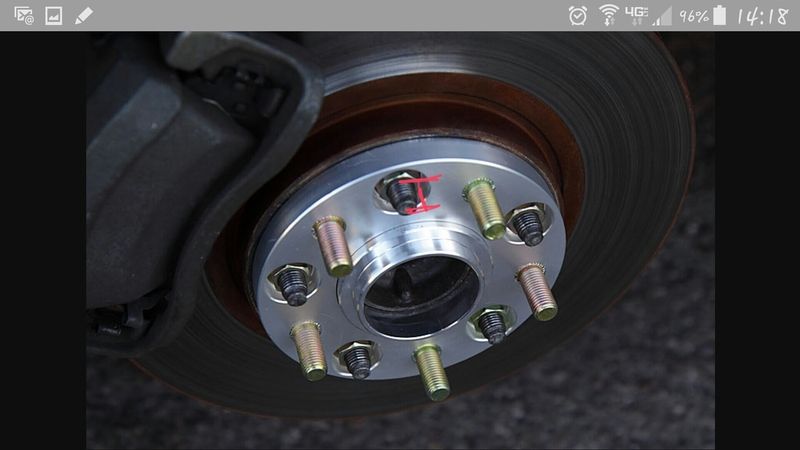
OK I forgot to post a pic explaining what I meant about the stud and spacer issue. This isn't my pic but it will work. The 2.5" studs I pressed into the hubs would stick out too far where I drew the red line and the wheel doesn't have enough cut out of the back to fit that much stud. Also, the extra holes drilled into the wheel don't like up with the studs, so either way I'm stuck.

Re: Build thread
Those are funny looking studs. So you can't cut them shorter because you need them when you have the other spacer on with the other wheels. At least now I know why open ended lug nuts wouldn't help.
-
speedjunkie
- Senior Member
- Posts: 5337
- Joined: Wed Jan 02, 2008 9:14
- Location: Colorado Springs
- Contact:
Re: Build thread
Pretty much, yeah. I just wish I'd installed the 3.25" studs instead. Then I wouldn't be going through this.
I got the 20mm spacers today too.
I got the 20mm spacers today too.
-
speedjunkie
- Senior Member
- Posts: 5337
- Joined: Wed Jan 02, 2008 9:14
- Location: Colorado Springs
- Contact:
Re: Build thread
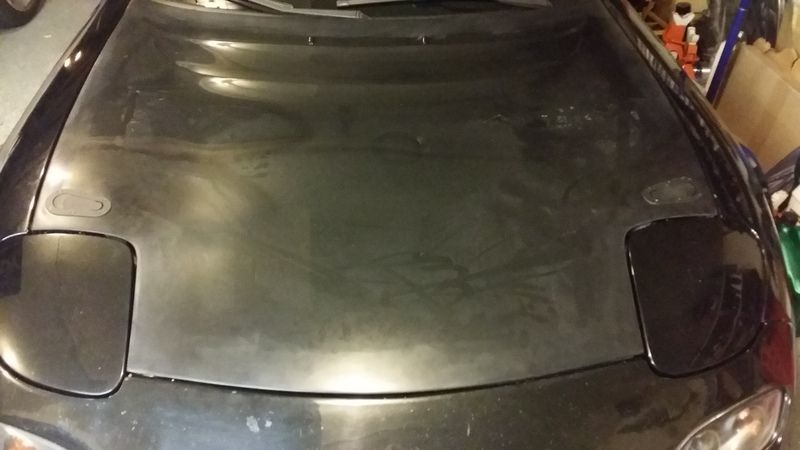
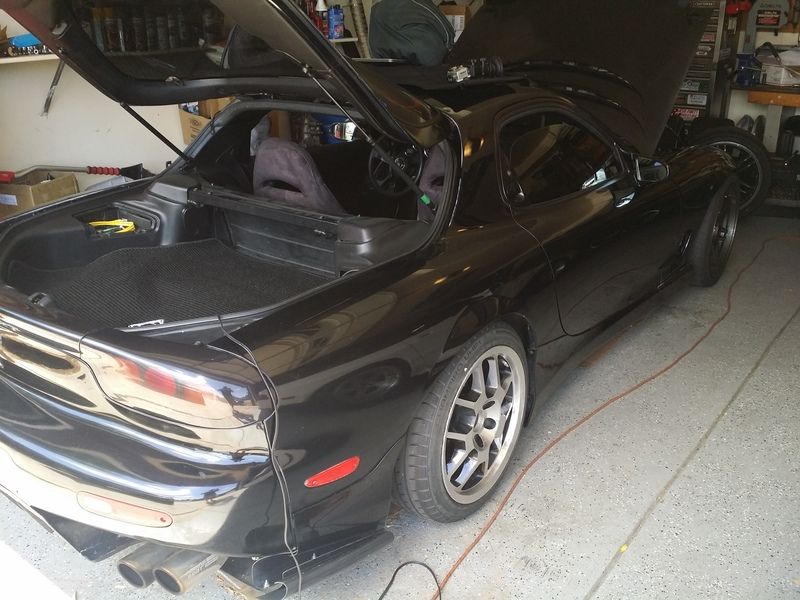
I started installing the Aerocatch hood pins last night and got almost finished...until one of the nuts came out and slid down inside the hood all the way to the back (I was trying to install them with the hood up). I tried using a magnet last night to drag it up but it didn't work. I got some stronger magnets today and used it with the hood down and it worked like a charm. I also had to cut some extra material out on the driver's side, I guess too much resin had built up between the top and inside of the hood so after grinding that down I was able to finish the install.


-
speedjunkie
- Senior Member
- Posts: 5337
- Joined: Wed Jan 02, 2008 9:14
- Location: Colorado Springs
- Contact:
Re: Build thread
I'm starting to believe I'm not destined to use the widened wheels.
I finally got the Ichiba spacers yesterday and I went to Jesse's to press out the studs and press in the ARP studs. But the shank on the ARP studs isn't big enough diameter and they just wobble in the hole. I was going to order different studs if I could find some with a bigger shank but I found some studs here at home that I got with another set of spacers and they were long enough to work. So I went back to Jesse's today and pressed in those studs.
This is the difference between the two studs.
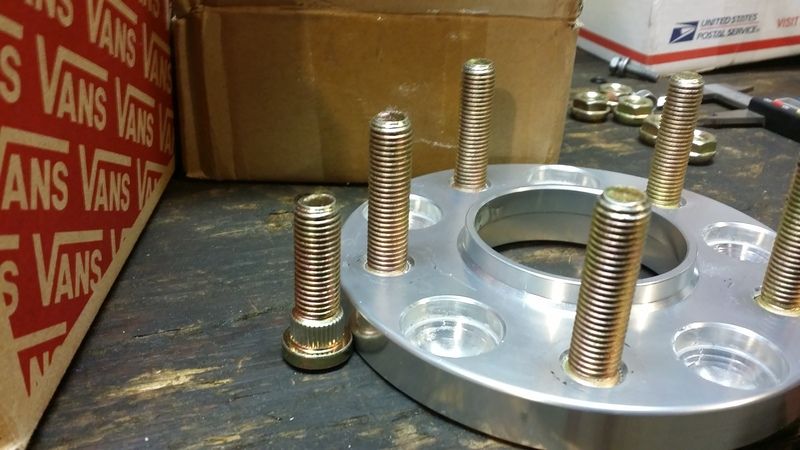
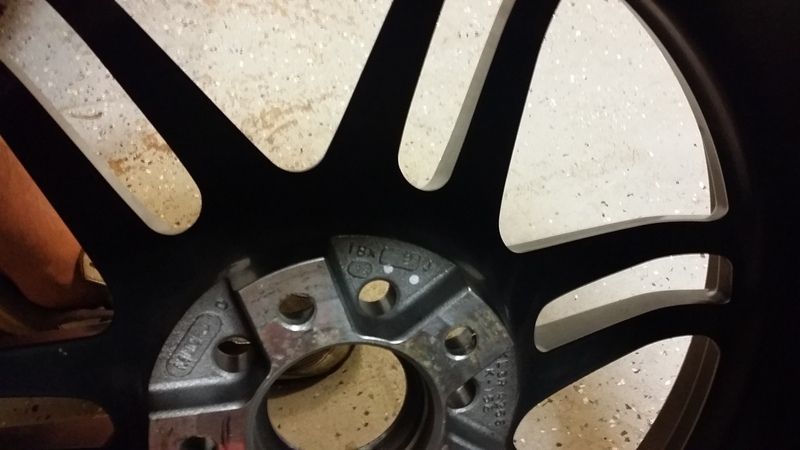
This is what I was explaining before about having to remove the bolt on spacer to swap back to the street wheels. And the following pic shows how shallow the scallop is on the back side of the wheel. Not enough room for that length of stud. And no, the holes don't line up to allow the original studs to pass through.
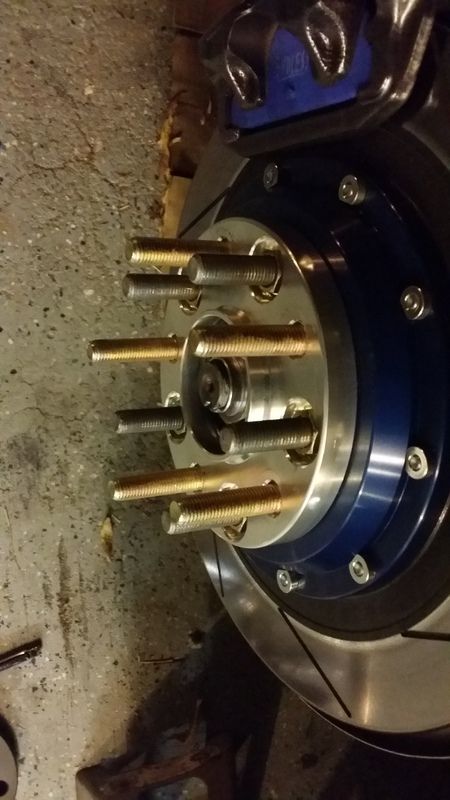
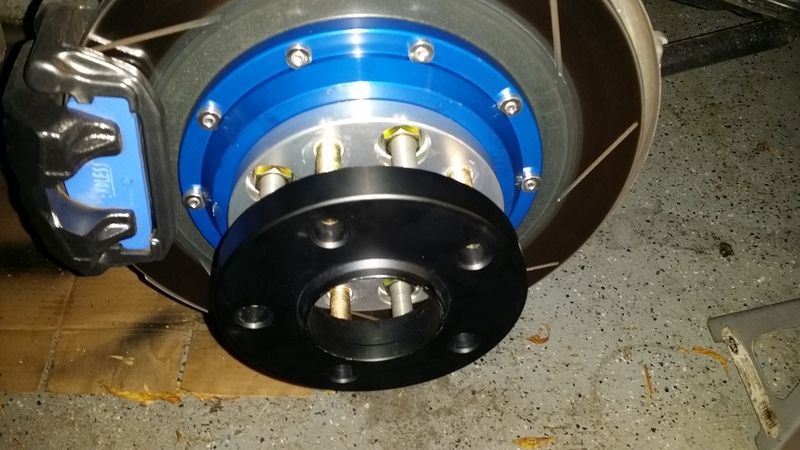
And this is why I just had to order 35mm bolt on spacers. From a different company this time, of course. I forgot that the 20mm spacers don't have an extra set of holes for the original studs to pass through.
I finally got the Ichiba spacers yesterday and I went to Jesse's to press out the studs and press in the ARP studs. But the shank on the ARP studs isn't big enough diameter and they just wobble in the hole. I was going to order different studs if I could find some with a bigger shank but I found some studs here at home that I got with another set of spacers and they were long enough to work. So I went back to Jesse's today and pressed in those studs.
This is the difference between the two studs.

This is what I was explaining before about having to remove the bolt on spacer to swap back to the street wheels. And the following pic shows how shallow the scallop is on the back side of the wheel. Not enough room for that length of stud. And no, the holes don't line up to allow the original studs to pass through.


And this is why I just had to order 35mm bolt on spacers. From a different company this time, of course. I forgot that the 20mm spacers don't have an extra set of holes for the original studs to pass through.

-
speedjunkie
- Senior Member
- Posts: 5337
- Joined: Wed Jan 02, 2008 9:14
- Location: Colorado Springs
- Contact:
Re: Build thread
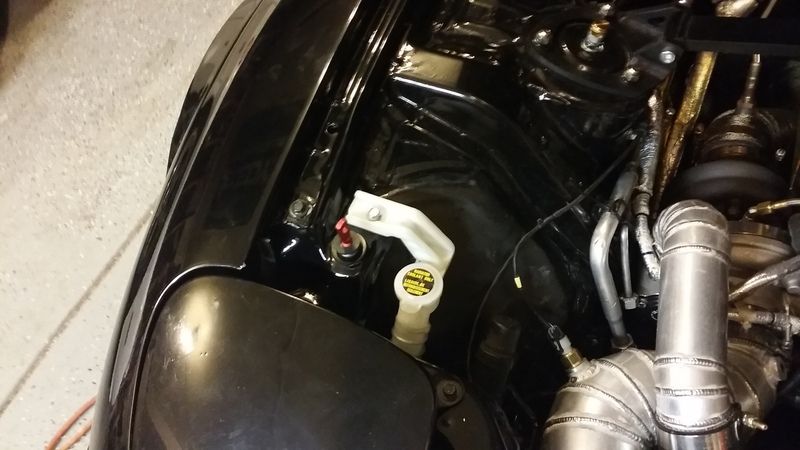
Oh I've also been working on finishing up the lines for the AC system. I discovered that I only need maybe a couple lines. I went to Whisler bearing and had one of the lines made but I had them make it too long so I have to reroute the original line a bit. The two lines coming out of the dryer are for the original R12 system and the dryer is R134 (a replacement piece from the parts store), so they don't fit exactly right. If I can get those two to work, I only need a couple adapters or short pieces of hose to finish the lines. I'm going to Maxair on Monday (if they're open) or Tuesday to see if they can make something work.
Re: Build thread
Dumb question, but if you eventually press in 3.25" studs will you only have the 1 set of studs then? I bet you have an extra pounds or more in weight on each wheel just for studs. Not a huge deal in a monster like yours, but figure if it simplifies wheel setup and gives you a slight performance increase, will be a good thing to keep in mind in the future.
-
speedjunkie
- Senior Member
- Posts: 5337
- Joined: Wed Jan 02, 2008 9:14
- Location: Colorado Springs
- Contact:
Re: Build thread
I'm not sure I follow. You mean if I press the 3.25" studs directly into the hub? That's what I'm wishing I'd done, then I would just use slip on spacers. However, if I do that at all it'll probably be a long time from now. It's such a pain to press out the bearing and I'd have to get new bearings again anyway because removal destroys them. Although it would probably be easiest to do all that now since it is new and hasn't had 20 years to rust together lol.
In any case, if that's what you mean then yes, it would only be the one set of studs. I can weigh a set of the studs and see how much it is.
In any case, if that's what you mean then yes, it would only be the one set of studs. I can weigh a set of the studs and see how much it is.
Re: Build thread
Yep, that is what I was thinking. Didn't realize the bearings killed themselves upon removal. That sucks. Well, whenever you get bored or pull them in the future, remember to do them studs to make life simple.
-
speedjunkie
- Senior Member
- Posts: 5337
- Joined: Wed Jan 02, 2008 9:14
- Location: Colorado Springs
- Contact:
Re: Build thread
Oh I'm planning on it. I'll do the fronts too, just in case.
I ran into some more problems tonight, but I'm too exhausted to type it out tonight.
I ran into some more problems tonight, but I'm too exhausted to type it out tonight.
-
speedjunkie
- Senior Member
- Posts: 5337
- Joined: Wed Jan 02, 2008 9:14
- Location: Colorado Springs
- Contact:
Re: Build thread
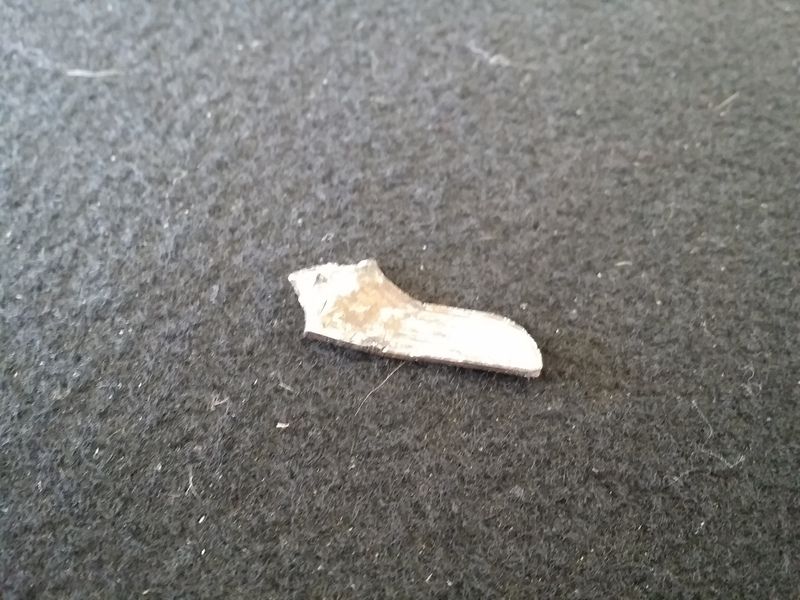
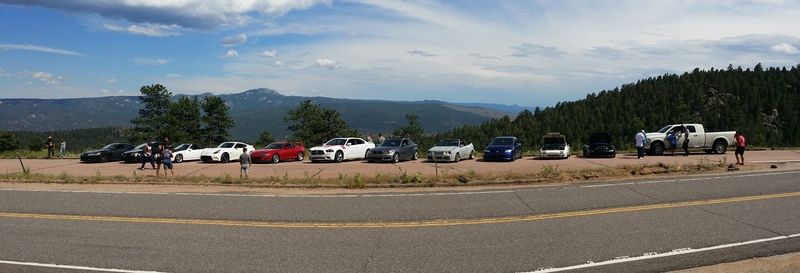
We had a really great drive yesterday and a good time all around. Had a fun drive up 67 and 126, down 285 into Denver, then drove go karts at Unser Karting, that was a blast. Had dinner at Twin Peaks and then we WERE going to go to the Nationwide meet, but I had a problem. I took this metal shiv to one of my brand new rear tires and I didn't know it and drove on it for a while. That ruined the tire as we discovered, after Miguel and Xavier plugged the tire and I aired it up. The tread had shifted to the outside of the wheel because the inner sidewall was too weak. But Matt Heimerl and his friend Peter came through with a couple Mustang wheels (aka, their drift spares lol) and we swapped out the two rear wheels and I got the car home. After swapping the second rear tire, the jack gave out as Xavier was lowering the car.
I could be mad about catching the metal in my tire, but I'd rather be thankful for several things.
Thankful for having great friends like Miguel, Xavier, Zico, Matt, Peter, Bruce, and Andrew for sticking around with me, helping me with the car, bringing the spare wheels all the way from Parker, and making sure I got home safe WITH the car. Not to mention saving me money from having it towed.
Thankful to God for letting the jack hold out long enough to finish the job and no one got hurt, other than the corner of the hatch blasting me in the forehead and giving me a tiny, temporary lump. Also thankful to God for everything in general, including getting me home safely.
Thankful to Matt and Peter for bringing the wheels. That was a huge help.
Thankful to Zico for hauling one of the wheels since I could only fit one in my car, and thankful to Bruce for offering.
Thankful to Zico and Andrew for providing light so we could finish the job.
Thankful to Miguel for jacking the car up lol. Even though I completely blame him for the jack failing later. (JK lol)
Thankful to Bruce, Xavier and Miguel for getting the tire plugged, even though I ended up not using it.
Oh, and thankful to Xavier for pointing out the flat tire in the first place lol.
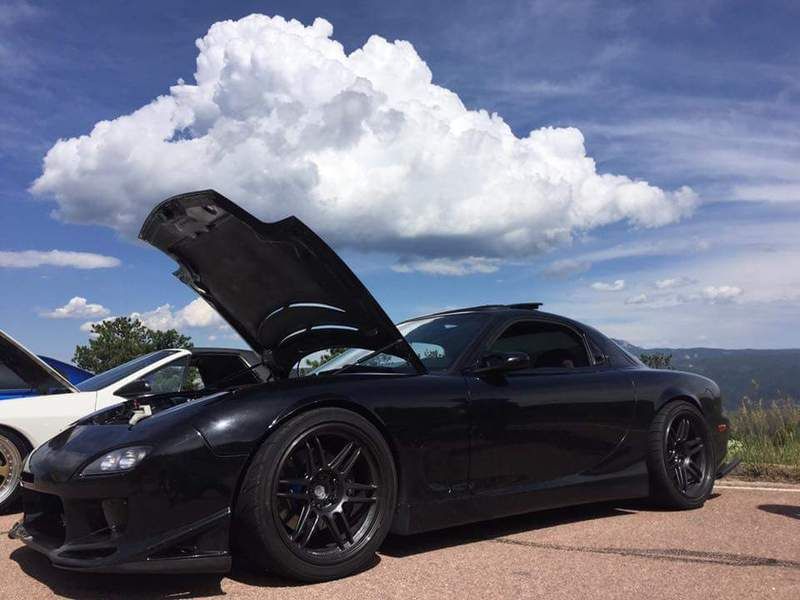
It actually turned out to be a good thing that I didn't have the track wheels on the car.
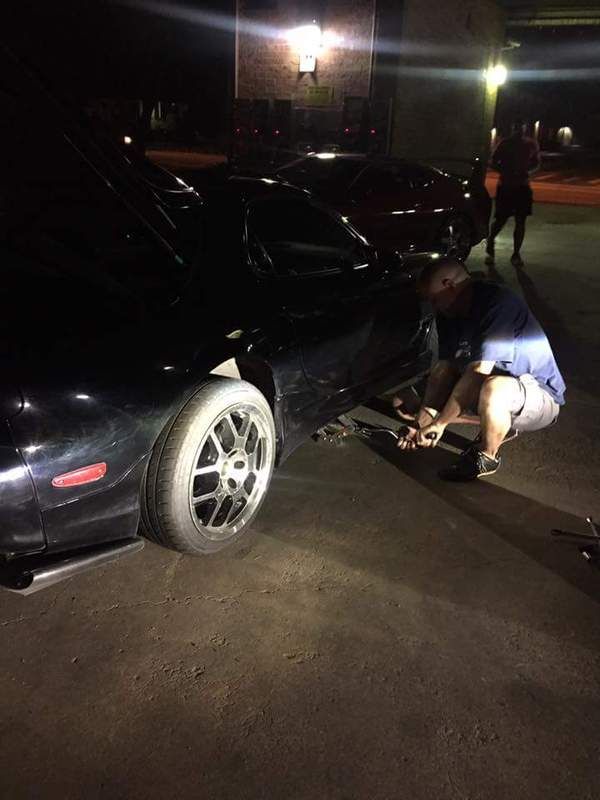
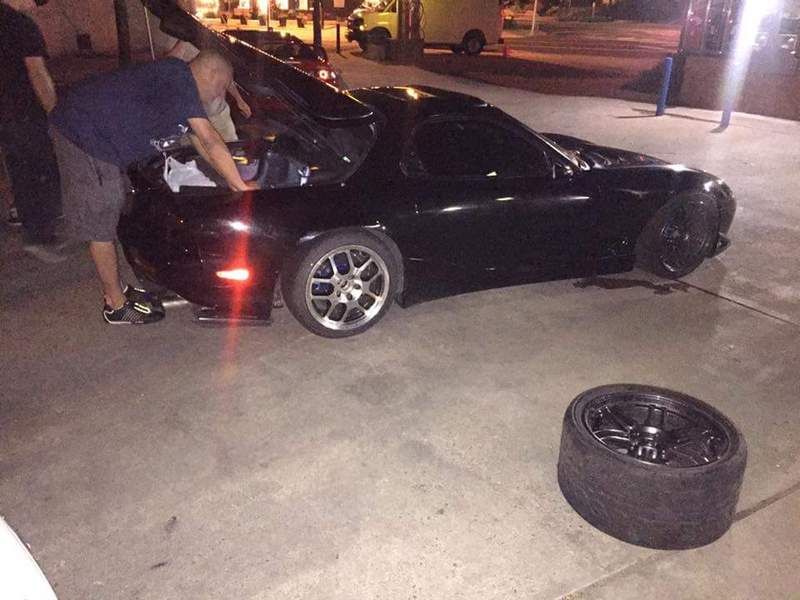
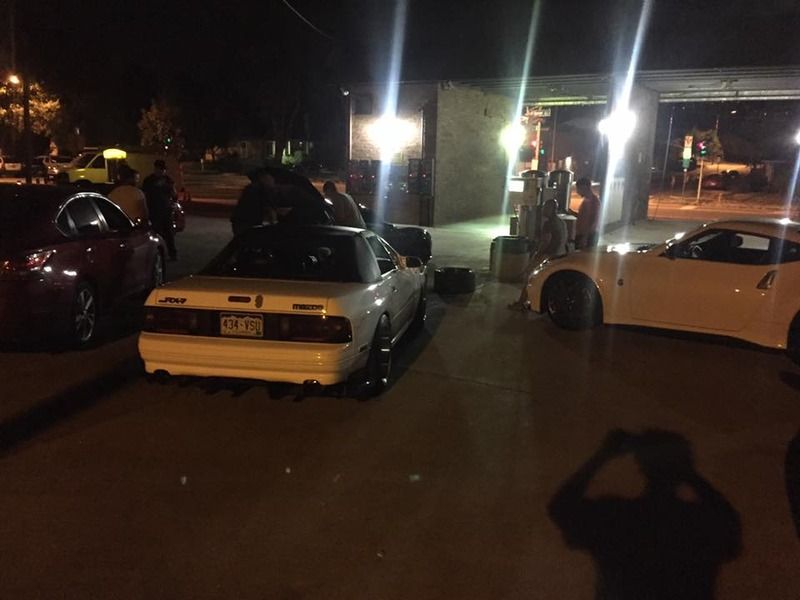
Zico took this pic while laying on the ground lol.
I could be mad about catching the metal in my tire, but I'd rather be thankful for several things.
Thankful for having great friends like Miguel, Xavier, Zico, Matt, Peter, Bruce, and Andrew for sticking around with me, helping me with the car, bringing the spare wheels all the way from Parker, and making sure I got home safe WITH the car. Not to mention saving me money from having it towed.
Thankful to God for letting the jack hold out long enough to finish the job and no one got hurt, other than the corner of the hatch blasting me in the forehead and giving me a tiny, temporary lump. Also thankful to God for everything in general, including getting me home safely.
Thankful to Matt and Peter for bringing the wheels. That was a huge help.
Thankful to Zico for hauling one of the wheels since I could only fit one in my car, and thankful to Bruce for offering.
Thankful to Zico and Andrew for providing light so we could finish the job.
Thankful to Miguel for jacking the car up lol. Even though I completely blame him for the jack failing later. (JK lol)
Thankful to Bruce, Xavier and Miguel for getting the tire plugged, even though I ended up not using it.
Oh, and thankful to Xavier for pointing out the flat tire in the first place lol.
It actually turned out to be a good thing that I didn't have the track wheels on the car.


Zico took this pic while laying on the ground lol.


Who is online
Users browsing this forum: No registered users and 59 guests