Build thread
-
speedjunkie

- Senior Member
- Posts: 5337
- Joined: Wed Jan 02, 2008 9:14
- Location: Colorado Springs
- Contact:
Re: Build thread
Only at idle though lol. I'm going to pull the OMP today most likely. Chris said Syvecs got back to him and they're going to look into it.
-
speedjunkie
- Senior Member
- Posts: 5337
- Joined: Wed Jan 02, 2008 9:14
- Location: Colorado Springs
- Contact:
Re: Build thread
I got the OMP mostly pulled today. Reason being I wasted too much time this morning and only started working on it around 3pm. I got everything pulled except for the OMP itself. I'll be doing that tomorrow. I was trying to do it without pulling off the turbo compressor cover because it freaks me out thinking about bending one of the fins on a brand new turbo, but I might have to pull it anyway.
I also noticed that the ceramic coat is already chipping off the exhaust parts and the OMP lines rubbed some of the coating off the LIM. I guess I'll be pulling all that stuff off at some point and getting them redone somewhere else. I'm pretty disappointed.
I picked up some bolts to plug the oil injector holes on the housings (M10x1.25) but they were too long so I got spacers for them too. Once I got the injectors out I did a test fit and the flange of the bolt hits a piece of the housing that comes up, so I'd need to use a couple washers or something. I'm also concerned it might be too high for the primary fuel rail line to get over it, so I decided to order some set screws from Fastenal, they're supposed to get here Wednesday or Thursday. Those are black oxide/alloy and I'm not so crazy about that so afterwards I ordered a 50 pack of steel ones from Grainger in the same size and thread pitch. The 50 pack was about $26 and the four I got from Fastenal was $14. I might just buy from Grainger from now on lol.
I also decided to get some new o-rings for the injectors while I'm in there. The current ones on the tops of the secondary injectors are in pretty rough shape. I ordered enough to replace the entire set, top and bottom, extra actually.
So with any luck it'll be back on the road this next weekend. Not sure when I'll get any tuning done yet. Friday possibly. I need to get some more logs for Chris to look at.

Re: Build thread
Did you consider threading a nut onto the bolts and then cutting them to length, then cleaning up the end. Once you unthread the nut, the threads should be pretty clean then.
Sorry to hear about the ceramic coating. Doesn't seem like it should be that easy to pull off.
Sorry to hear about the ceramic coating. Doesn't seem like it should be that easy to pull off.
-
speedjunkie
- Senior Member
- Posts: 5337
- Joined: Wed Jan 02, 2008 9:14
- Location: Colorado Springs
- Contact:
Re: Build thread
That will make them unusable unless I trim the flange off the bolt. The flange already hits the piece sticking up on the housing while using the spacer.
I've already ordered the set screws, which is what stores sell to block off the injector holes.
Yeah it should have been way more durable. I'll take them to Applied Plastics to get coated next time most likely.
I've already ordered the set screws, which is what stores sell to block off the injector holes.
Yeah it should have been way more durable. I'll take them to Applied Plastics to get coated next time most likely.
-
chickenwafer
- Posts: 2515
- Joined: Wed Mar 11, 2009 9:14
- Location: Greeley
Re: Build thread
Stupid question but have you considered just deleting the OMP altogether and going straight premix in the gas? I know you're using the Sohn adapter but I've always been a fan of simplifying things and it's harder to get much simpler than premix. You know it won't fail and you're in complete control of the ratio. I've always done that on rotary cars, just easier IMO
-
speedjunkie
- Senior Member
- Posts: 5337
- Joined: Wed Jan 02, 2008 9:14
- Location: Colorado Springs
- Contact:
Re: Build thread
That's what I'm doing right now actually. I got the OMP out tonight and now I'm just waiting on the set screws and injector o-rings. After the PITA getting it out tonight, it's certainly not going back in. Just premixing from now on. I've read a few threads lately on 7club about ditching the OMP, trying to figure out what people used to plug the injector holes. Some guys have mentioned that they don't like premix because the amount of oil is the same at idle and light cruising as it is at boost. I'm not sure where they get that idea. The RATIO might be the same, but assuming it's mixed up well with the fuel, as the amount of fuel increases so will the oil. And as the amount of fuel decreases again, so will the oil. Maybe they said the ratio stays the same, I don't remember. Even so, that doesn't seem like a big deal to me.
I had to disconnect the oil drain on the turbo so I could get to the bottom bolt on the OMP, and doing that I spilled a lot of oil when the hose was basically level with where it connects to the engine. I'm really not sure why so much oil is coming out of there, that oil should be dropping into the pan. It's not like the oil level is that high up. Either way, I pulled the hose all the way down and let it drain off, and I'll check the oil and see what the level is. I don't want to lose the oil seals on this turbo also, assuming that's what caused it on the other one. I got all that back together though and the compressor cover on the turbo and the intake pipe is pretty much installed.
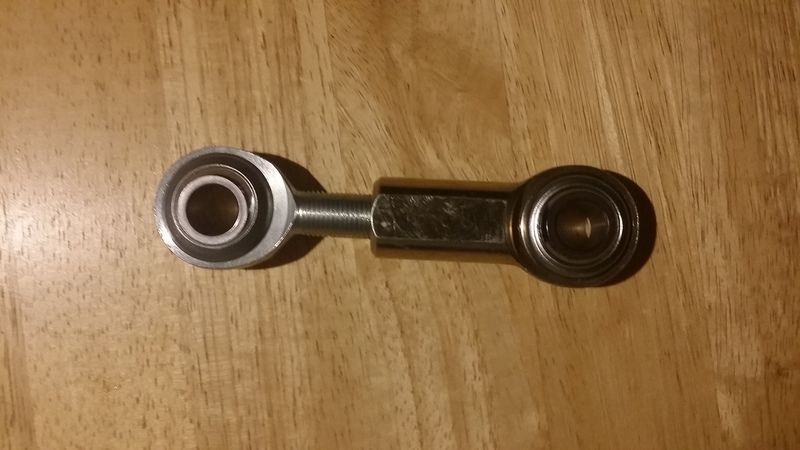
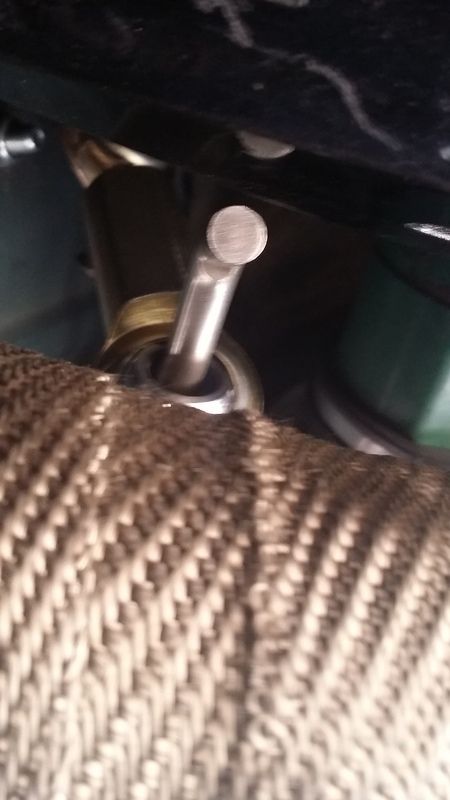
I also swapped the fan wiring extension harnesses. I took out the ones I made several years ago and put in the GReddy ones I got from RHDJapan. I'm contemplating disassembling the rear brakes to put in the shims and see if that clears up the moan coming from back there. And I'm still trying to figure out a way to space the exhaust away from the diff brace. I picked up the heim joints the other day from ACE but my stupid a$$ got two of the same direction thread. Not that it really matters because they were still too small anyway. I think they're too long to use regardless. The hanger piece on the diff and the one on the exhaust are only 3" apart and I think those heim joints are about that length each. Maybe I'll just get it on a lift and then hang on the exhaust to bend it a bit.
The drive to Golden the other day showed me how awesome the suspension setup is, at least as far as ride quality. It rides PHENOMENAL. We were on 470 where they're doing road work and riding on the rough part it was still such a great ride. You could tell the bumps were there but they weren't harsh at all. I'm super happy with this setup.
FedEx tried to deliver the wheels today but I forgot about it, so I guess I'll pay attention tomorrow. Maybe next paycheck I'll get the tires for them and get them mounted and balanced. Then it's just figuring out what spacers I need.
I had to disconnect the oil drain on the turbo so I could get to the bottom bolt on the OMP, and doing that I spilled a lot of oil when the hose was basically level with where it connects to the engine. I'm really not sure why so much oil is coming out of there, that oil should be dropping into the pan. It's not like the oil level is that high up. Either way, I pulled the hose all the way down and let it drain off, and I'll check the oil and see what the level is. I don't want to lose the oil seals on this turbo also, assuming that's what caused it on the other one. I got all that back together though and the compressor cover on the turbo and the intake pipe is pretty much installed.
I also swapped the fan wiring extension harnesses. I took out the ones I made several years ago and put in the GReddy ones I got from RHDJapan. I'm contemplating disassembling the rear brakes to put in the shims and see if that clears up the moan coming from back there. And I'm still trying to figure out a way to space the exhaust away from the diff brace. I picked up the heim joints the other day from ACE but my stupid a$$ got two of the same direction thread. Not that it really matters because they were still too small anyway. I think they're too long to use regardless. The hanger piece on the diff and the one on the exhaust are only 3" apart and I think those heim joints are about that length each. Maybe I'll just get it on a lift and then hang on the exhaust to bend it a bit.
The drive to Golden the other day showed me how awesome the suspension setup is, at least as far as ride quality. It rides PHENOMENAL. We were on 470 where they're doing road work and riding on the rough part it was still such a great ride. You could tell the bumps were there but they weren't harsh at all. I'm super happy with this setup.
FedEx tried to deliver the wheels today but I forgot about it, so I guess I'll pay attention tomorrow. Maybe next paycheck I'll get the tires for them and get them mounted and balanced. Then it's just figuring out what spacers I need.
-
speedjunkie
- Senior Member
- Posts: 5337
- Joined: Wed Jan 02, 2008 9:14
- Location: Colorado Springs
- Contact:
Re: Build thread
I forgot I also cut a piece out if the vband clamp for the compressor housing to make a little extra space between it and the LIM.
I received a delivery today.
I took the other heim joints back to ACE and swapped them out for larger ones, and a configuration that would actually work this time lol. Unfortunately it still didn't work because it still won't fit over the end of one of the hangers. I was trying to get the rubber hanger off and it got wedged between the metal part and the diff brace. It might actually work lol.
The set screws and injector o-rings should be here tomorrow, WOOHOO!

I received a delivery today.


I took the other heim joints back to ACE and swapped them out for larger ones, and a configuration that would actually work this time lol. Unfortunately it still didn't work because it still won't fit over the end of one of the hangers. I was trying to get the rubber hanger off and it got wedged between the metal part and the diff brace. It might actually work lol.

The set screws and injector o-rings should be here tomorrow, WOOHOO!
-
speedjunkie
- Senior Member
- Posts: 5337
- Joined: Wed Jan 02, 2008 9:14
- Location: Colorado Springs
- Contact:
Re: Build thread
Alright the car is back on the ground. I'm going to take it out tomorrow to get some logs, but Chris' wife is getting induced tomorrow so he won't be available until next Friday at the earliest to make tuning adjustments.
Like I said before I ordered 4 set screws from Fastenal, and a pack of 50 from Grainger. I picked up all of them today. I knew the ones from Fastenal would be black (alloy, black oxide, whatever), but I expected the ones from Grainger to be silver, although regular steel, not stainless steel. Nope, they were just like the ones from Fastenal lol. So I think I might try to sell most of them for maybe $5 plus shipping per pair. At least I'll make my money back that way, and a little extra maybe. I was really hoping for stainless steel to help with corrosion, but some of this stuff is kinda hard to find.
I got the injector orings today too. So I swapped those (only the ones that were bad) and put the set screws in. Then I got under the car and started installing the heim joints (after going to ACE and swapping them out again lol) to push the exhaust down. First I pried the pipe down with the handle of the orange mallet and it would always spring back. I realized the hanger on the midpipe was still connected so I pulled that off and tried again. This time I think it actually bent the exhaust system a little because it stayed down on it's own, clearing the diff brace by about 1/2". I decided to install the joints anyway just to be sure and I got them on there to where it should stay in place and not rub on anything. Then I put the other hanger back on. The exhaust is nice and snug and not touching anything.
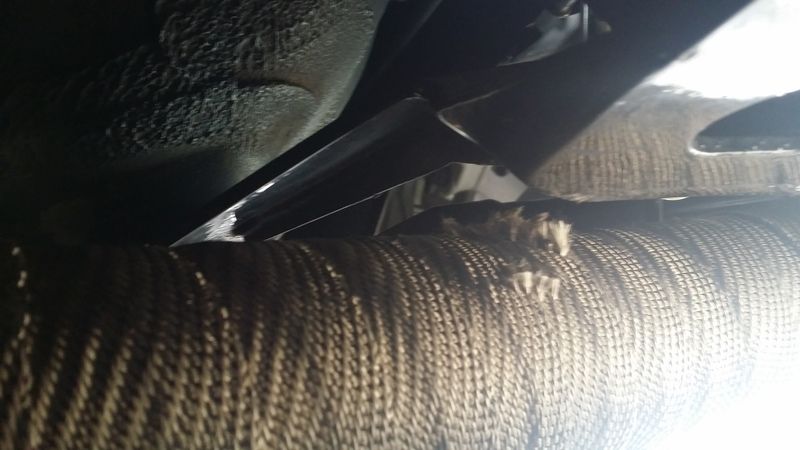
While I was looking at the exhaust I noticed that the ceramic coat is even coming off of the furthest back point of the exhaust. It's unbelievable. I think paint would have stayed on better. I talked to David about it and he said we could redo it later but I'm just going to take it somewhere else. He thanked me for telling him because he said he needs to know what works and what doesn't. I'm not mad about it, just disappointed.
While I was under the car I noticed I put one of the diffuser mounts on wrong, so I corrected that. Then I decided to change some of the wiring on the transmission to secure/wrap some unused connectors so they don't get filled with road grime.
When I was putting the UIM back on and hooking the vacuum line back up to the FPR I felt a bump in the line. There was a carb jet in it. I must've pulled the line off my old stock turbos and didn't notice the jet when I used it on the car these recent times. I tried to get the jet out but ended up pulling the line apart, so I swapped that.
I swapped the radiator fan extension harnesses today too. I had bought the GReddy harnesses from RHDJapan so I used them in place of my homemade harnesses. When I ran the car I noticed that both fans kicked on instead of just the passenger side fan like before. I'm not sure if one of my homemade harnesses was bad or if these are wired differently somehow. Although they're just extension pieces so I'm not sure how they could be.
And I just realized I forgot to put the strut bar back on lol.
Like I said before I ordered 4 set screws from Fastenal, and a pack of 50 from Grainger. I picked up all of them today. I knew the ones from Fastenal would be black (alloy, black oxide, whatever), but I expected the ones from Grainger to be silver, although regular steel, not stainless steel. Nope, they were just like the ones from Fastenal lol. So I think I might try to sell most of them for maybe $5 plus shipping per pair. At least I'll make my money back that way, and a little extra maybe. I was really hoping for stainless steel to help with corrosion, but some of this stuff is kinda hard to find.
I got the injector orings today too. So I swapped those (only the ones that were bad) and put the set screws in. Then I got under the car and started installing the heim joints (after going to ACE and swapping them out again lol) to push the exhaust down. First I pried the pipe down with the handle of the orange mallet and it would always spring back. I realized the hanger on the midpipe was still connected so I pulled that off and tried again. This time I think it actually bent the exhaust system a little because it stayed down on it's own, clearing the diff brace by about 1/2". I decided to install the joints anyway just to be sure and I got them on there to where it should stay in place and not rub on anything. Then I put the other hanger back on. The exhaust is nice and snug and not touching anything.


While I was looking at the exhaust I noticed that the ceramic coat is even coming off of the furthest back point of the exhaust. It's unbelievable. I think paint would have stayed on better. I talked to David about it and he said we could redo it later but I'm just going to take it somewhere else. He thanked me for telling him because he said he needs to know what works and what doesn't. I'm not mad about it, just disappointed.
While I was under the car I noticed I put one of the diffuser mounts on wrong, so I corrected that. Then I decided to change some of the wiring on the transmission to secure/wrap some unused connectors so they don't get filled with road grime.
When I was putting the UIM back on and hooking the vacuum line back up to the FPR I felt a bump in the line. There was a carb jet in it. I must've pulled the line off my old stock turbos and didn't notice the jet when I used it on the car these recent times. I tried to get the jet out but ended up pulling the line apart, so I swapped that.
I swapped the radiator fan extension harnesses today too. I had bought the GReddy harnesses from RHDJapan so I used them in place of my homemade harnesses. When I ran the car I noticed that both fans kicked on instead of just the passenger side fan like before. I'm not sure if one of my homemade harnesses was bad or if these are wired differently somehow. Although they're just extension pieces so I'm not sure how they could be.
And I just realized I forgot to put the strut bar back on lol.
-
speedjunkie
- Senior Member
- Posts: 5337
- Joined: Wed Jan 02, 2008 9:14
- Location: Colorado Springs
- Contact:
Re: Build thread
I drove the car for a bit today, but the ECU still isn't logging for some reason. I guess I'll have to wait until next week for Chris to look at it.
Overall it drove pretty well. It pulled really hard a couple times and never went lean during those times. It did go lean a couple times but it wasn't under much throttle.
Overall it drove pretty well. It pulled really hard a couple times and never went lean during those times. It did go lean a couple times but it wasn't under much throttle.
-
speedjunkie
- Senior Member
- Posts: 5337
- Joined: Wed Jan 02, 2008 9:14
- Location: Colorado Springs
- Contact:
Re: Build thread
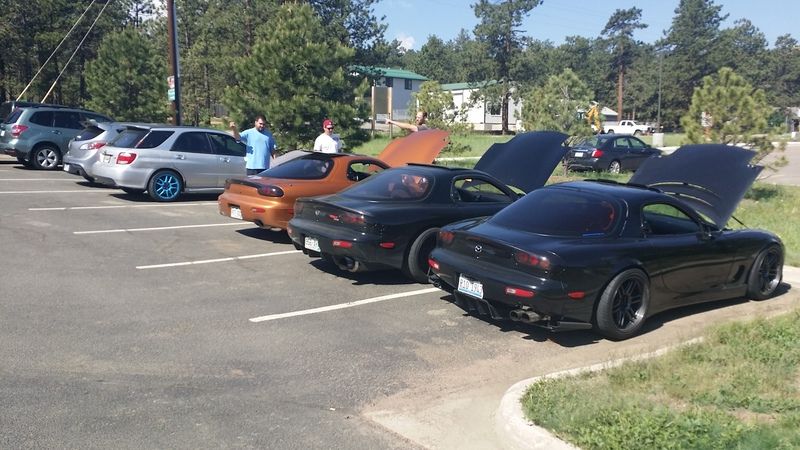
I drove the car to Peterson today and at lunch I met another FD owner. He's new to town and his car is still in Georgia at the moment but he should get it here before the end of the year.
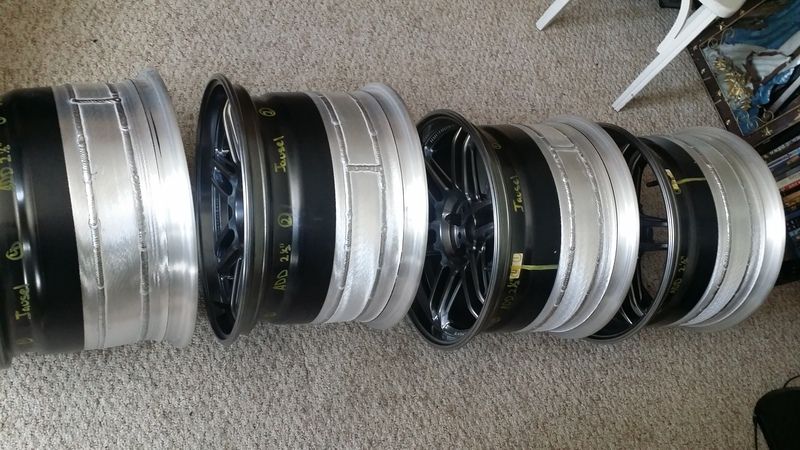
Andy told me yesterday about some tires in Denver for $600. They're Yokohama AD08 in 285/30, about 7/32 or 8/32 of tread still left. He used them for racing for only a short time. I picked those up tonight and I'm going to take them tomorrow to Brett to get mounted.
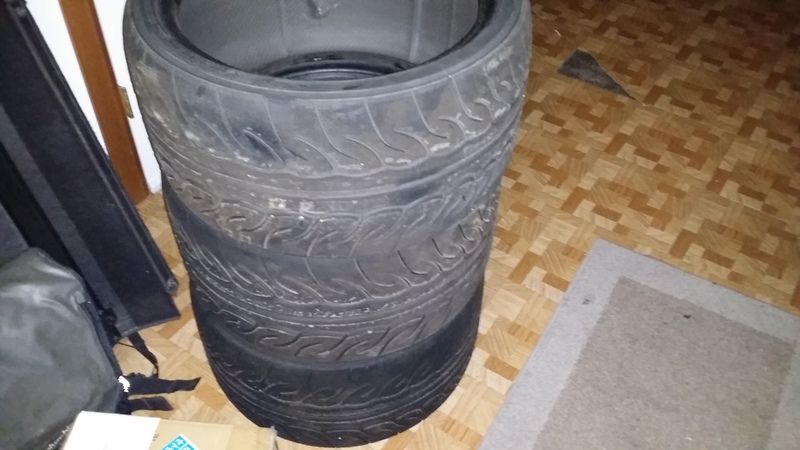
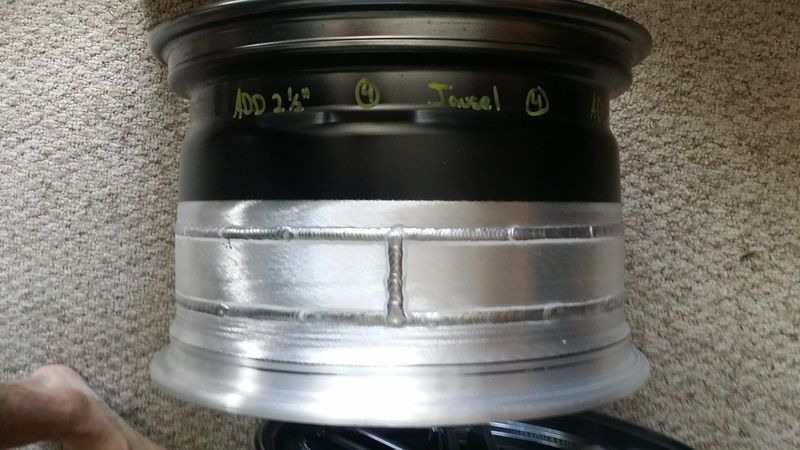
They might not be stretched as much as I thought lol. This pic doesn't really convey how close to the same size they are though lol. I measured the wheels yesterday and they're actually about 11.25" wide.
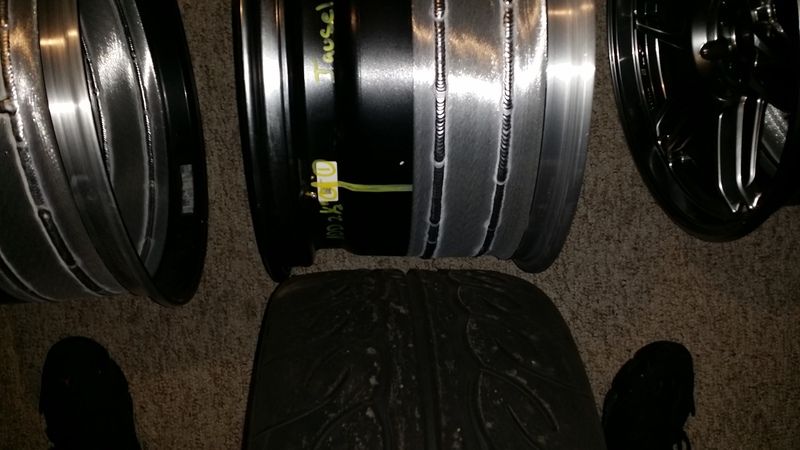
My offset on the wheels is now 46.75mm, so I'll need about 30mm of spacer on the front and 35mm on the front, but I might go a little more on the rear since it will be stretched a bit. I think I'm going to wait to get the spacers until I test fit the wheels though, just to be sure. Either way, that's A LOT of spacer. Way more than I'd like.
When I walked into his shop to get the tires he had an FB race car haha. I'm not sure why but I had a feeling I'd see a rotary there. And I just realized I should have gotten a pic of it lol. His shop is Smark A Myth Racing, aka Smark A Racing Import Auto Specialists.
Andy told me yesterday about some tires in Denver for $600. They're Yokohama AD08 in 285/30, about 7/32 or 8/32 of tread still left. He used them for racing for only a short time. I picked those up tonight and I'm going to take them tomorrow to Brett to get mounted.

They might not be stretched as much as I thought lol. This pic doesn't really convey how close to the same size they are though lol. I measured the wheels yesterday and they're actually about 11.25" wide.

My offset on the wheels is now 46.75mm, so I'll need about 30mm of spacer on the front and 35mm on the front, but I might go a little more on the rear since it will be stretched a bit. I think I'm going to wait to get the spacers until I test fit the wheels though, just to be sure. Either way, that's A LOT of spacer. Way more than I'd like.
When I walked into his shop to get the tires he had an FB race car haha. I'm not sure why but I had a feeling I'd see a rotary there. And I just realized I should have gotten a pic of it lol. His shop is Smark A Myth Racing, aka Smark A Racing Import Auto Specialists.
-
Saul_Good

- Senior Member
- Posts: 480
- Joined: Sun Jul 22, 2012 9:14
- Location: Cerritos, CA (DW says i can't play here anymore...)
- Contact:
Re: Build thread
[font=][/font]Yup. S.Mark was a regular at the autoxs. He was really was. Right before I left he was getting into road courses.
You keep doing business with reputable racers. Its a sign to draw a line, finish the car, and get running with an org")
You keep doing business with reputable racers. Its a sign to draw a line, finish the car, and get running with an org
-
speedjunkie
- Senior Member
- Posts: 5337
- Joined: Wed Jan 02, 2008 9:14
- Location: Colorado Springs
- Contact:
Re: Build thread
He told me he would rent the FB to me if I had all the safety equipment lol.
-
speedjunkie
- Senior Member
- Posts: 5337
- Joined: Wed Jan 02, 2008 9:14
- Location: Colorado Springs
- Contact:
Re: Build thread
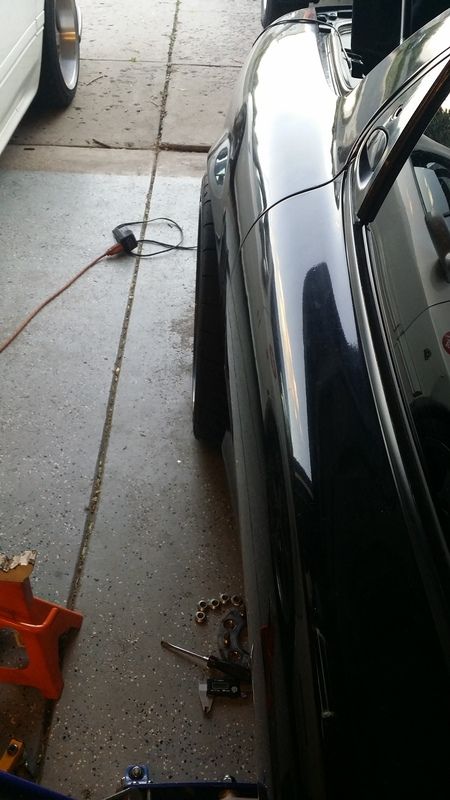
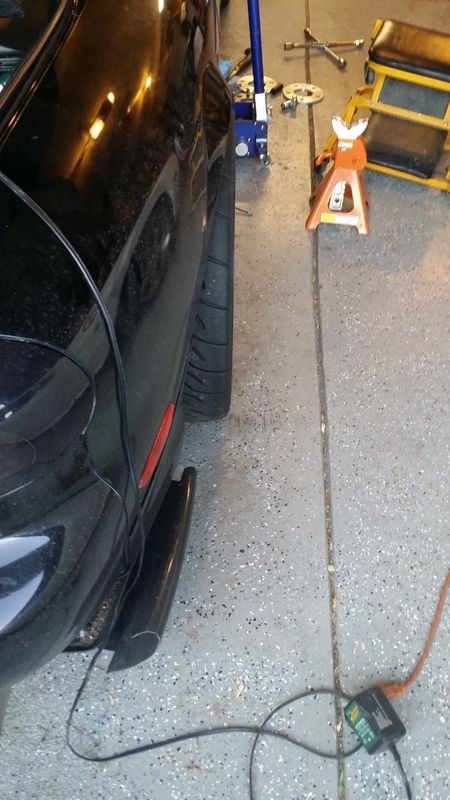
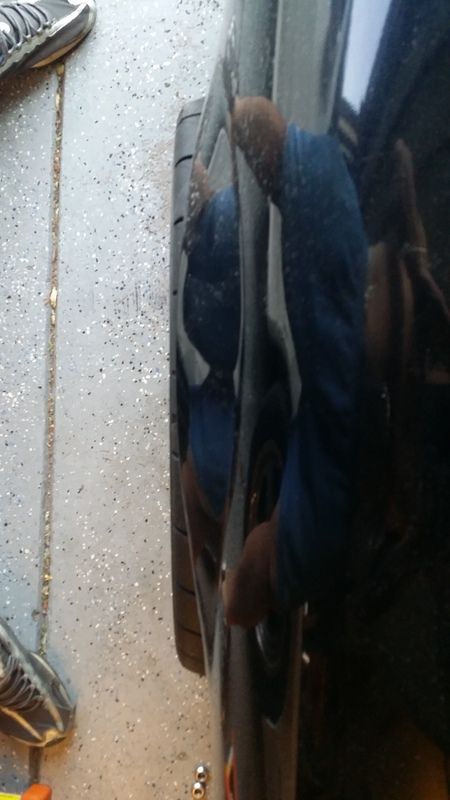
Brett mounted the tires today and I started test fitting them on the car to figure out which spacers I'd need. I was wrong on the front, but pretty much spot on for the rear. I need 10mm spacers for the front and about 35mm for the rear.
The problem is the ARP lugs I installed don't have enough threads left after using 35mm of spacer. If I use a bolt on spacer the original lugs will still stick out of the rest of the spacers, but with 35mm total it still works. So what I'm going to do is use a 15mm bolt on spacer that will stay there for both sets of wheels, decreasing the offset by 5mm on the street wheels, and then for the track wheels I'll add another 20mm spacer to bring it out 35mm total. On the front wheels the 10mm spacer was just right. Even though 15mm looked better and more aggressive, I felt I would run into rubbing issues. So I'll be moving the current rear 10mm spacer up front.
Front track wheels with no spacer.
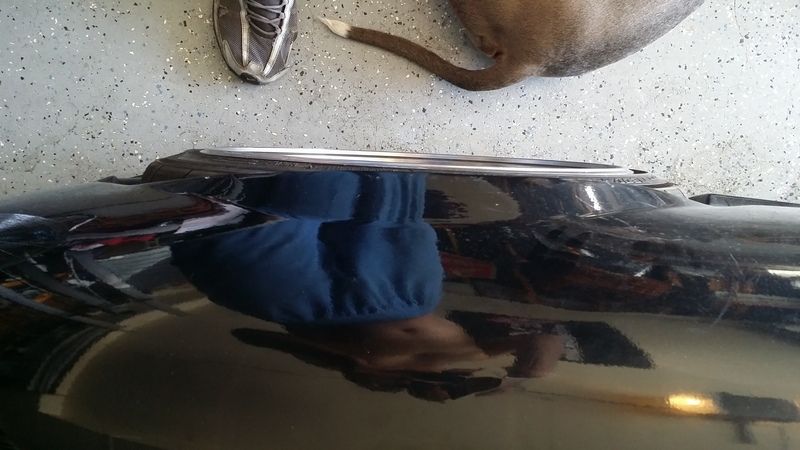
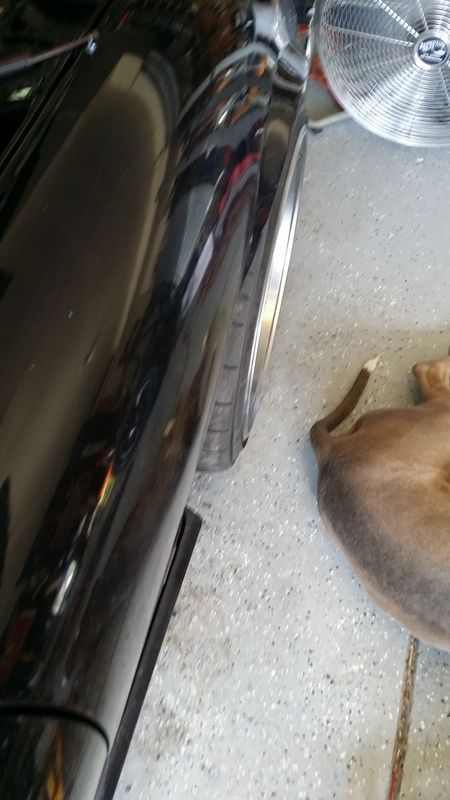
Front with 10mm spacer.
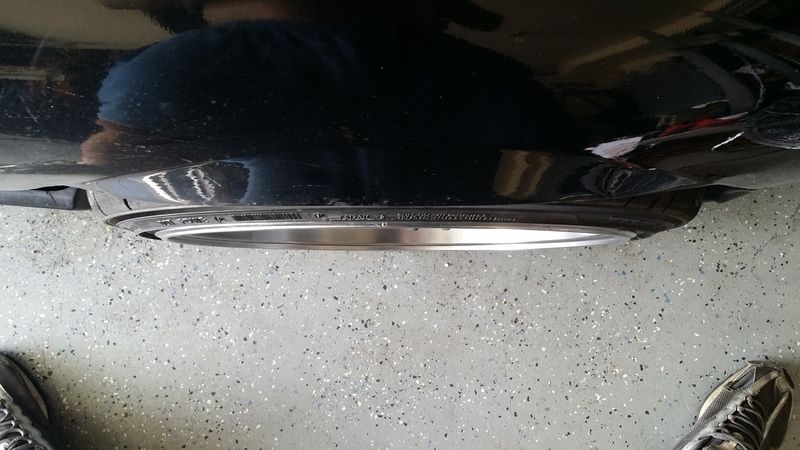
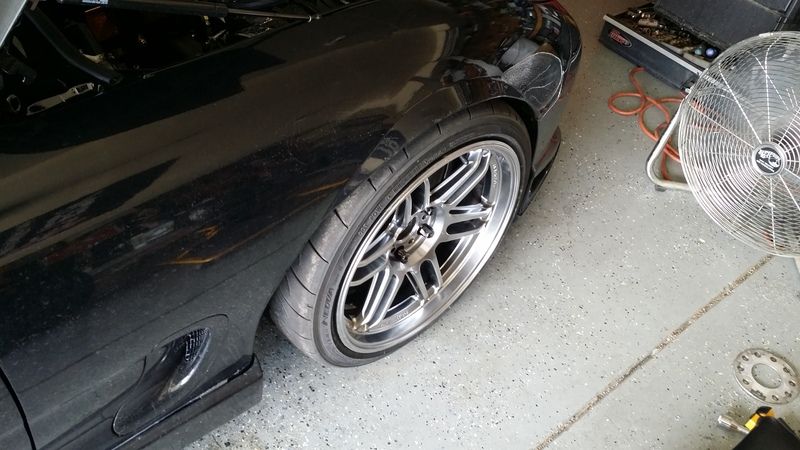
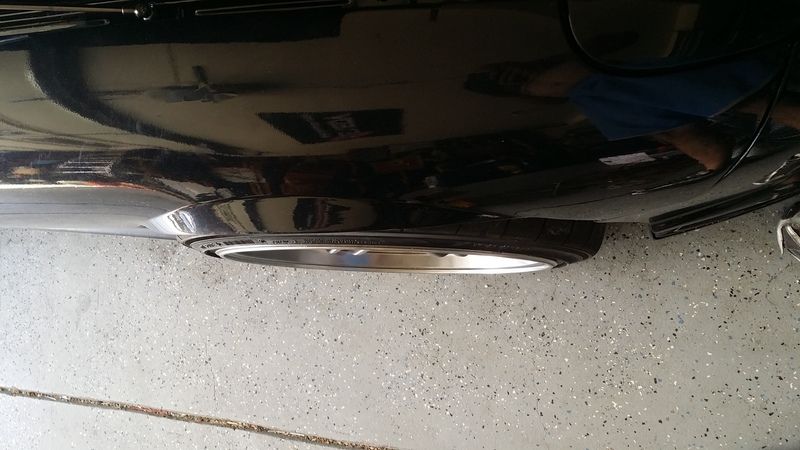
Front track wheels with 15mm spacers.
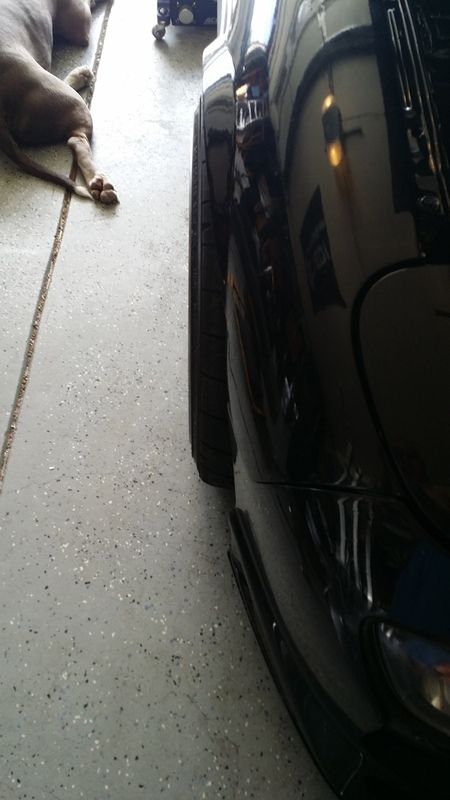
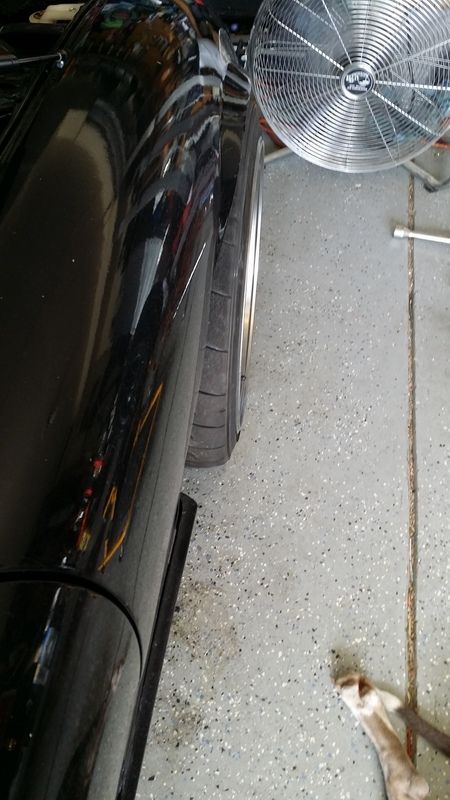
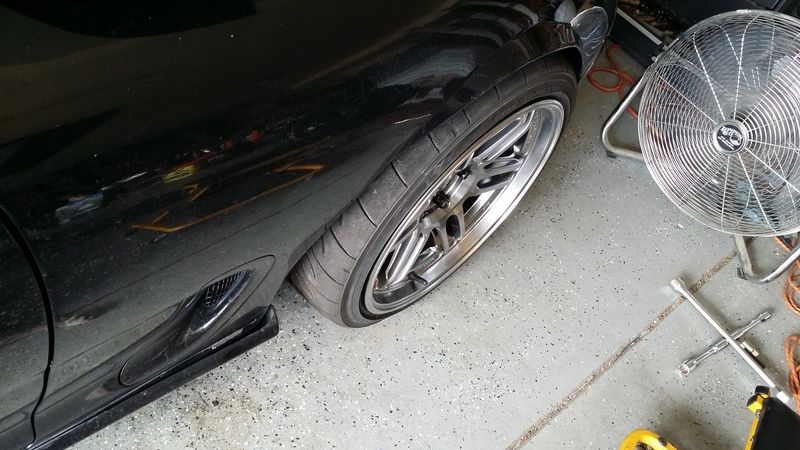
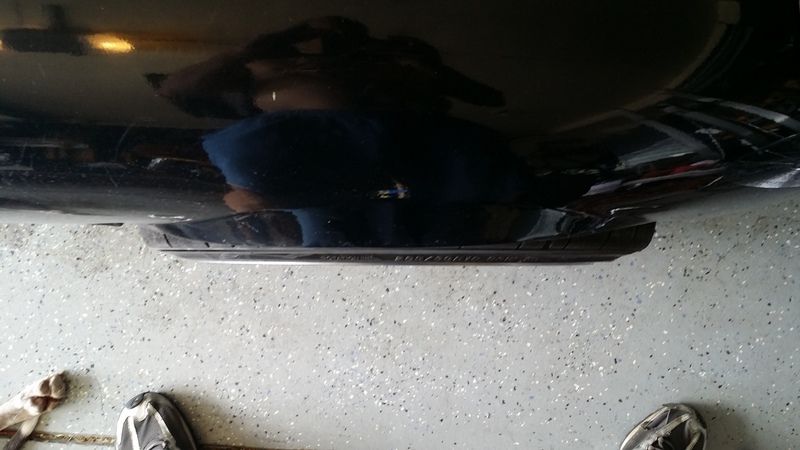
Rear track wheels with no spacer.
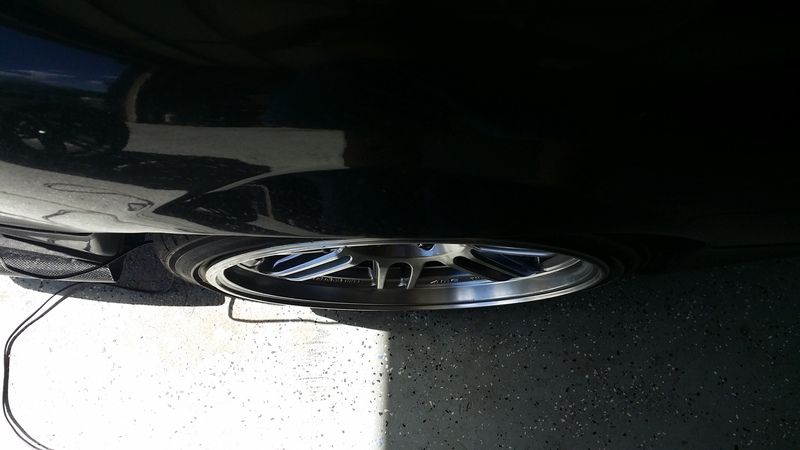

Rear track wheels with 23.5mm spacers.
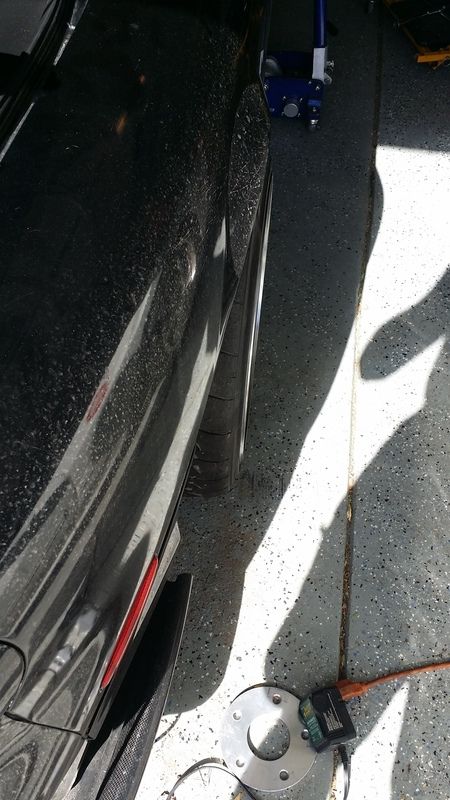
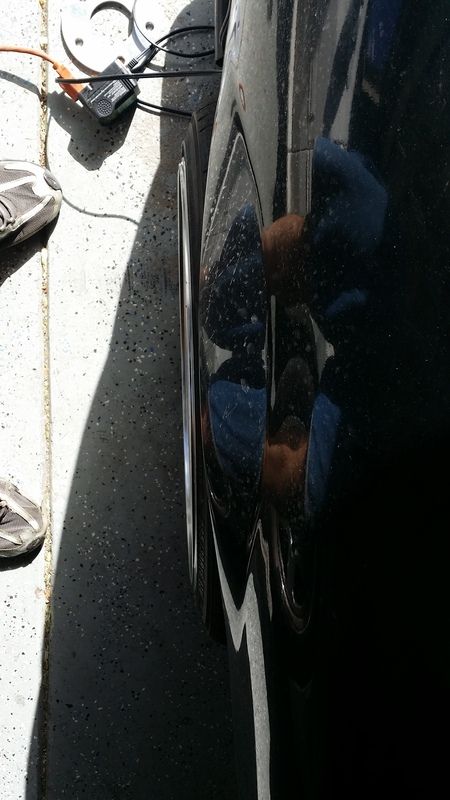

Rear track wheels with 33mm spacers.

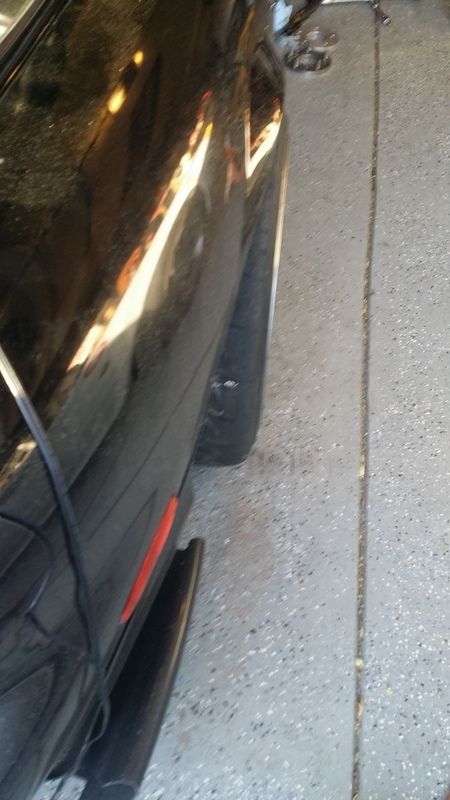
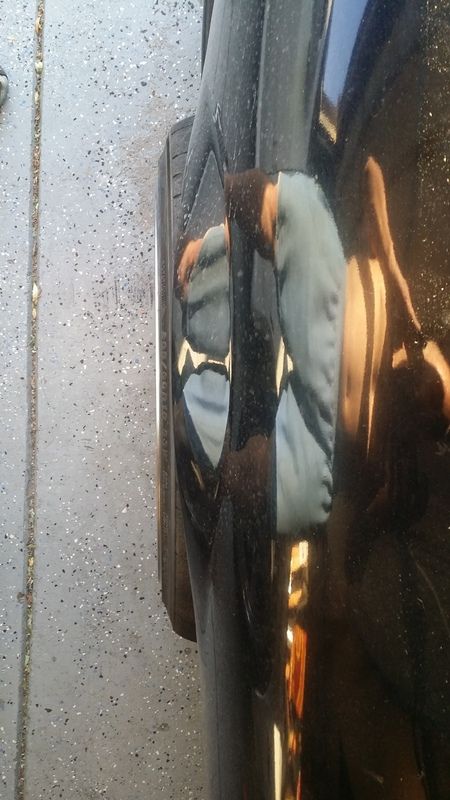
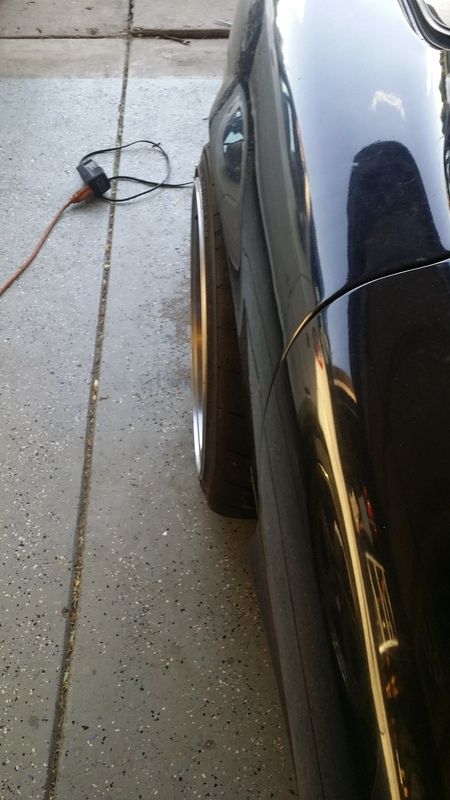
Rear street wheels with 15mm spacers.
The problem is the ARP lugs I installed don't have enough threads left after using 35mm of spacer. If I use a bolt on spacer the original lugs will still stick out of the rest of the spacers, but with 35mm total it still works. So what I'm going to do is use a 15mm bolt on spacer that will stay there for both sets of wheels, decreasing the offset by 5mm on the street wheels, and then for the track wheels I'll add another 20mm spacer to bring it out 35mm total. On the front wheels the 10mm spacer was just right. Even though 15mm looked better and more aggressive, I felt I would run into rubbing issues. So I'll be moving the current rear 10mm spacer up front.
Front track wheels with no spacer.


Front with 10mm spacer.


Front track wheels with 15mm spacers.


Rear track wheels with no spacer.


Rear track wheels with 23.5mm spacers.


Rear track wheels with 33mm spacers.


Rear street wheels with 15mm spacers.


-
speedjunkie
- Senior Member
- Posts: 5337
- Joined: Wed Jan 02, 2008 9:14
- Location: Colorado Springs
- Contact:
Re: Build thread
I keep forgetting to post about this too. I'm SO glad I put the rear speakers in. It's a world of difference over the door speakers alone.
-
speedjunkie
- Senior Member
- Posts: 5337
- Joined: Wed Jan 02, 2008 9:14
- Location: Colorado Springs
- Contact:
Re: Build thread
Took the car for a drive with Andy, Geoff and a couple other guys yesterday.
My Speedhut gauges lost power when I started the car to head back on the return trip, and I think the stereo must have been overheated because it wouldn't let me click ok on the warning so I couldn't view the Syvecs app on the screen. And my iPad was overheated. So basically I had no way of knowing my speed, RPM, fuel level, or any of the stuff I monitor on the app. And my water injection controller isn't getting power, so I have to look into that and the gauges either today or tomorrow.
The car doesn't slow crank at all anymore it seems, but most of the time it clicks about 10-20 times before it will start. Sometimes it will start right away but it seems like that's only when it's fairly warm. I don't see why that would make a difference though. I'll look into that soon.
I still need a tune pretty bad before I can do a drive like that again, I still have lean spots in the middle of the map and it falls on it's face if I boost too high, which is to be expected. I got the 3.25" ARP studs yesterday, I should get the spacers early this week I imagine. The only problem is I realized the other morning that my idea won't work. I won't be able to swap wheels back and forth without having to remove the bolt-on spacer. The 2.5" ARP studs that I swapped into the hubs will stick out too far for me to put the wheels on. I'm really wishing I had gone with the 3.25" studs to begin with. Then I could just be stacking normal spacers and swapping back and forth easily. So what I decided was I'll leave the track wheels on all summer and put the street wheels on when it gets cool out. I don't want to be jacking the car up and swapping the wheels out all the time anyway.
I HAVE to get the AC lines made soon. It's getting too warm in the car aside from the evenings.
Who is online
Users browsing this forum: No registered users and 65 guests