Build thread
-
speedjunkie

- Senior Member
- Posts: 5358
- Joined: Wed Jan 02, 2008 9:14
- Location: Colorado Springs
- Contact:
speedjunkie wrote:What gasket are you talking about?
The gasket material above that Saul was talking about.
If you want to manage heat, basically block the turbo heat from the LIM and the lines around the exhaust/turbo.
the gaskets between LIM/engine, etc don't really matter much.
Another great thing to do is build a box around an intake and draw the cold air into it. I know Geoff is doing it with his.
-
speedjunkie
- Senior Member
- Posts: 5358
- Joined: Wed Jan 02, 2008 9:14
- Location: Colorado Springs
- Contact:
Ok I thought that's what you were talking about but I wasn't sure.
I got quite a bit done tonight in a short-ish amount of time, so I'm pretty happy. Well, it feels like a lot anyway, I guess because I'm close to finishing. I started working around 830pm and finished a little bit ago. I made the fuel lines for the engine bay...
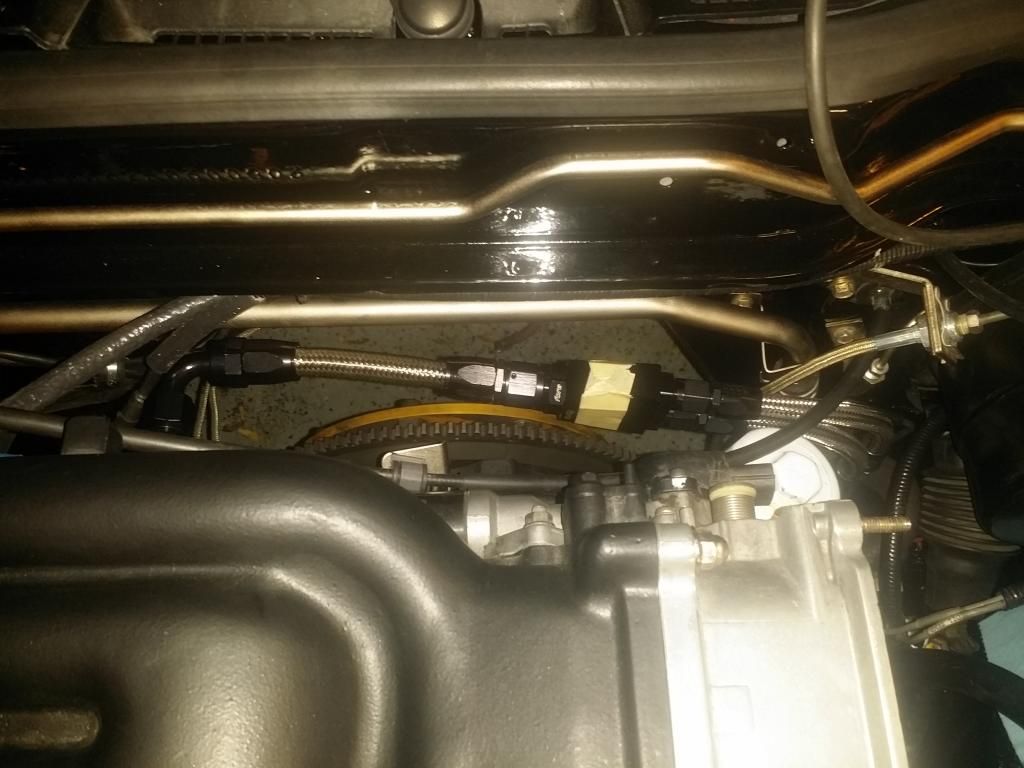
...and I made all but one of the oil cooler lines. I didn't get a pic of those because I left most of them installed. I didn't crimp down the clamps or mount the thermostat yet, but I'll crimp the clamps just before putting it all back in and then mount the thermostat when the engine is in for good and all the lines are attached. I have to order one 10AN 45 degree fitting for the oil cooler lines and I'll be done with that, and four 6AN 90 degree fittings for the fuel lines for the rear, and also two fuel filters and fittings and clamps for those. I think I'm going to go with the RobbMc filters.
I also managed to take off a layer of skin. I was test fitting the fuel line for the rear to make sure I have enough to finish the project and not have to order any, and it arched across the battery I have in the hatch and then that part of the fuel line fell on my hand. It doesn't feel great.
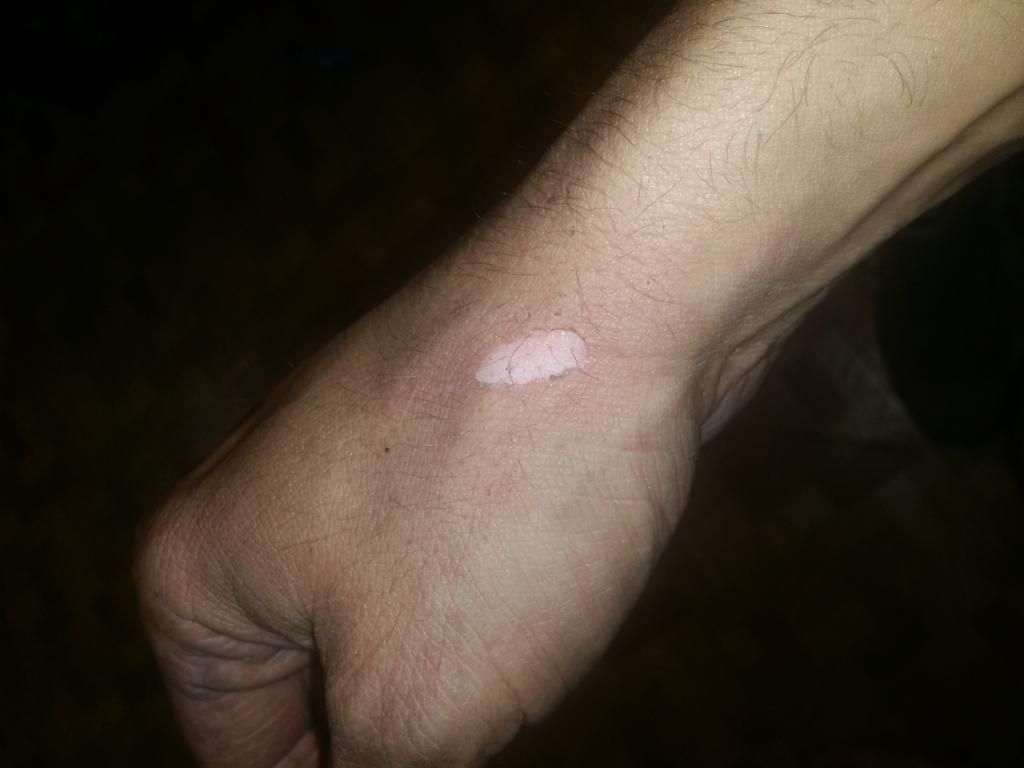
And this is how it currently looks.
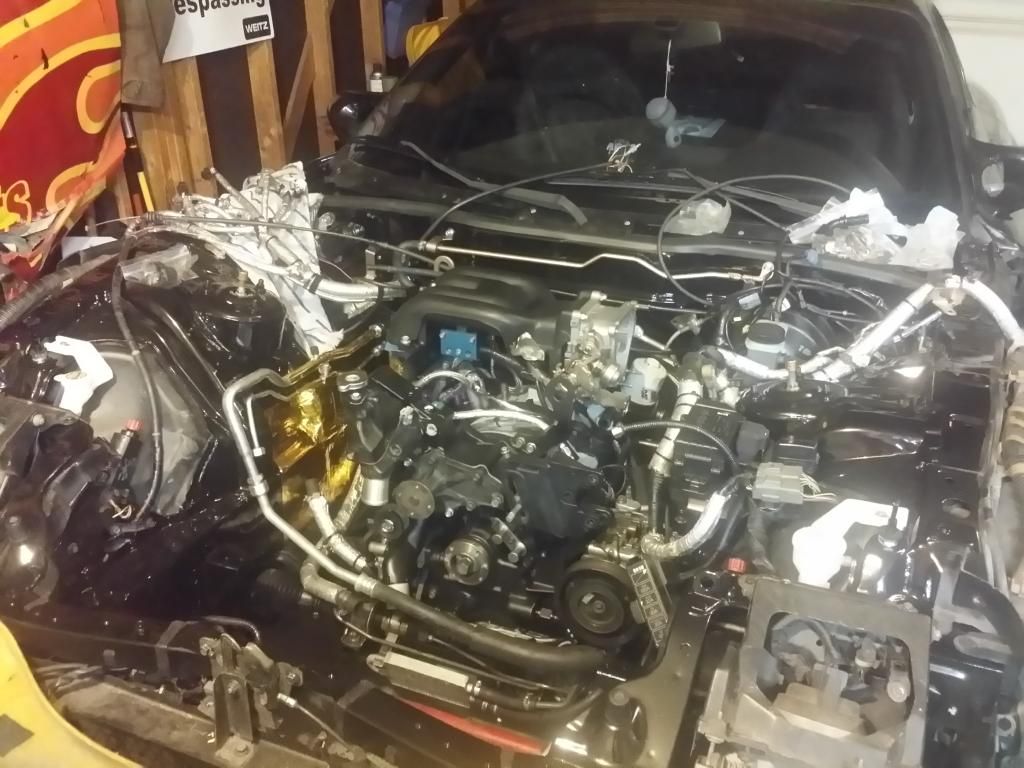
Someday I'll take apart that throttle body and get it powder coated or paint it or something lol.

-
speedjunkie
- Senior Member
- Posts: 5358
- Joined: Wed Jan 02, 2008 9:14
- Location: Colorado Springs
- Contact:
JTurton7 wrote:Coming along nicely! Our goal is to have both of our cars running well before the first snow haha
Thanks! Absolutely! I need to drive this thing at least one time in 2014 lol.
lOOkatme wrote:damn you work hard.
Eh, only because I'm single again. But even then, I used to spend about 6 or 7 hours a night on it. I don't do that anymore.
Tonight all I did was pull the engine back out (the studs are supposed to be here tomorrow), tighten the fuel line fittings in the engine bay, polish my pulleys (although they didn't come out great, but I kinda don't care at this point, good enough I suppose lol), and figure out how I'm going to mount the fuel stuff on the subframe.
I got the Russell check valves tonight. They're only a tad shorter than the Summit ones. Last night I ordered the last fittings I should need and I ordered two of the RobbMc filters and fittings and clamps to go with them.
Tomorrow night I plan to install the studs (speaking of which, Andy, I either need the nuts for the studs or I need to see if I can find some local), mate the tranny to the engine and fill it with oil, and do whatever else I need to do to drop the engine back in permanently.
-
speedjunkie
- Senior Member
- Posts: 5358
- Joined: Wed Jan 02, 2008 9:14
- Location: Colorado Springs
- Contact:
I got the studs for the engine mount bolts today, but alas, they are too short for the hole that's messed up. ARGH!!! So I still had to use a regular bolt for that one. It drives me up the wall having the bolt instead of all studs lol. It's always something though. Last engine was the engine bolt not tightening into the front iron, now this. Ugh.
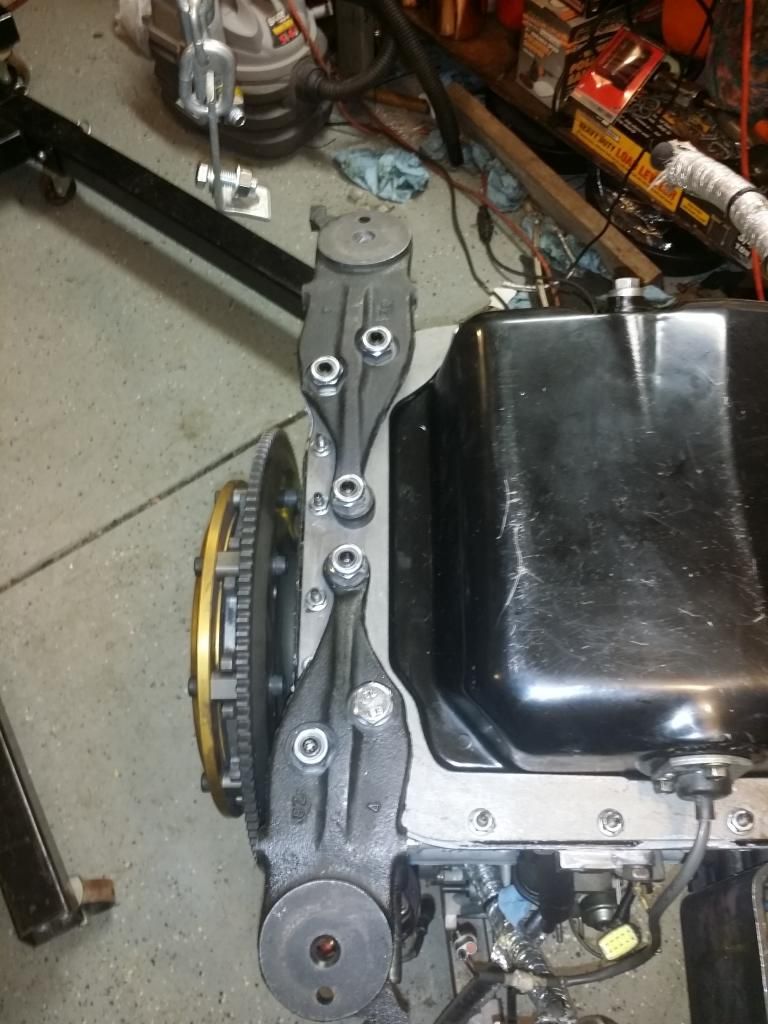
Andy and I have been looking for 60mm studs, these are 50mm. Supposedly they don't exist in the US lol.

Andy and I have been looking for 60mm studs, these are 50mm. Supposedly they don't exist in the US lol.
-
RX-7 Chris

- Posts: 7800
- Joined: Tue Oct 02, 2007 9:14
- Location: Colorado Springs
- Contact:
can't you just go with something longer and cut it?
1984 RX-7 GSL-SE [size=84]My restomod project[/SIZE]
1964 Ford Galaxie 500XL flat black w/ white interior, 2 dr fastback, 390 thunderbird, C6 auto, 2500 rpm high stall converter, shift kit, AC, Holley 750 cfm
[size=100]RIP 1983 RX-7[/SIZE]
My Car Blog

How would you recommend hardening those studs at home?
Getting them to ~1500 degrees and then dropping them in oil would work as long as you can get them to that temperature. Not sure many people have that capability. I guess you could heat them to a lower temperature, but having consistency in the amount of heat would be tough.
Have you done this? I haven't tried but am very curious.
Shadowden wrote:How would you recommend hardening those studs at home?
Getting them to ~1500 degrees and then dropping them in oil would work as long as you can get them to that temperature.
Have you done this? I haven't tried but am very curious.
That's exactly how I would do it...then test the hardness with a file. It may take a few tries with a torch & oil, but it will ultimately depend on the alloy used to form the stud.
I have not performed the procedure myself, but in theory it should work.
-
speedjunkie
- Senior Member
- Posts: 5358
- Joined: Wed Jan 02, 2008 9:14
- Location: Colorado Springs
- Contact:
FDEEZ wrote:A local machine shop with a nice lathe should be able to make studs to your exact specifications (length × width x thread pitch). You may have to harden the steel yourself after it's made though.
I never thought of that. I've never hardened steel, so this should be interesting lol.
RX-7 Chris wrote:can't you just go with something longer and cut it?
50mm is the longest we can find. But we need 60mm.
Shadowden wrote:How would you recommend hardening those studs at home?
Getting them to ~1500 degrees and then dropping them in oil would work as long as you can get them to that temperature. Not sure many people have that capability. I guess you could heat them to a lower temperature, but having consistency in the amount of heat would be tough.
Have you done this? I haven't tried but am very curious.
I have a torch, I wonder if that would get them hot enough. Or I could start a fire in the fireplace and toss them in for a while lol.
FDEEZ wrote:That's exactly how I would do it...then test the hardness with a file. It may take a few tries with a torch & oil, but it will ultimately depend on the alloy used to form the stud.
I have not performed the procedure myself, but in theory it should work.
How do you test the hardness with a file?
There is a website that Andy found and he sent me the link to where it shows it on their site, but when I called he said they didn't have it and he checked with some other local places and gave me some websites to check but we haven't found anything yet.
In other news, I got the rest of my parts in, so I'm gonna be a jobbin' motha tonight! I'm stoked.

-
millertime
- Senior Member
- Posts: 137
- Joined: Mon Sep 09, 2013 9:14
- Location: Denver Metro
speedjunkie wrote:How do you test the hardness with a file?
Basically the harder you make the steel, the less the material should come off as you try filing. Therefore, I would repeat the hardening process until little to no material is removed when you file.
Since this is a diy tempering process, I wouldn't expect you to be producing a part expected to withstand extreme tolerances (e.g. 20,000lb load). But it should be sufficient for your application.
Since you found a bolt that works...have you considered converting that bolt to a stud? IMHO, that may be the easiest option....besides just keeping that bolt in place.
Who is online
Users browsing this forum: No registered users and 74 guests