Yeah I did mine the same way. Although I probably had it a bit easier because my harness was only a few years old and it had been wrapped in reflective tape the whole time, so it was like new.
Are you planning on wrapping it in reflective stuff too or just leaving it since it's somewhat crusty anyway? Are the wires crusty or was it just the outside wrap?
Know anyone with a stock harness in good condition? I still have to get that other FD out of my back yard lol.
My new car!
-
speedjunkie

- Senior Member
- Posts: 5337
- Joined: Wed Jan 02, 2008 9:14
- Location: Colorado Springs
- Contact:
-
chickenwafer
- Posts: 2515
- Joined: Wed Mar 11, 2009 9:14
- Location: Greeley
What reflective stuff? My plan so far was just to strip off all of the old loom/wrap (which is done) so it's just wire and connectors, then wrap it all in electrical tape, then put that automotive split loom around it and wrap that again in electrical tape. If there is a better (not too expensive) option, let me know!
I do have some high temp rated self-fusing electrical tape I ordered from McMastercarr to wrap the harness...this stuff is cool because it isn't sticky but it fuses to itself and almost melts into itself so it looks like heat shrink. Pretty cool, too bad it was $14 a roll haha.
Luckily none of the wires are crispy, just the loom, so I don't need to repair any of the physical harness itself.

-
speedjunkie
- Senior Member
- Posts: 5337
- Joined: Wed Jan 02, 2008 9:14
- Location: Colorado Springs
- Contact:
Oh that's awesome! Well I would definitely do some reflective wrap then. I think I know the stuff you're talking about, it's kinda like what we call F4 tape, where it's rubber-ish and it sticks to itself but nothing else? That stuff is awesome. When I did the reflective stuff on mine back in 08 I just used this stuff...
http://www.thermotec.com/products/14002-thermo-shield.html
This last time, I discovered and used this...
http://www.wirecare.com/products.asp?prodline=T6F
But I think this stuff would work well too...
http://www.wirecare.com/products.asp?prodline=TW
http://www.thermotec.com/products/14002-thermo-shield.html
This last time, I discovered and used this...
http://www.wirecare.com/products.asp?prodline=T6F
But I think this stuff would work well too...
http://www.wirecare.com/products.asp?prodline=TW

-
chickenwafer
- Posts: 2515
- Joined: Wed Mar 11, 2009 9:14
- Location: Greeley
-
speedjunkie
- Senior Member
- Posts: 5337
- Joined: Wed Jan 02, 2008 9:14
- Location: Colorado Springs
- Contact:
-
chickenwafer
- Posts: 2515
- Joined: Wed Mar 11, 2009 9:14
- Location: Greeley
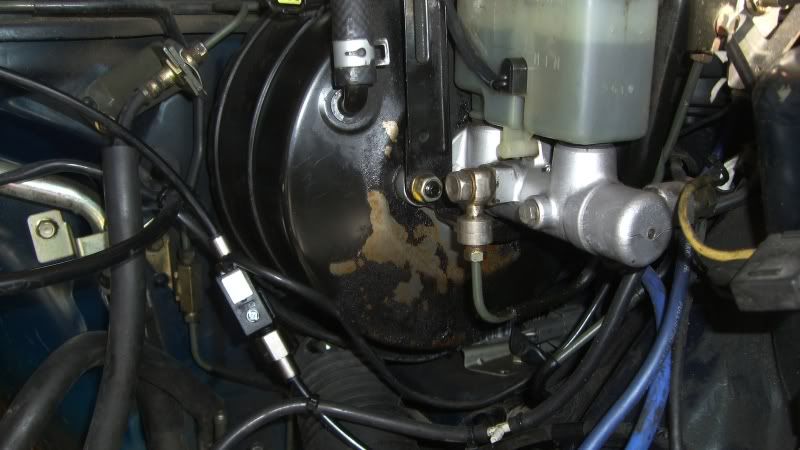
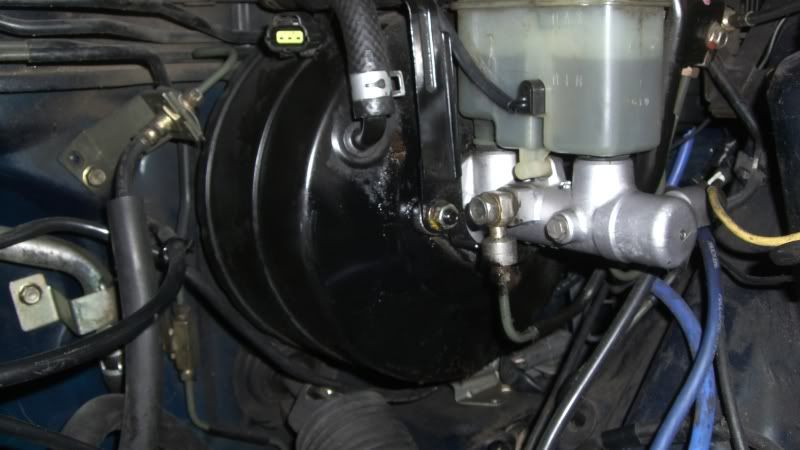
I forgot to post some pics of the brake booster. A few weeks ago I noticed some rust of the booster so I sanded it down and hit with my black engine paint.
Before:
After:
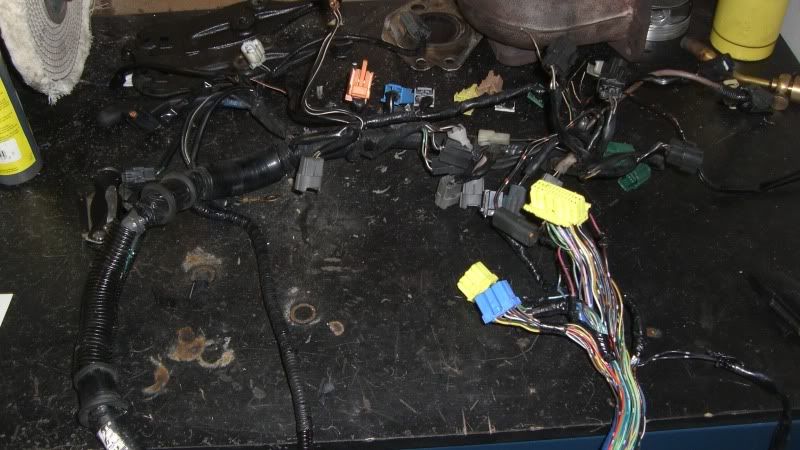
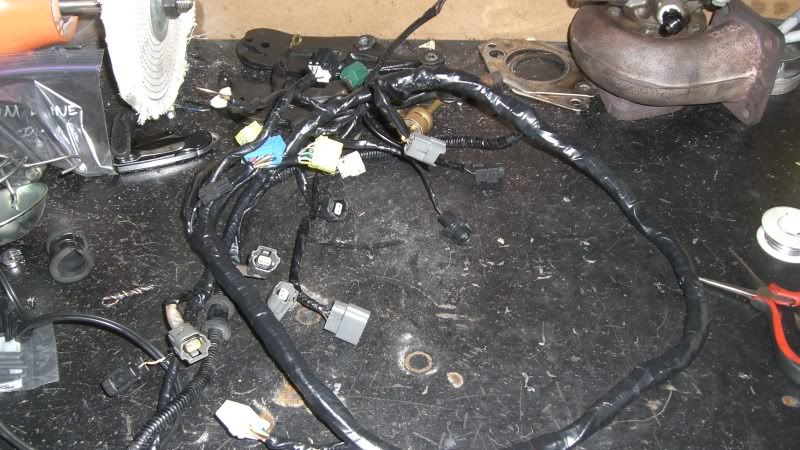
Finally posting some photos I promised from the wiring harness work...
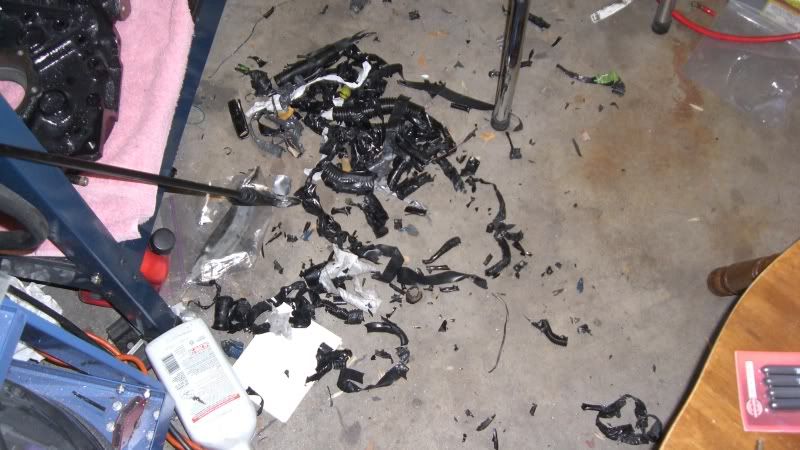
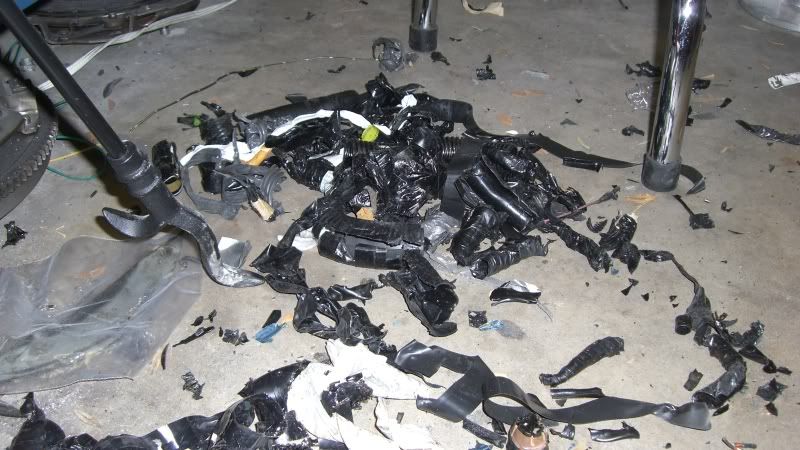
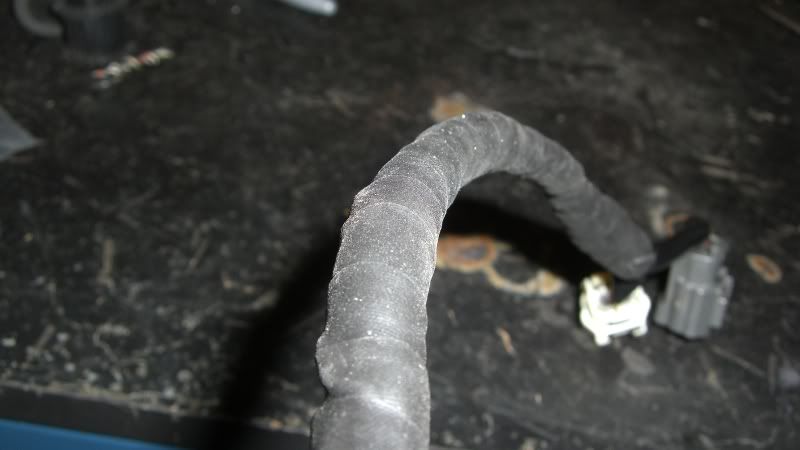
We started with this:
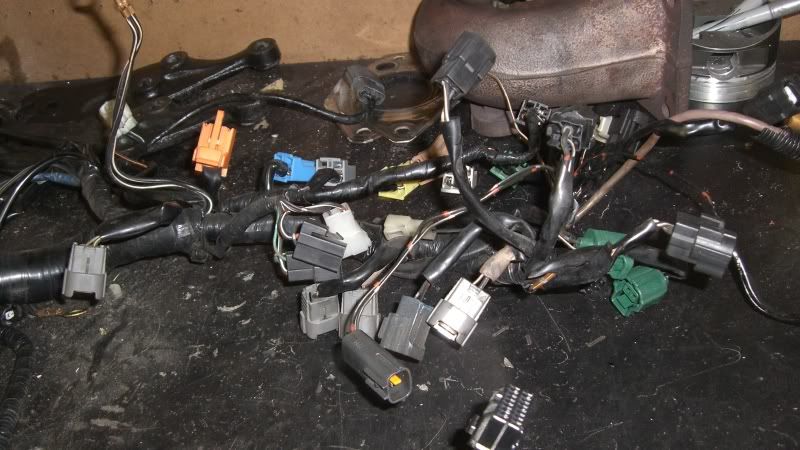
Crispy!
Matt working away:
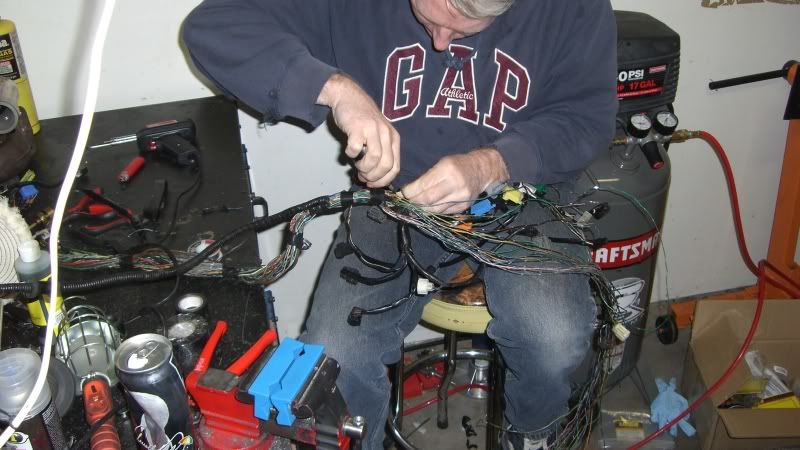
19 years of rotary engine cooking!
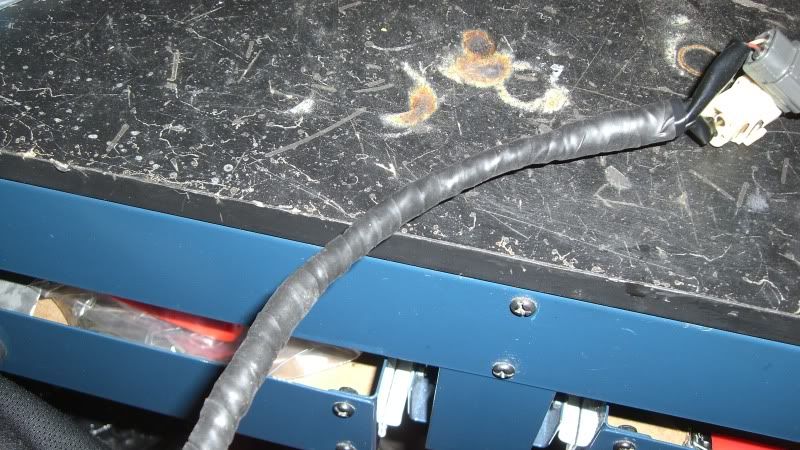
Then I started re-taping it this evening:
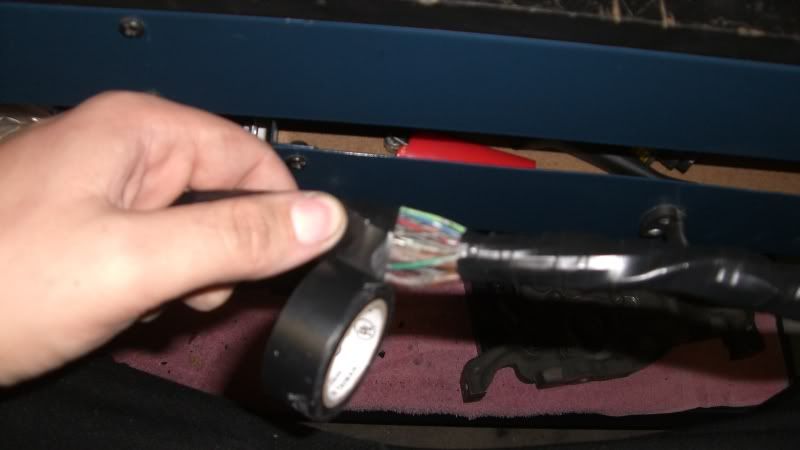
Close-up of the electrical tape:
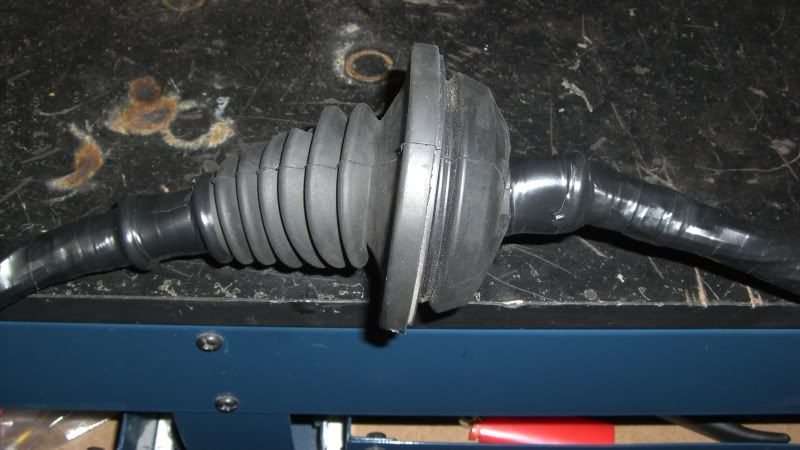
Super fun job: I worked the rubber boot back on:
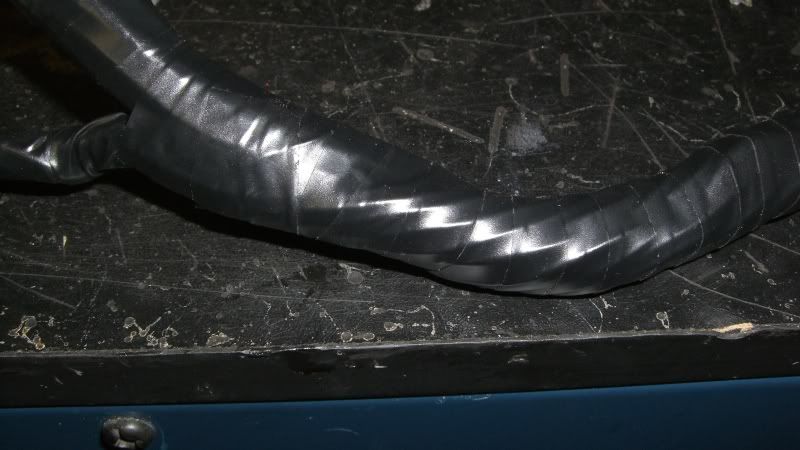
$20 roll of self-fussing friction electrical tape haha:
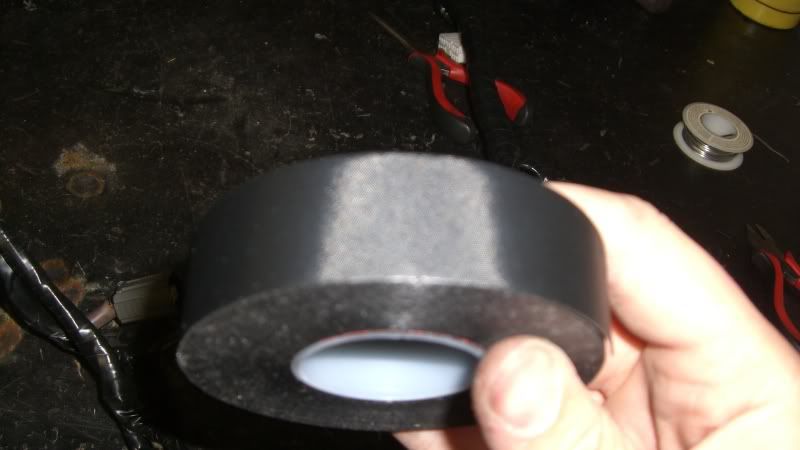
It was hard to capture how it actually looks under the flash of the camera (without flash it wouldn't expose properly) but it looks and feels like heat shrink. Very rubbery and flexible. Just takes time to wrap.
Finally how I left the harness tonight:
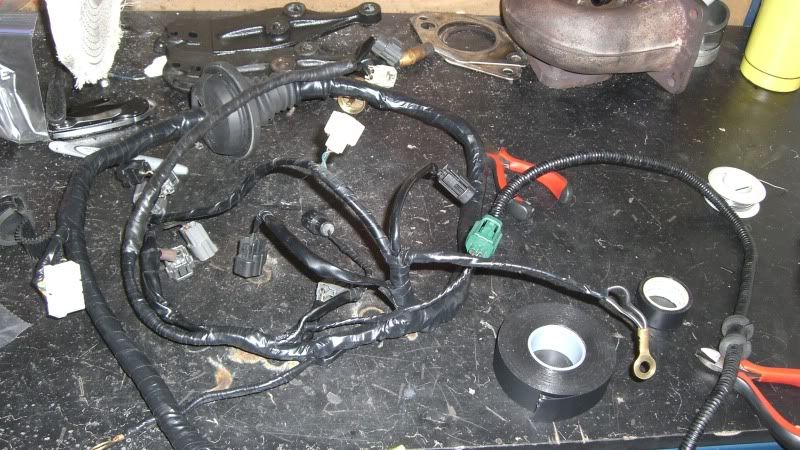
That's it for now!
Before:
After:
Finally posting some photos I promised from the wiring harness work...
We started with this:
Crispy!
Matt working away:
19 years of rotary engine cooking!
Then I started re-taping it this evening:
Close-up of the electrical tape:
Super fun job: I worked the rubber boot back on:
$20 roll of self-fussing friction electrical tape haha:
It was hard to capture how it actually looks under the flash of the camera (without flash it wouldn't expose properly) but it looks and feels like heat shrink. Very rubbery and flexible. Just takes time to wrap.
Finally how I left the harness tonight:
That's it for now!
-
chickenwafer
- Posts: 2515
- Joined: Wed Mar 11, 2009 9:14
- Location: Greeley
Also just placed some orders with Banzai and Atkins. Got my rebuild kit with OEM gasket kit, rotor oil ring springs, water temp and low level sensors, new oil pan, FC thermoswitch, FC rad cap assembly with overflow tube, misc gaskets/o-rings, oem thermostat, and then the Banzai oil pan brace, braided SS clutch hose, OMP delete kit, and ACT 6-puck clutch kit.
I'm now poor.
I'm now poor.

-
chickenwafer
- Posts: 2515
- Joined: Wed Mar 11, 2009 9:14
- Location: Greeley
I stripped a bunch. I'll take a picture of the harness connectors, they are nearly empty! I'm just going bare bones.
I only kept:
-Primary injectors
-Secondary Injectors
-IAT
-TPS
-ISC
-Crank angle sensors
-Water temp
-Fan thermoswitch
-Knock sensor
-Factory narrowband 02
No OMP (which is a bunch of wires haha), rats nest is gone, etc. All wires were traced back to the ECU connectors and completely removed.
I only kept:
-Primary injectors
-Secondary Injectors
-IAT
-TPS
-ISC
-Crank angle sensors
-Water temp
-Fan thermoswitch
-Knock sensor
-Factory narrowband 02
No OMP (which is a bunch of wires haha), rats nest is gone, etc. All wires were traced back to the ECU connectors and completely removed.
-
speedjunkie
- Senior Member
- Posts: 5337
- Joined: Wed Jan 02, 2008 9:14
- Location: Colorado Springs
- Contact:
Yeah I had the same problem with my brake booster, and I solved it the same way lol. Well, I'd rather have it done in another, more permanent way, but I'll be honest, I was pretty anxious to get it back on the road by that time in the project haha.
That's not the tape I was thinking of either. That's way more like electrical tape than what I was talking about. The F4 tape I was talking about is thicker down the middle of the tape, for some reason lol, and it looks like it's more rubbery than what you used. That said, your tape probably works much better for what you're doing haha.
You cleared out a lot. You left the knock sensor on there right? Also, there should have been another wire for either coolant or oil (don't remember which) going to the driver's side of the engine.
-
chickenwafer
- Posts: 2515
- Joined: Wed Mar 11, 2009 9:14
- Location: Greeley
Oh yeah I left the knock sensor. The low coolant level is weird, it's a long single wire with two connectors on the end, one obviously connector to the low level sensor itself, but the other runs thru the harness and connects to a clip in the body/alternator harness. The only part I didn't mess with was the manual transmission disconnects since that section of the harness looked mint.
Yeah, the self fusing friction tape is pretty nice, it's much more "rubbery" than it looks in photos. It's also chemical and liquid/oil resistant, and can withstand heat in constant temps up to 250*F and up to 500*F, I think, intermittently.
Yeah, the self fusing friction tape is pretty nice, it's much more "rubbery" than it looks in photos. It's also chemical and liquid/oil resistant, and can withstand heat in constant temps up to 250*F and up to 500*F, I think, intermittently.
-
speedjunkie
- Senior Member
- Posts: 5337
- Joined: Wed Jan 02, 2008 9:14
- Location: Colorado Springs
- Contact:
Well there is another wire that goes to that side of the engine too though, it hooks up next to the oil pressure sensor I believe, to a really small sensor mounted into the housing. I think it's for coolant, but I used to think it was for oil until I read differently. I'm not sure there is anything to be disconnected on the tranny part of the harness anyway.
Usually the F4 tape I've seen is either black or orange, most of the time orange, and it has a green stripe going down the middle of it and it's thicker there and tapers off towards the edges.
Usually the F4 tape I've seen is either black or orange, most of the time orange, and it has a green stripe going down the middle of it and it's thicker there and tapers off towards the edges.
-
chickenwafer
- Posts: 2515
- Joined: Wed Mar 11, 2009 9:14
- Location: Greeley
ACT clutch and Atkins rebuild kit with the all the other goodies showed up today. Banzai oil pan brace with OMP delete kit and braided SS clutch hose showed up yesterday. So basically the motor is ready to be built and dropped in pending a quick flywheel resurfacing at the machine shop and ordering a flywheel counterweight on my next paycheck.
-
speedjunkie
- Senior Member
- Posts: 5337
- Joined: Wed Jan 02, 2008 9:14
- Location: Colorado Springs
- Contact:
-
chickenwafer
- Posts: 2515
- Joined: Wed Mar 11, 2009 9:14
- Location: Greeley
Haha that's why you guys are coming up on the 18th and 19th!
Got my work station all ready to clearance the side seals tomorrow since I have the day off. Still trying to figure out how to keep the seals organized and labeled once they are clearanced for their respective slot. I'm thinking I will label each side of the rotor A and B, then number each slot 1,2,3, on the rotor itself with Sharpie. Then have a bin for front and rear rotor to keep them separate. That way I can clearance each seal, then when I'm done wrap a small piece of blue painters tape around it and label it for it's respective slot (i.e A2 would be rotor side A, slot 2) and put it into either front or rear rotor bin.
Finished painting some items today; thermostat housing, alt bracket, engine hooks, and clutch covers for the rear engine iron. Only items left to be painted is the throttle body (oh joy) and the water pump itself, which I spent at least 2 hours today scraping off old gasket, which was really fun.
Also, with purchasing a new car and putting down a good sized down payment, my build will be pushed back from the end of March to the end of April, or possibly mid May now. Sucks, but it is what it is. It will at least allow me to get some more stuff done, however. I'm also thinking about tucking the main body harness with the main fuse block as well, just not sure if I want to take on that wiring nightmare haha.
Who is online
Users browsing this forum: No registered users and 65 guests