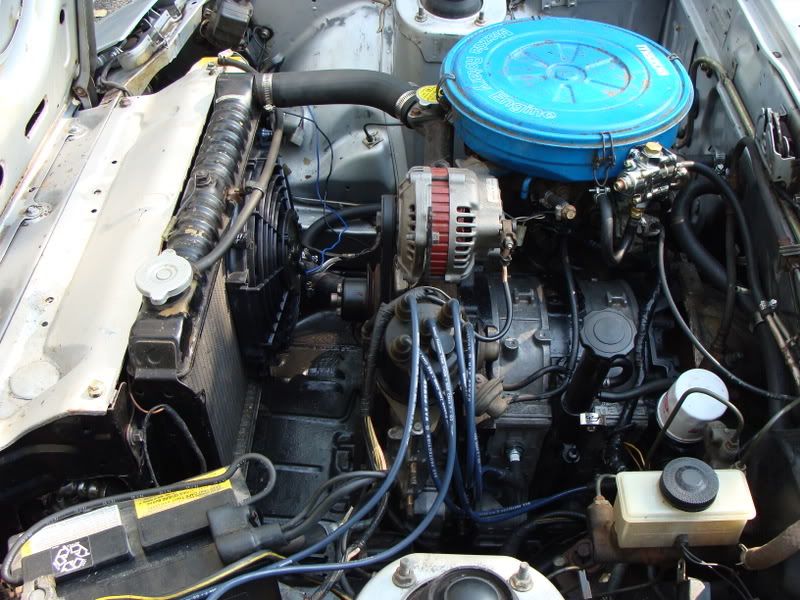
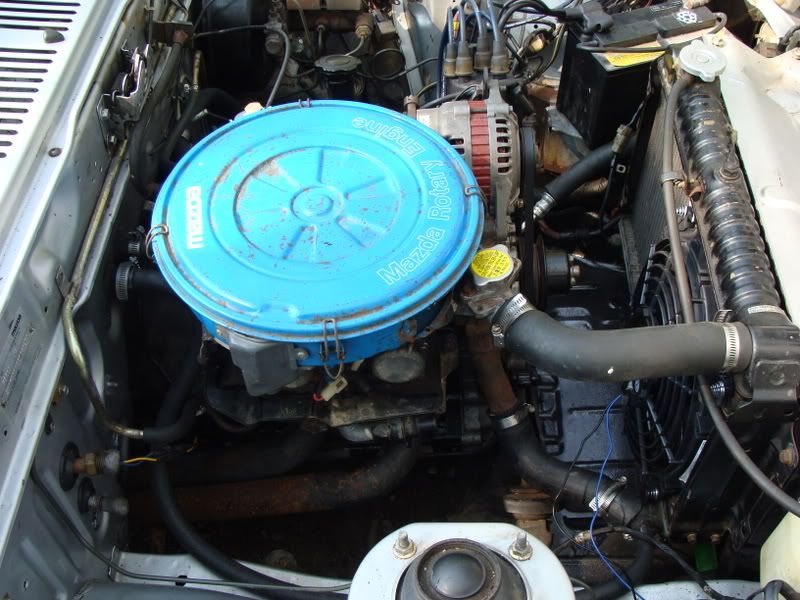
My 1982 GS project thread

Talk about your Rotaries!
User avatar
Low Impedance
Posts: 311
Joined: Sat Aug 09, 2008 9:14
Location: Colorado Springs, CO
Contact:

My 1982 GS project thread

Postby Low Impedance » Tue Sep 16, 2008 9:14

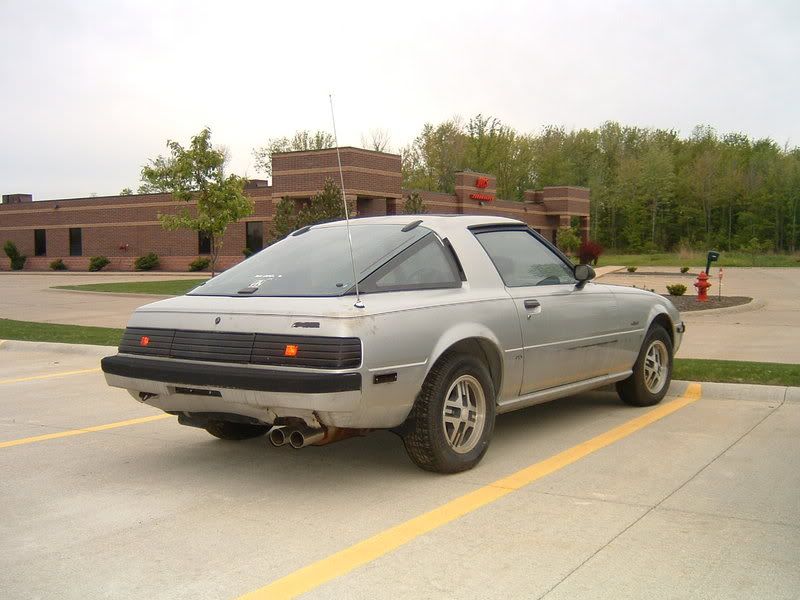
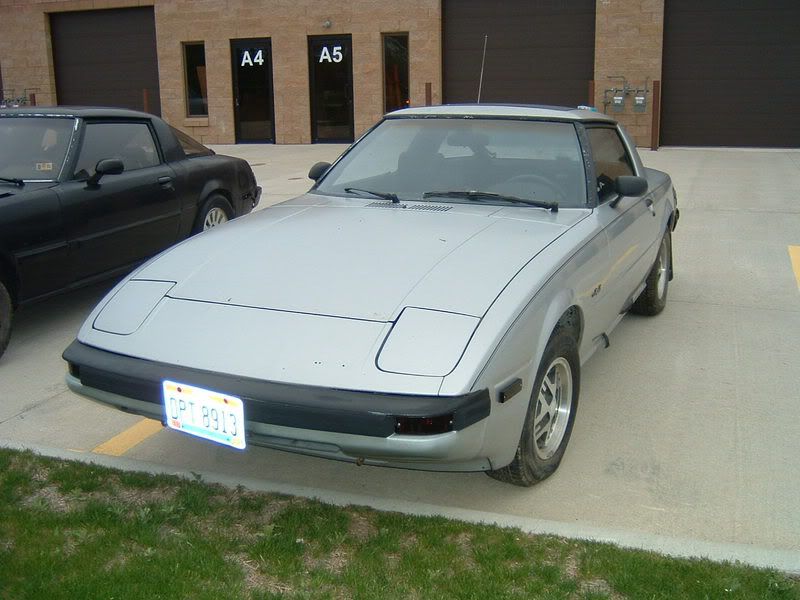
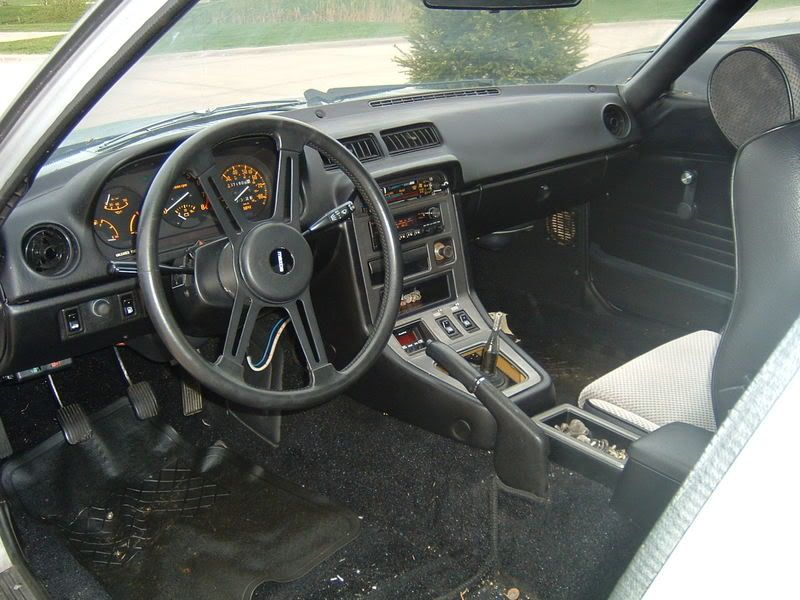
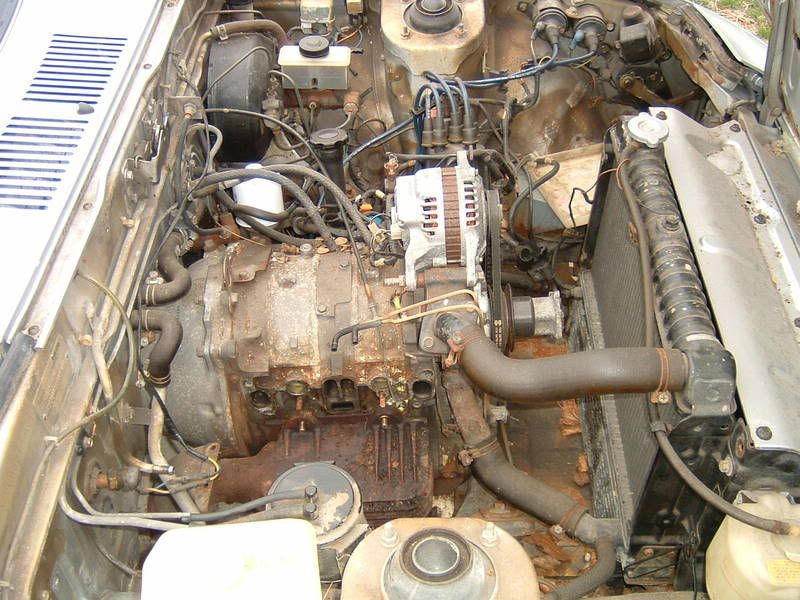
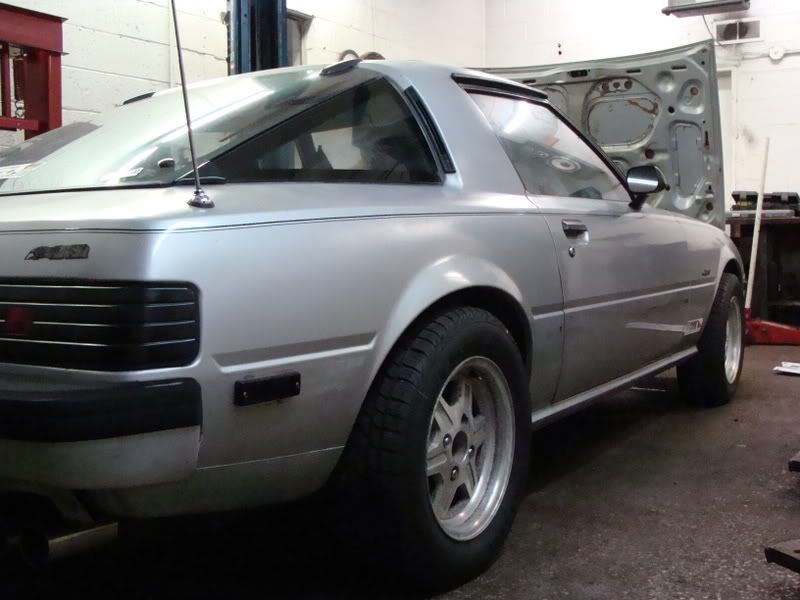
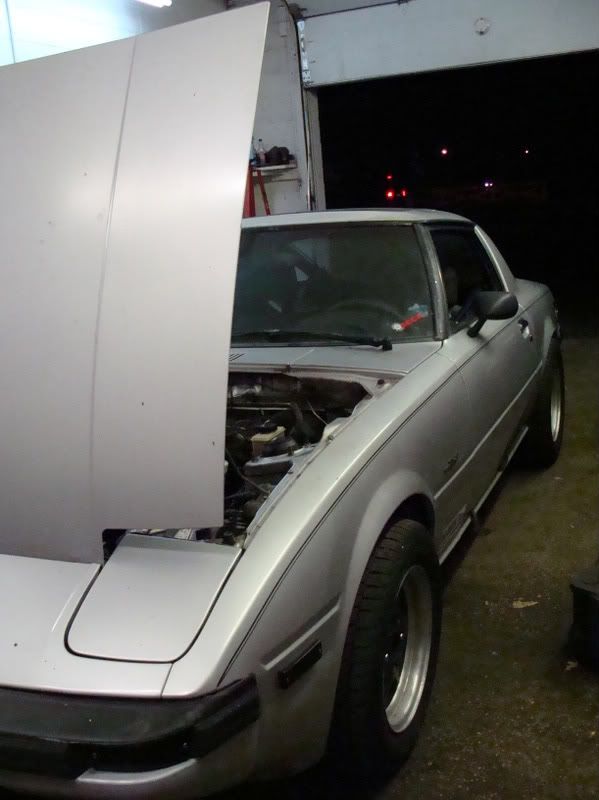
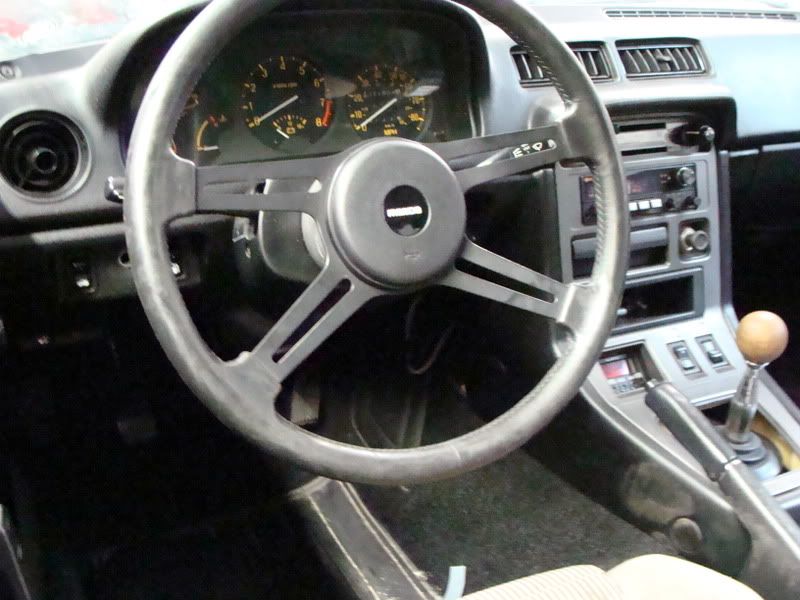
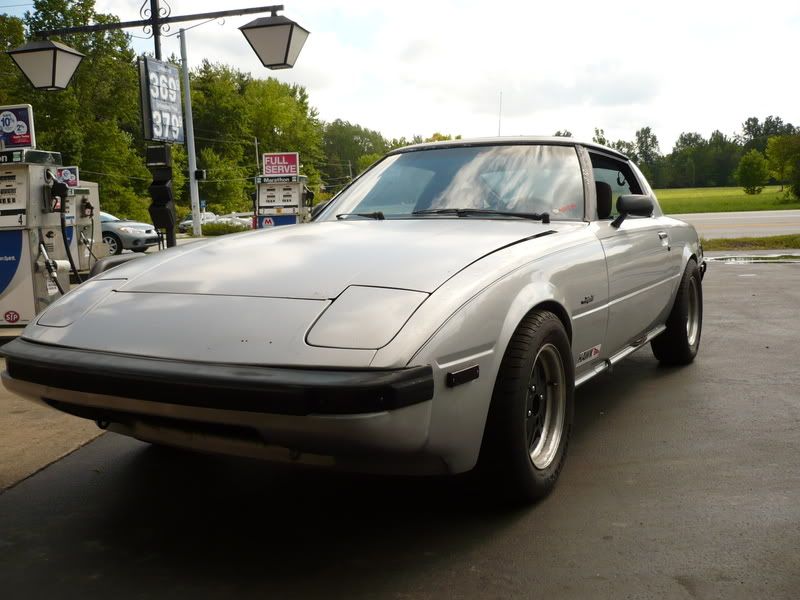
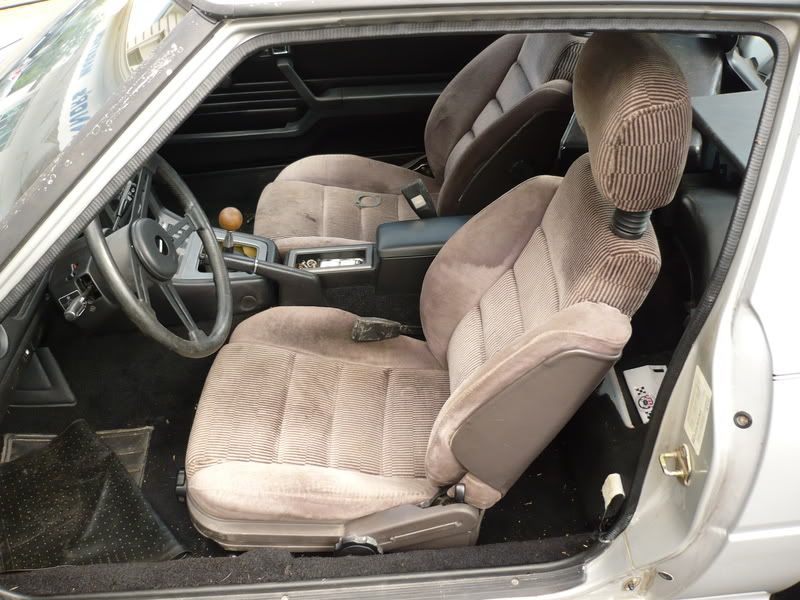
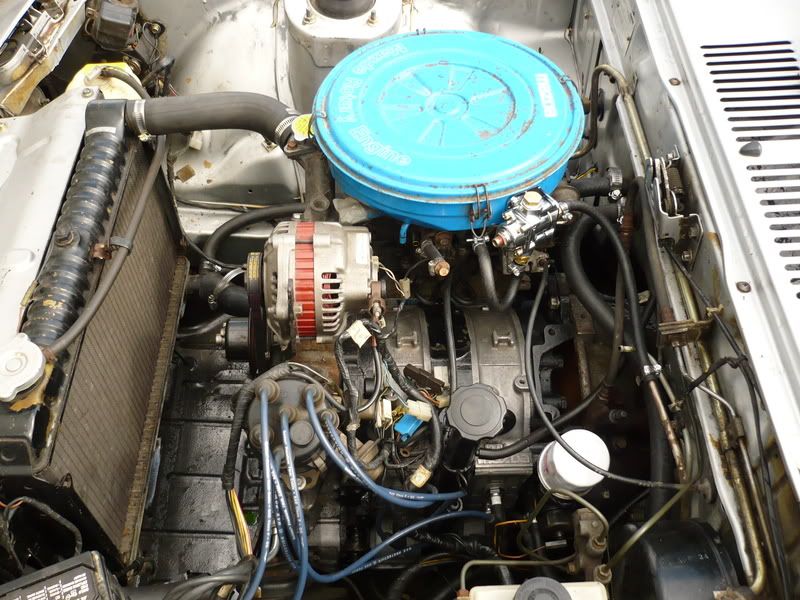
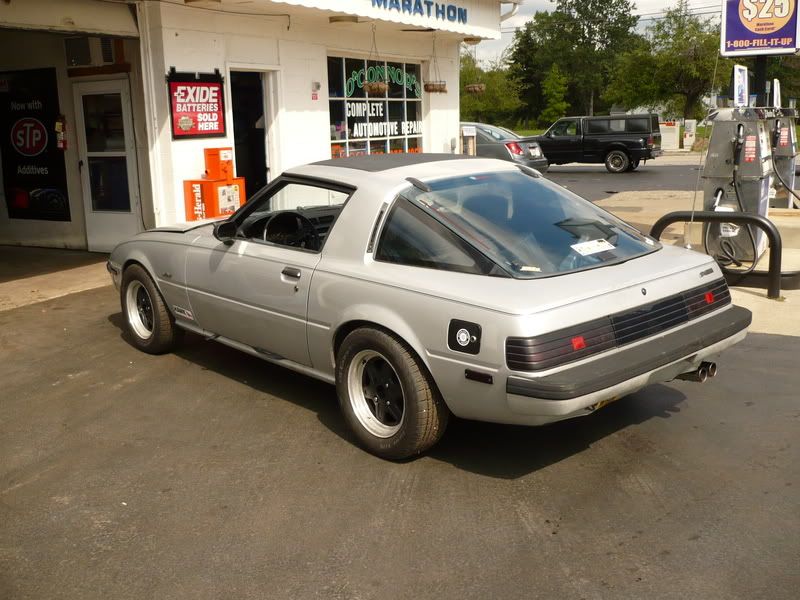
Here is the epic tale of my build thread for a 1982 GS i picked up locally.

For starters, the car is clean. Almost too clean in some ways and i love the earlier interiors.

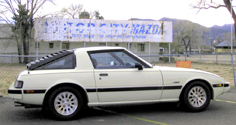
Here is how i got the car:

Image

Image

Image

Image
:1b705a82:1988 Rx7 Convertible: Current DD

:2b1a0ffc: 1987 Rx7 Turbo II: motor down as of 10/28/08

WWW.RCCDIGIZINE.COM
Image

User avatar
Low Impedance
Posts: 311
Joined: Sat Aug 09, 2008 9:14
Location: Colorado Springs, CO
Contact:

Postby Low Impedance » Tue Sep 16, 2008 9:14

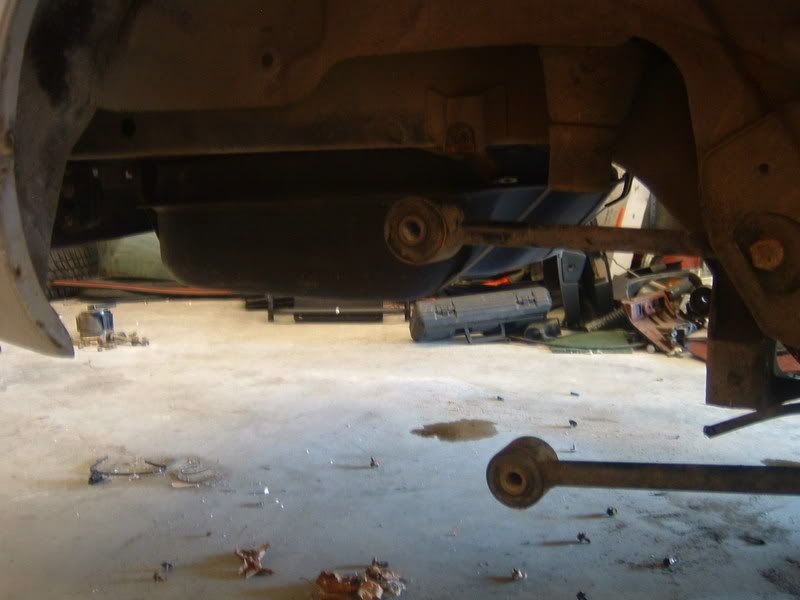
Almost immediately, i pulled the differential assembly out of the car. Its amazing how light it is in comparison to the GSL-SE rear end. I'd say at least a 100lb difference.

Image

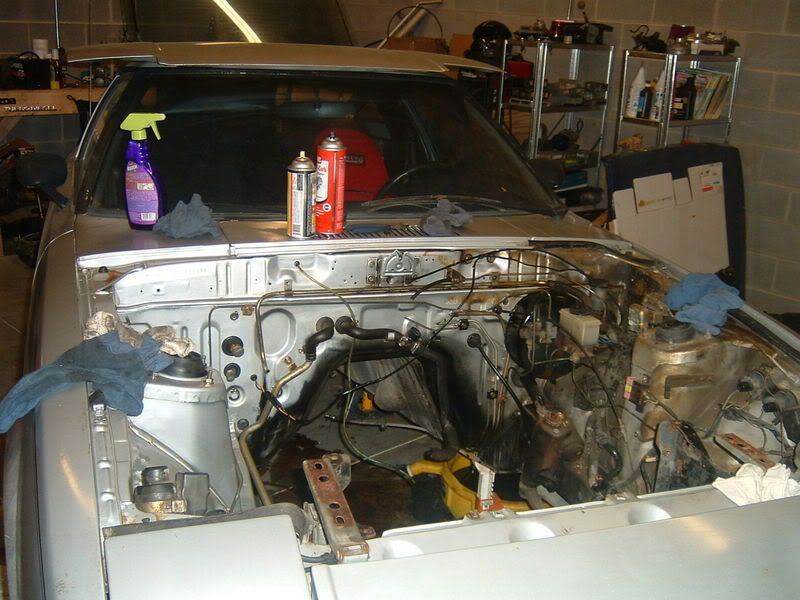
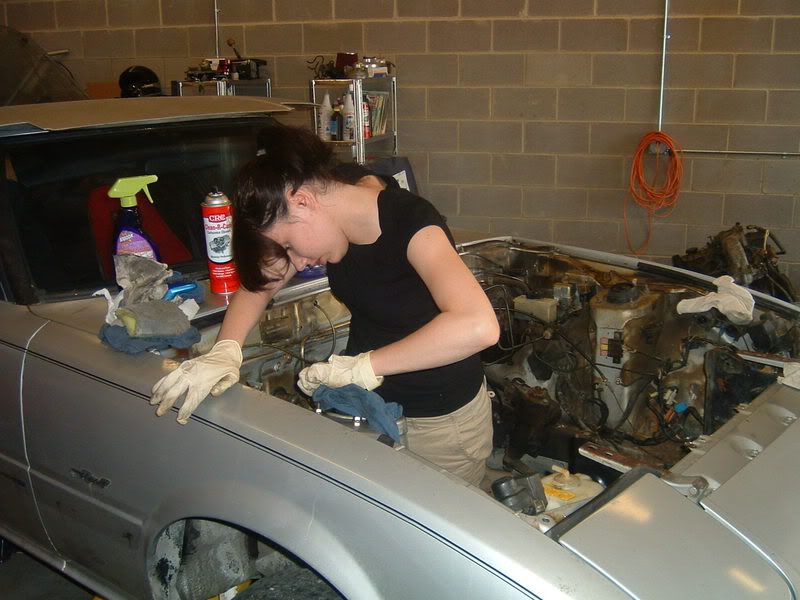
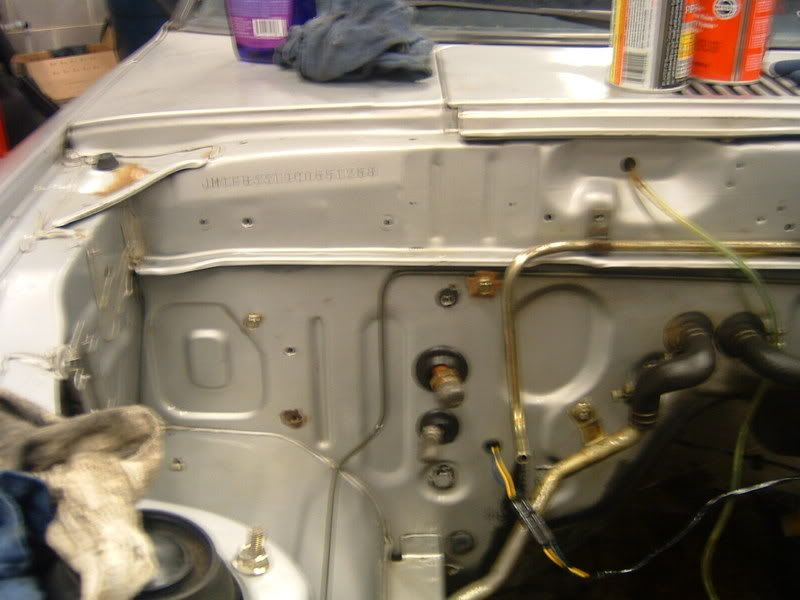
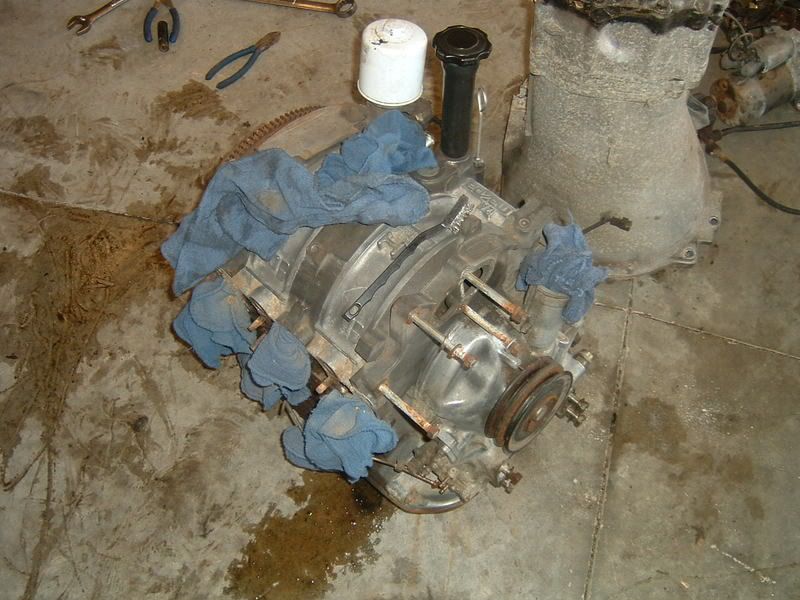
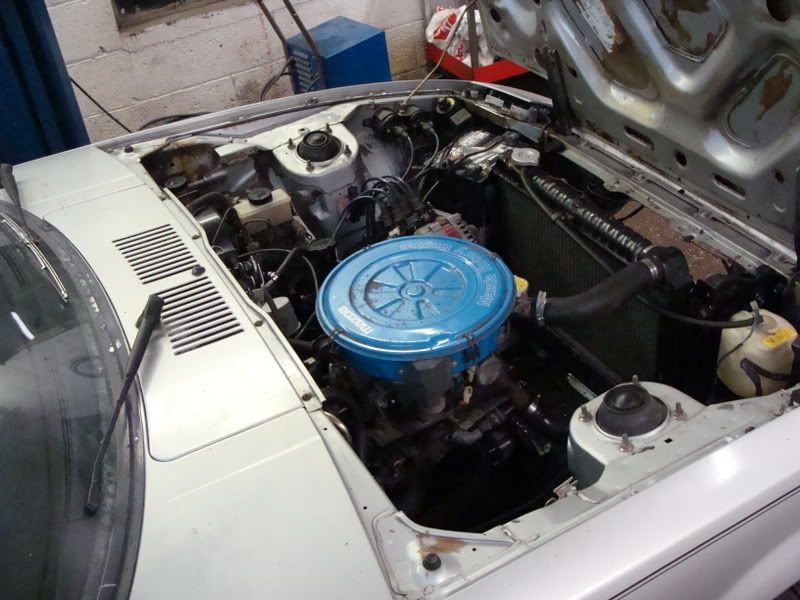
Next i pulled the motor out. The engine is a good 12a engine, i just want to go over EVERYTHING i can. Plus removing the rust proofing gunk is easier this way. My fiancee, Amy, cleaned the engine bay for me. Carb cleaner and

Image

Image

Image
:1b705a82:1988 Rx7 Convertible: Current DD


:2b1a0ffc: 1987 Rx7 Turbo II: motor down as of 10/28/08


WWW.RCCDIGIZINE.COM

Image

User avatar
Low Impedance
Posts: 311
Joined: Sat Aug 09, 2008 9:14
Location: Colorado Springs, CO
Contact:

Postby Low Impedance » Tue Sep 16, 2008 9:14

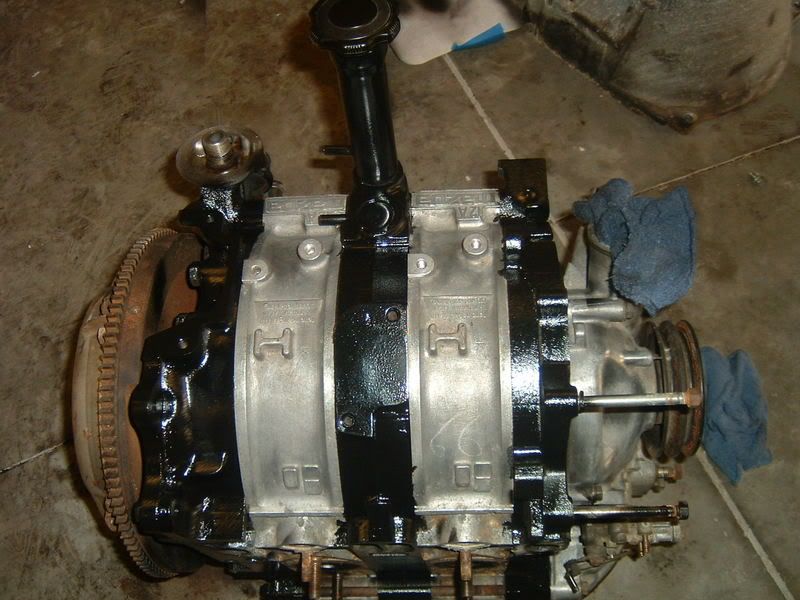
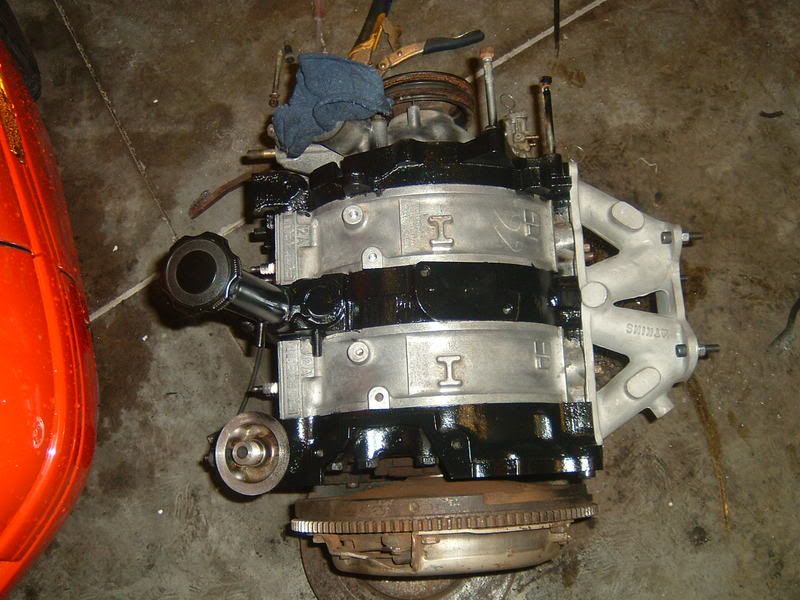
with the motor pulled i started to degrease and scrub it clean. Once that fiasco was done, i pained the irons with ceramic spray paint for some visual appeal.

Image

Image

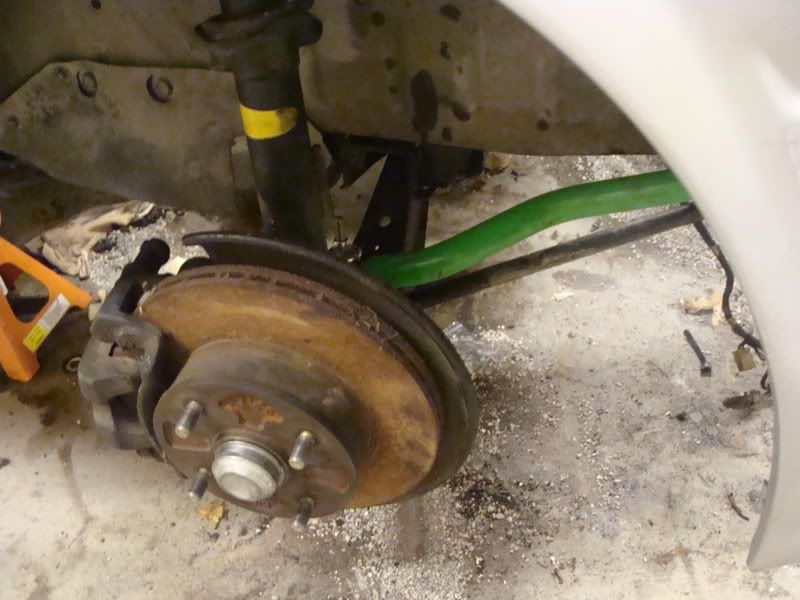
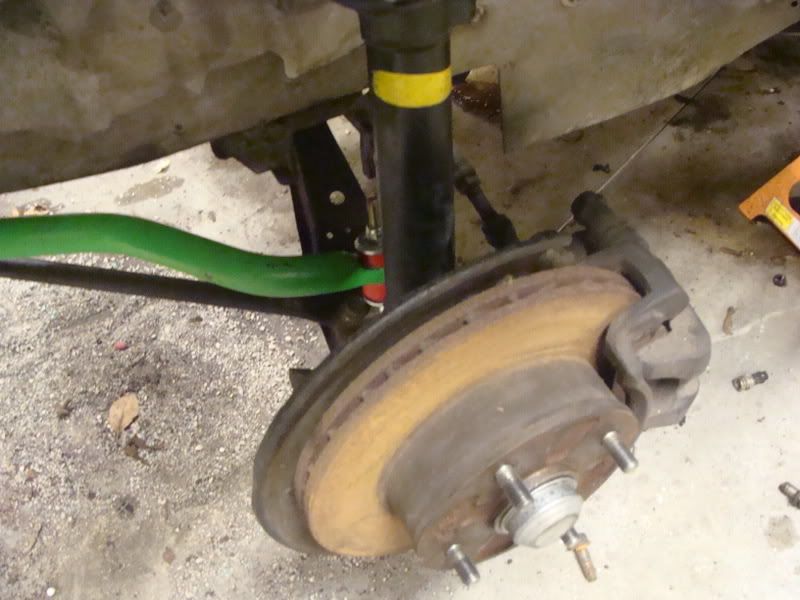
I also swapped out the GSL-SE front struts i had. Already have Eibach springs and some Adjust. illumnias.

I also am using a stock replacement clutch and pressure plate. The 1982 has the "light weight" flywheel, so the pressure plate is different than other years. Napa "zoom (valeo)" clutch only set me back about 130 dollars and came with the everything, including the alignment tool and throwout bearing and grease.

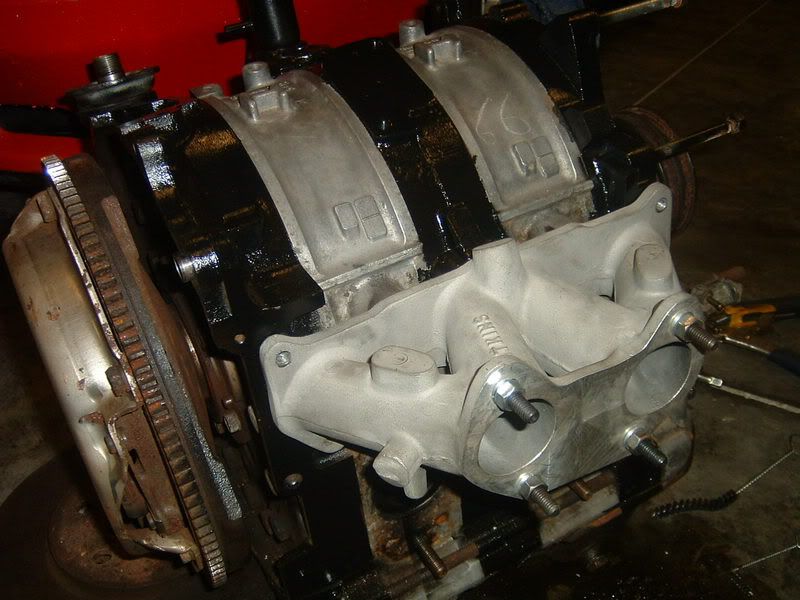
For the intake manifold, i splurged and got the Atkins rotary side draft manifold. Its a nice piece, but the ports need some reworking.

Image
Image
:1b705a82:1988 Rx7 Convertible: Current DD


:2b1a0ffc: 1987 Rx7 Turbo II: motor down as of 10/28/08


WWW.RCCDIGIZINE.COM

Image

User avatar
Low Impedance
Posts: 311
Joined: Sat Aug 09, 2008 9:14
Location: Colorado Springs, CO
Contact:

Postby Low Impedance » Tue Sep 16, 2008 9:14

I also purchased a nice set of Suspension Techniques sway bars from Summit Racing. Its nice having them only about 20 minutes away. Installation for the front one sucks, to be plain. The rear is too bad. Just keep your hardware from the originals.

Image
Image


Once that was installed i settled the engine and transmission back into the car.

Image
:1b705a82:1988 Rx7 Convertible: Current DD


:2b1a0ffc: 1987 Rx7 Turbo II: motor down as of 10/28/08


WWW.RCCDIGIZINE.COM

Image

User avatar
Low Impedance
Posts: 311
Joined: Sat Aug 09, 2008 9:14
Location: Colorado Springs, CO
Contact:

Postby Low Impedance » Tue Sep 16, 2008 9:14

UPDATED PICTURES!!!!!!!!


OKay so last night was productive to say the least AND i still had time to go cruisn' with some local folks.

The water pump problem has been addressed. Went back to an FB housing. The belt is on, alt is set etc. No clutch fan since i have one belt. So i am going to commender a e-fan on a junk yard visit.

The batt. cables are all hooked up. Used an old FC brake line for the clutch cable. Bleed that.

Only problems are once i got the batt. installed and went to crank it, the start just clicks alot and doesn't do anything. I think i saved the bad starter i did on my friends Rx7 and for some stupid reason, it ended up in my car....

So this weekend i am going to plumb the FPR, deal with the starter, maybe finish the exhaust. And hope to see it start!!


Image
Image
Image
Image
:1b705a82:1988 Rx7 Convertible: Current DD


:2b1a0ffc: 1987 Rx7 Turbo II: motor down as of 10/28/08


WWW.RCCDIGIZINE.COM

Image

User avatar
Low Impedance
Posts: 311
Joined: Sat Aug 09, 2008 9:14
Location: Colorado Springs, CO
Contact:

Postby Low Impedance » Tue Sep 16, 2008 9:14

So the FPR is installed, but the one fitting is still leaking, so i need to go tighten that. Once that is done, i declare the fuel system done.

Also the driver's side Isuzu seat is install and seems pretty nice. Adj. in many ways, the best being the torso bolsters. Just have to finish tinkering with the pass. side setup. I got lucky with the driver's side, the isuzu rails didnt take much to make work. The Passenger side is using the FB rails.

I still need to do something about the batt. i need a new one anyway since i cant find one that is a "known working" battery to check to make sure the start is good, since i can't get it to crank over. Just clicks alot.


Image
Image
Image
Image
:1b705a82:1988 Rx7 Convertible: Current DD


:2b1a0ffc: 1987 Rx7 Turbo II: motor down as of 10/28/08


WWW.RCCDIGIZINE.COM

Image

User avatar
Low Impedance
Posts: 311
Joined: Sat Aug 09, 2008 9:14
Location: Colorado Springs, CO
Contact:

Postby Low Impedance » Tue Sep 16, 2008 9:14

So everything above was more of a recap from what i posted on http://www.rotarycarclub.com.

Here is the current plan i have in motion. Once i get moved to Colorado here in the next two weeks, the car is going to be on hold til i can get it out with me. Would be nice to get it to run (to add the chance of me driving it to colorado instead of shipping it)

also, the RE Speed brake kit came in yesterday

[color="Red"]To Do List (This is more for my own use since i loss crap like this)[/color]


PHASE 1 - Getting the car running!

A. Fix coolant leak issues (have to verify with the engine running)
B. Finish exhaust
C. Install RE Speed Kit for front brakes.
D. Need lug nuts for vert wheels
E. Install shocks in rear once second shock (finally) arrives.
F. Tighten all suspension bolts in rear.
G. Need new batt. Temp. use of old miata may work pending start issue.
H. Fix start "not cranking" issue.
I. Add ground cabling here and there.
J. Install pass. side Isuzu seat.
K. acquire and install E-Fan.


PHASE 2 - 12a Fuel Injection Conversion

A. Acquire throttle body assembly (Tmw vs. Fuji)
B. Finish mega squirt and harness.
C. install intake manifold and throttle body.
D. Need two fuel injectors (550 vs 680)
E. Acquire and install fuel pump.
F. Install fuel pressure regulator
G. Run fun feed and return lines.
H. Tune!


PHASE 3 - More Power! 13B 4-Port N/A

A. acquire s5 rotor 9.7:1 rotors
B. acquire rx8 e-shaft
C. acquire automatic rear counterweight
D. have rotating assembly balanced
E. Port 12a irons
F. Cooling mod GSLSE housings / 12a irons
G. Acquire apex seals of choice (low wear?)
H. Need four fuel injectors (about 460?)
I. Assemble engine. (skipping details for now)
J. Acquire 13b manifold
K. Retune with mega squirt.

Also, i added this little toy.
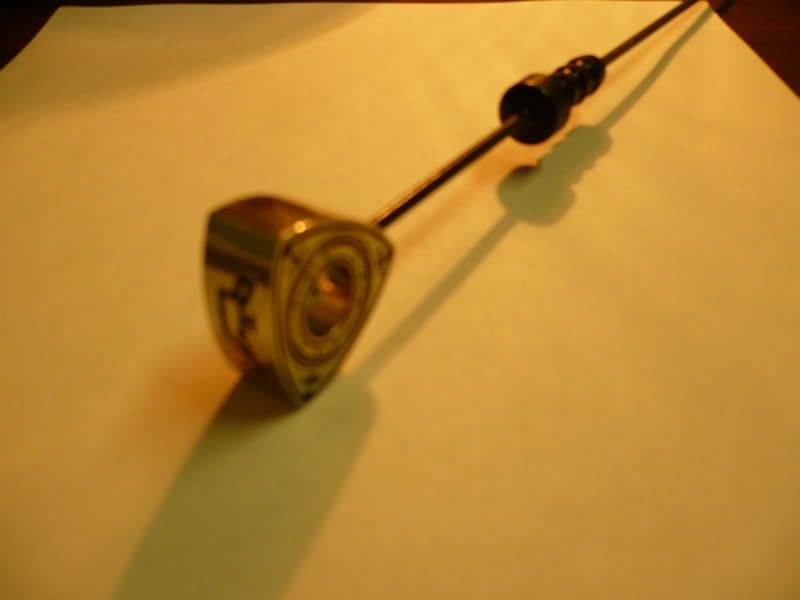
Image
:1b705a82:1988 Rx7 Convertible: Current DD


:2b1a0ffc: 1987 Rx7 Turbo II: motor down as of 10/28/08



WWW.RCCDIGIZINE.COM

Image

User avatar
RX-7 Chris
Posts: 7800
Joined: Tue Oct 02, 2007 9:14
Location: Colorado Springs
Contact:

Postby RX-7 Chris » Tue Sep 16, 2008 9:14

Looks like a good project and a clean car.
1984 RX-7 GSL-SE [size=84]My restomod project[/SIZE]


1964 Ford Galaxie 500XL flat black w/ white interior, 2 dr fastback, 390 thunderbird, C6 auto, 2500 rpm high stall converter, shift kit, AC, Holley 750 cfm

[size=100]RIP 1983 RX-7[/SIZE]

My Car Blog

User avatar
MSP SuperStreet
Senior Member
Posts: 603
Joined: Sun Apr 27, 2008 9:14
Location: Glenwood Springs
Contact:

Postby MSP SuperStreet » Tue Sep 16, 2008 9:14

Appreciate the effort and dedication to the rebuild of your GS project.
Will be coming back and following your progress. Hope you get it running so you can drive it out to Colorado.
ZOOM ZOOM

User avatar
Low Impedance
Posts: 311
Joined: Sat Aug 09, 2008 9:14
Location: Colorado Springs, CO
Contact:

Postby Low Impedance » Tue Sep 16, 2008 9:14

thanks! The turbo II is coming out first, it seems. But i have to come home for the holidays so i want to drive it back then.
:1b705a82:1988 Rx7 Convertible: Current DD


:2b1a0ffc: 1987 Rx7 Turbo II: motor down as of 10/28/08


WWW.RCCDIGIZINE.COM

Image

User avatar
Low Impedance
Posts: 311
Joined: Sat Aug 09, 2008 9:14
Location: Colorado Springs, CO
Contact:

Postby Low Impedance » Sat Sep 20, 2008 9:14

items in red are completed!

PHASE 1 - Getting the car running!
A. Fix coolant leak issues (have to verify with the engine running)
B. Finish exhaust
C. Install RE Speed Kit for front brakes.
D. Need lug nuts for vert wheels
E. Install shocks in rear once second shock (finally) arrives.
F. Tighten all suspension bolts in rear.
G. Need new batt. Temp. use of old miata may work pending start issue.
H. Fix start "not cranking" issue.
I. Add ground cabling here and there.
J. Install pass. side Isuzu seat.
K. acquire and install E-Fan.

i am still worried about the coolant leak issue (i have some reasons...) and the exhaust didnt line up since i failed to check something prior to welding. I may just do the 2.25" (2.5") exhaust i wanted to do in the first place.

But the good news is below!
:1b705a82:1988 Rx7 Convertible: Current DD


:2b1a0ffc: 1987 Rx7 Turbo II: motor down as of 10/28/08


WWW.RCCDIGIZINE.COM

Image

User avatar
Low Impedance
Posts: 311
Joined: Sat Aug 09, 2008 9:14
Location: Colorado Springs, CO
Contact:

Postby Low Impedance » Sat Sep 20, 2008 9:14

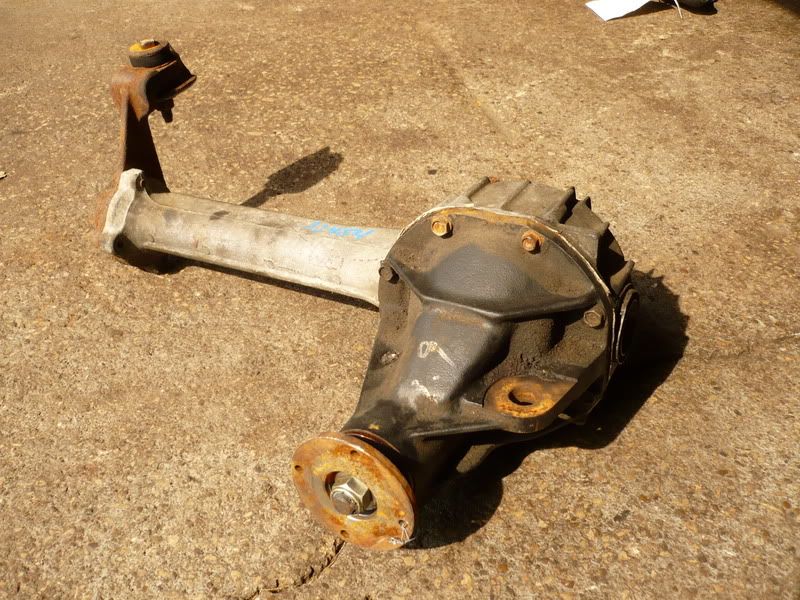
Now for the bread and butter, the Kia Sportage years 96 and up to about 2001 came with a 4.78 ratio. The front, third member of these vehicle is nearly identical to the 84-85 Rx7 to boot. Only minor difference is the mounting holes in the Kia member are slightly larger, which isn't a problem. For my FB project car, i opted to go with the Kia Sportage 3rd member, since the ratio is more appealing to me and they are easier to source. I got mined for 150 dollars as an entire assembly with the aluminum housing. I have got just the 3rd member for as low as 50 dollars, it just depends on the yard.
So once you find your axle assembly and bring it home, stop and clean the outside of the assembly first. When taking it apart you do not want any dirt getting into the differential. Once its cleaned, your ready to remove the 3rd member. Remember that gear lube can and will get everywhere so do your work on a surface that can contain the fluid.

Step 1. Start by removing the four 14mm bolts holding the axle to the housing. Then slide the axle out of the housing.

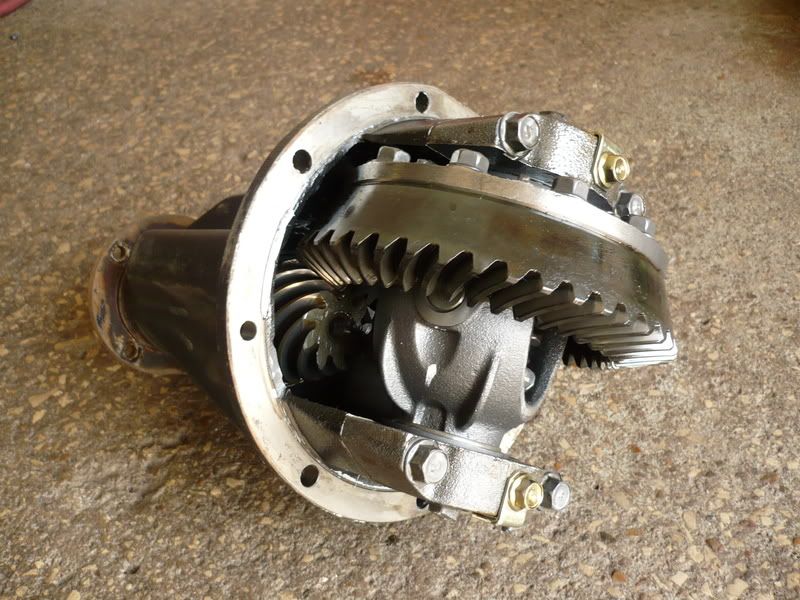
Step 2. Then remove the bolts holding the 3rd member to the axle housing. Two are 12mm, the rest are 14mm. You will not be reusing these bolts.

Step 3. Tap lightly with a hammer on the 3rd member and / or axle housing to break the seal. DO NOT USE THE PINION FLANGE.

Step 4. Lift the 3rd member out of the axle housing.

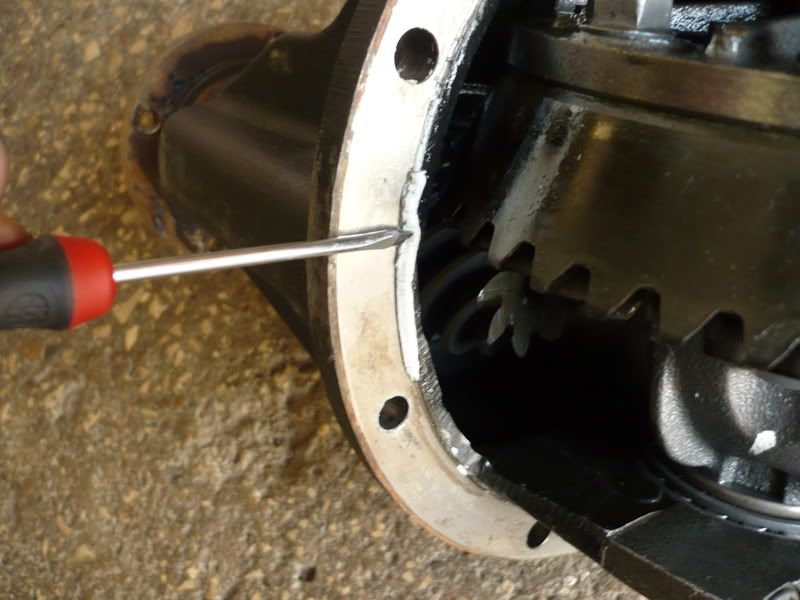
Step 5. Clean and inspect the 3rd member. Remove all the original sealant to ensure a proper seal once reinstalled.

I wont get too involved in the process of removing the original 3rd member from your Rx7. The process is straight forward and either the factory service manual or even a budget repair book will clue you in. You will be reusing the hardware from the Rx7, same one bolt which you will need to replace with another short 12mm. For the sake of this install, I opted to use the open differential, mostly due to time contraints.
yes, there is some limited slip to look forward too.

for pic. 2: Removed 3rd member from the housing.
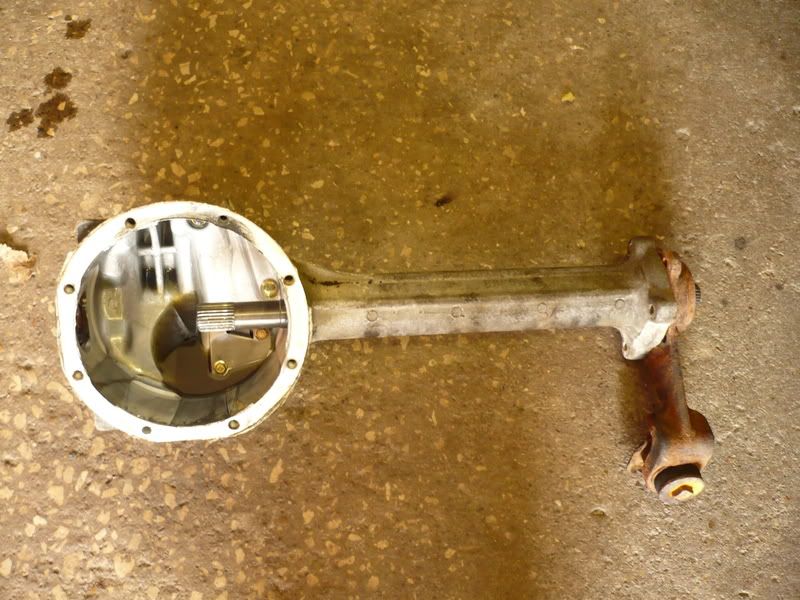
for pic. 3: The kia axle housing and axle are of no further use.
for pic. 4: Ensure that you remove all the original sealant (shown) to prevent seapage down the road.

pictures are in order.
Image
Image
Image
Image
:1b705a82:1988 Rx7 Convertible: Current DD


:2b1a0ffc: 1987 Rx7 Turbo II: motor down as of 10/28/08


WWW.RCCDIGIZINE.COM

Image

User avatar
Low Impedance
Posts: 311
Joined: Sat Aug 09, 2008 9:14
Location: Colorado Springs, CO
Contact:

Postby Low Impedance » Sun Sep 21, 2008 9:14

well the car kinda starts off start fluid, but discovered that the carb is not getting fuel. Check the line up to the FPR and it barely is getting flow. The pump is running, but either it cant flow any longer or there is a blockage. Ill have to look into it more...
But the seats are done! The car cranks and i heard it fire up. So its getting closer to running. But my time is also running out til i move....hopefully i can heard it run before i have to park it.
Some current engine bay pictures:
Image
Image
:1b705a82:1988 Rx7 Convertible: Current DD


:2b1a0ffc: 1987 Rx7 Turbo II: motor down as of 10/28/08


WWW.RCCDIGIZINE.COM

Image

User avatar
Bertha
Senior Member
Posts: 511
Joined: Sun Oct 21, 2007 9:14
Location: Parker, CO

Postby Bertha » Sun Sep 21, 2008 9:14

damn nice work!
Image

Huzer21

Postby Huzer21 » Mon Sep 22, 2008 9:14

Wow...thanks for the very thorough write up on your project. That looks fun!


Return to “Rotary Vehicle”

Who is online

Users browsing this forum: No registered users and 62 guests