New FD in Town!

-
chickenwafer
- Posts: 2515
- Joined: Wed Mar 11, 2009 9:14
- Location: Greeley
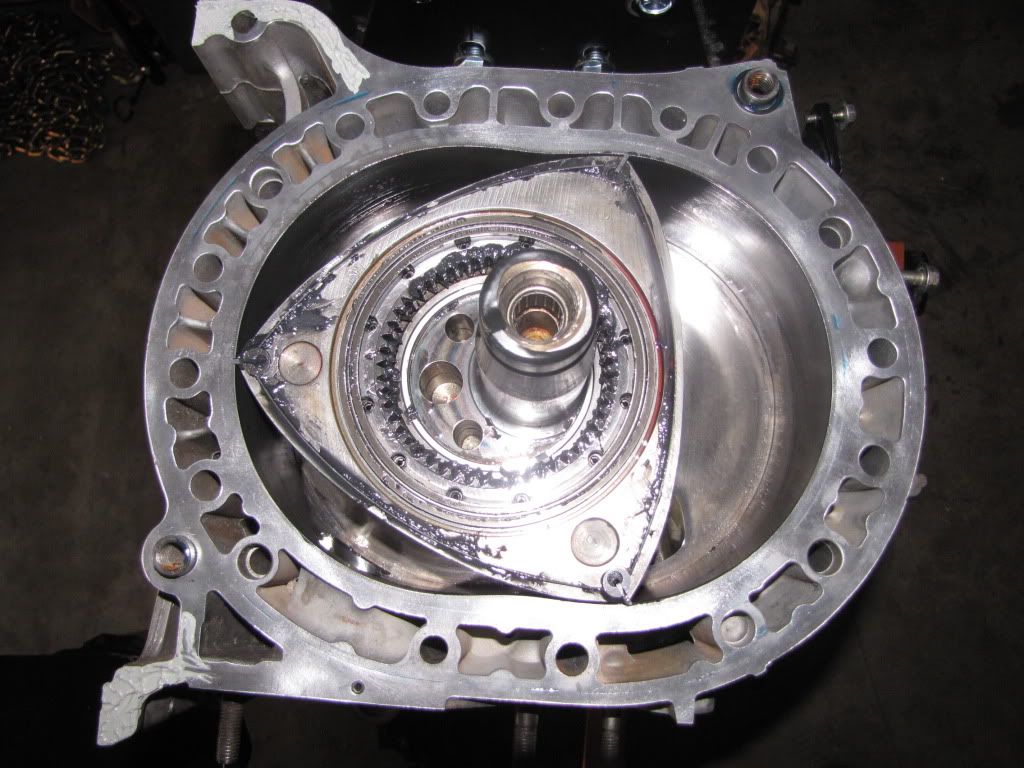
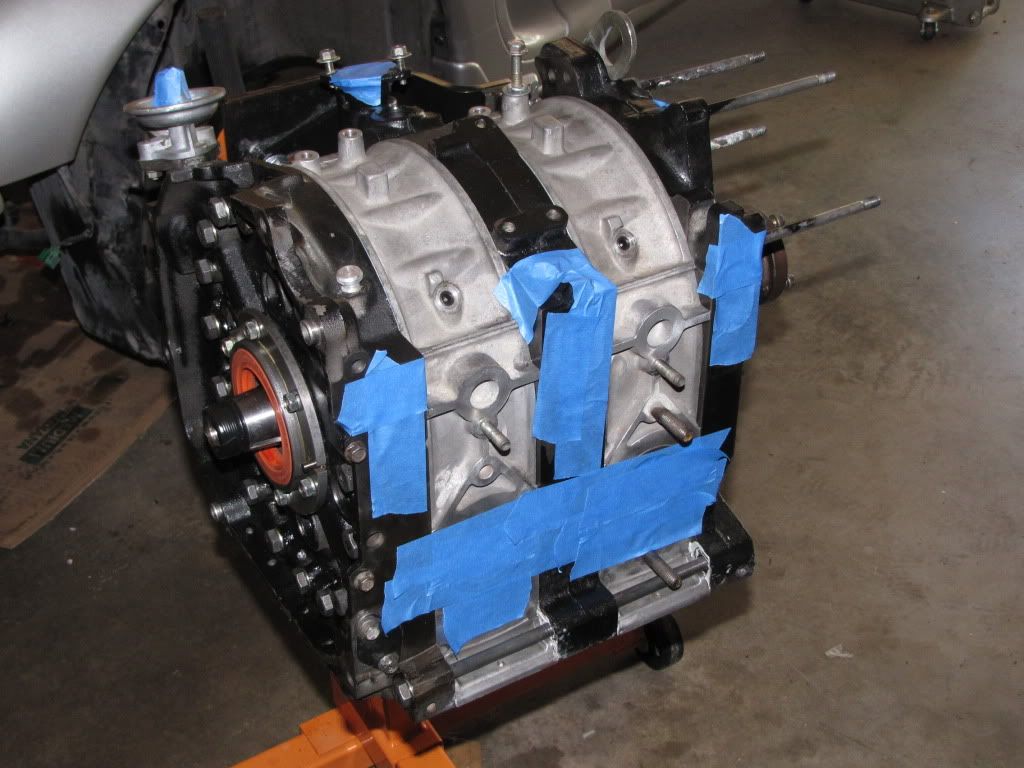
Well i wasn't happy with the side seal clearance ended up getting a .006" not good. The magic number is .002". Ordered a whole new set of side seals to do it all over again.
On the side seals clearance is where you make your money. It can take up to 6 hours to do all 12 of them. Also will give you the peace of mind that you are going to get good compression numbers.
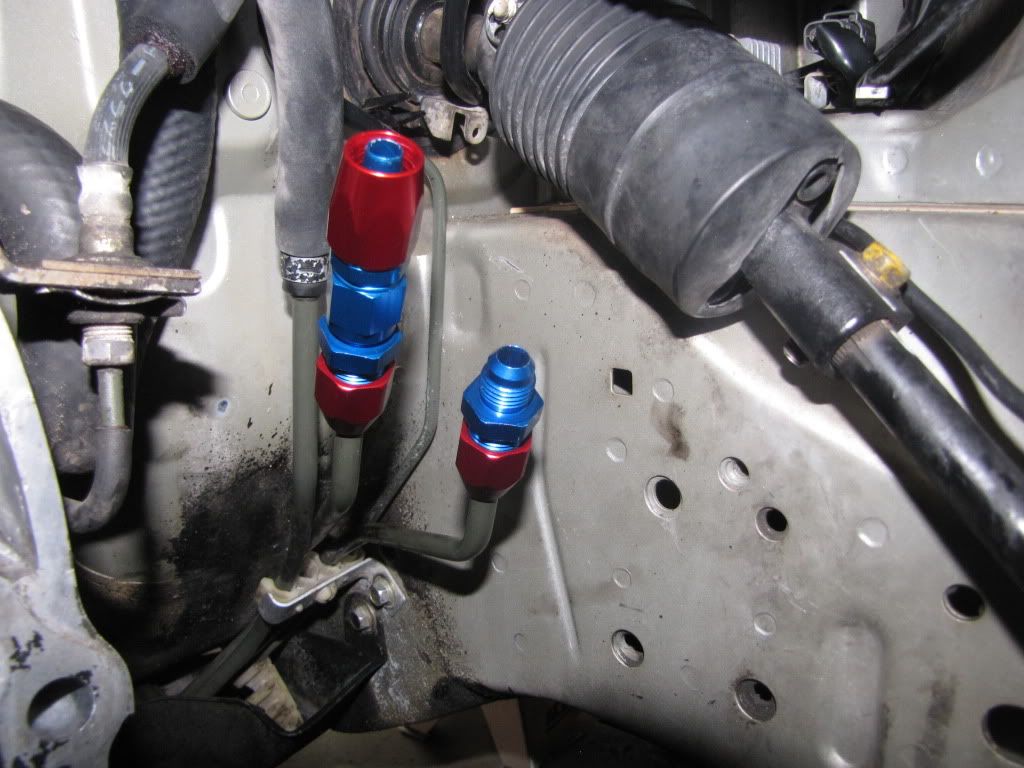
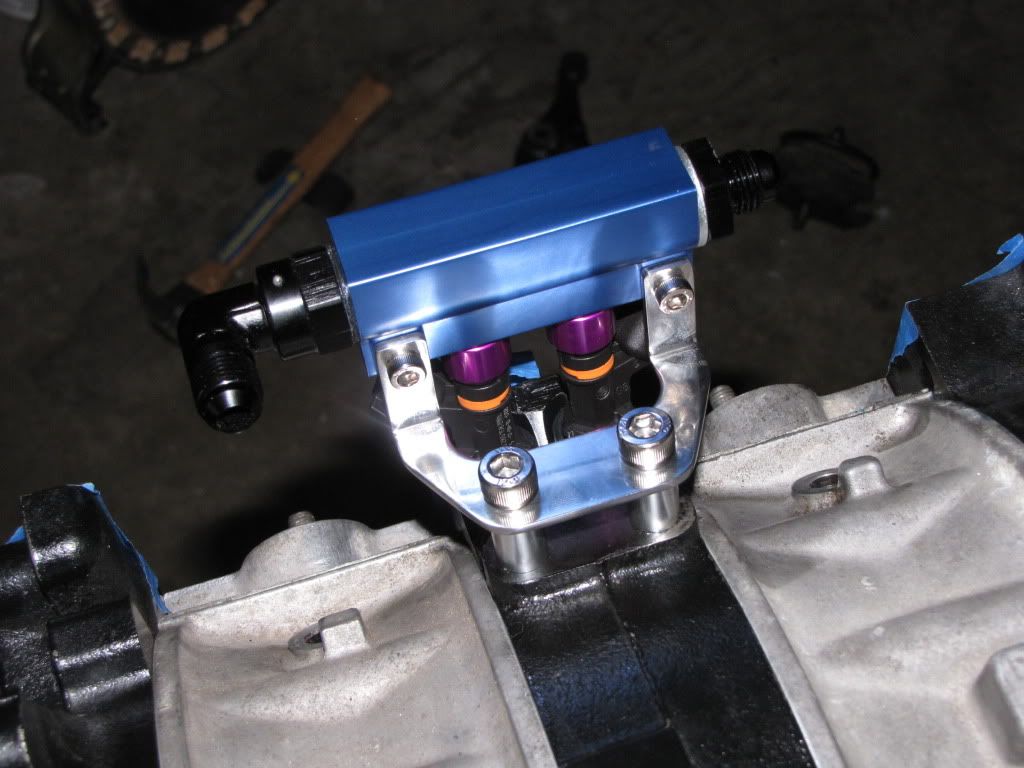
On the mean time, got my fuel lines ready to run braided lines. Here is some pics
On the side seals clearance is where you make your money. It can take up to 6 hours to do all 12 of them. Also will give you the peace of mind that you are going to get good compression numbers.
On the mean time, got my fuel lines ready to run braided lines. Here is some pics
-
speedjunkie

- Senior Member
- Posts: 5357
- Joined: Wed Jan 02, 2008 9:14
- Location: Colorado Springs
- Contact:

The thing is in the FSM says the maximum clearance is .0059" so i thought I was good having them at .006. Then I wasn't feeling good about it so I started reading and found out that people was having them as tight as .015 and saying that .006 is too loose and will have problems starting the car and making power.
I felt like shit when i saw that .006 was too loose. Is a good learning experience for sure.
I felt like shit when i saw that .006 was too loose. Is a good learning experience for sure.
yea i keep mine at .002 or lower. the engine i rebuilt and i sold to a buddy of mine is at .0018. he drifts the shit out of it and still running like a champ. also alexna on here is also running one of my engines that one runs .0018 if not a little lower.
doing things the first time right is always the way to go. it takes time but whatever, its gonna last.
edit: oh yea how big are the fuel lines your gonna be using?
doing things the first time right is always the way to go. it takes time but whatever, its gonna last.
edit: oh yea how big are the fuel lines your gonna be using?

-
chickenwafer
- Posts: 2515
- Joined: Wed Mar 11, 2009 9:14
- Location: Greeley
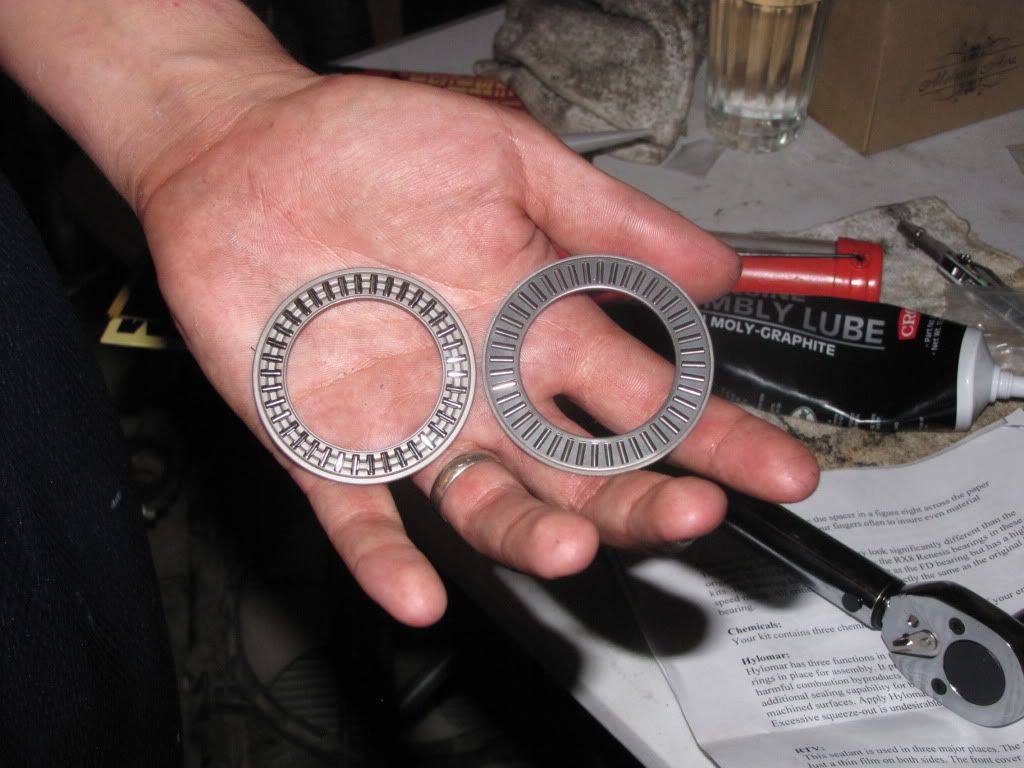
speedjunkie wrote:So did you not have to grind them down to the right clearance? Were they already cut to length or something? When I built mine back in 08 I had to file them down to make them fit, so I had them pressed in pretty tight, just loose enough to allow them to move freely up and down.
I believe all side seals available for sale to the public are grind-to-fit clearance. Only the Mazda factory has pre-cut ones.
Sucks man but luckily side seals aren't too expensive!

-
speedjunkie
- Senior Member
- Posts: 5357
- Joined: Wed Jan 02, 2008 9:14
- Location: Colorado Springs
- Contact:
-
chickenwafer
- Posts: 2515
- Joined: Wed Mar 11, 2009 9:14
- Location: Greeley
Who is online
Users browsing this forum: No registered users and 85 guests