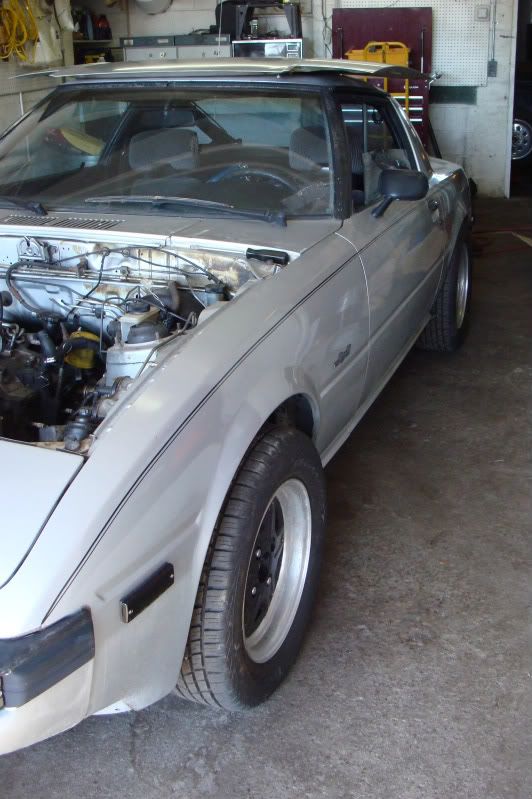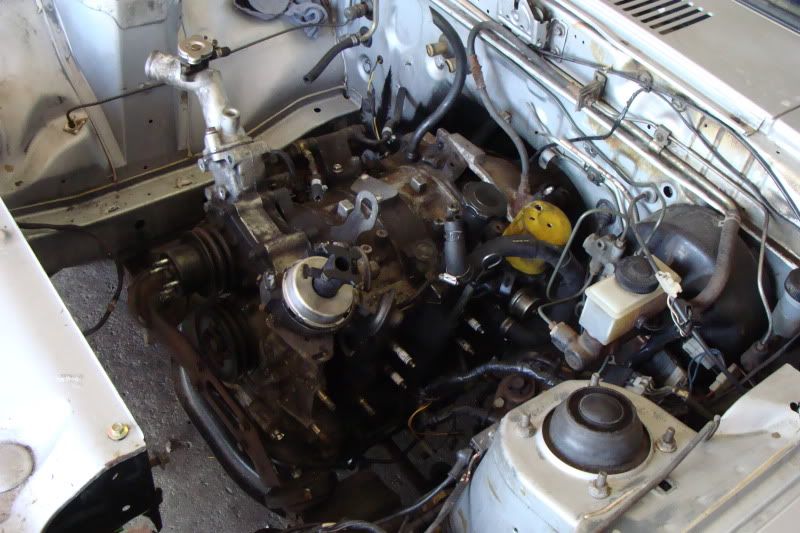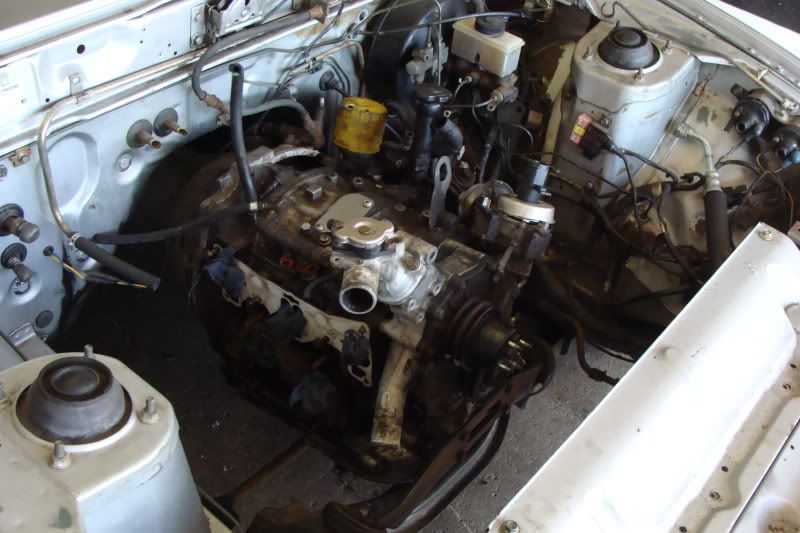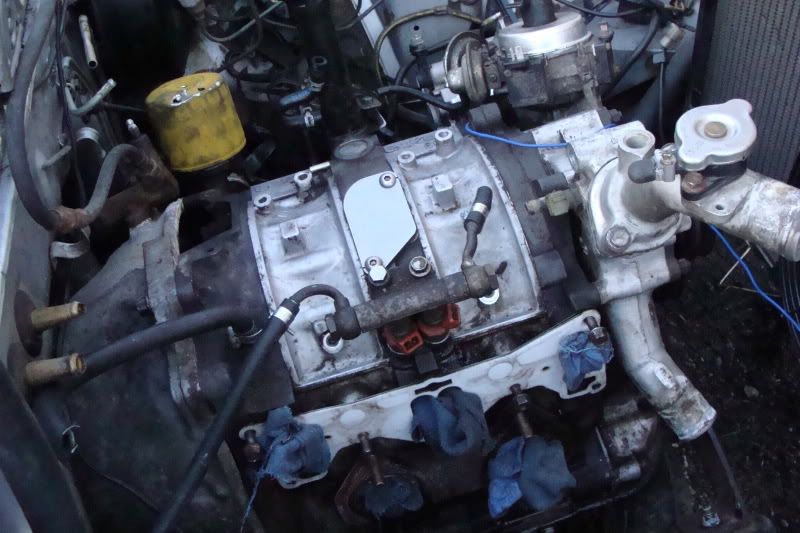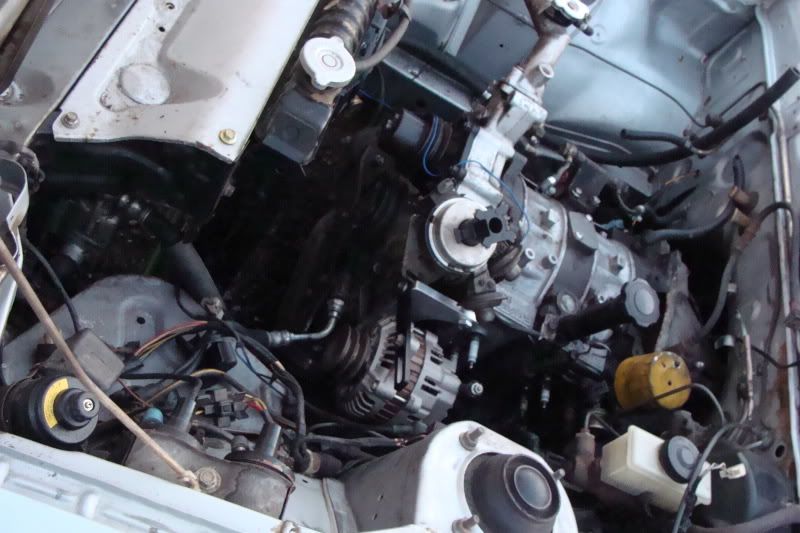
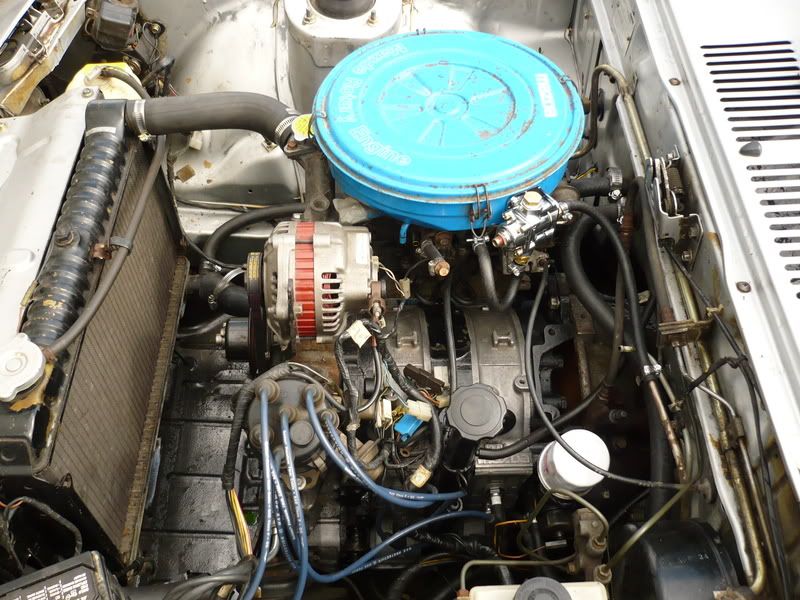
And for once i am actually going to have everything i need to finish a project. I am using the engine from the 1988 Vert i have now parted. Has higher mileage, burns some oil, but for now, it runs. Good enough for now. Already have the SE pan for installation and the related 12a parts for adaptation.
As for the goodies, i started buying some good deals and much needed items to ensure i can get this thing done before i leave in late April for the Air Force.
These include but are not limited to:
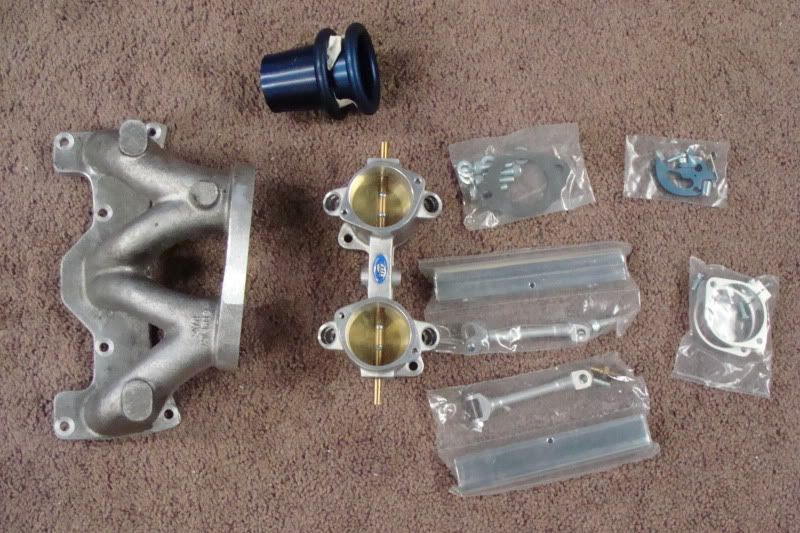
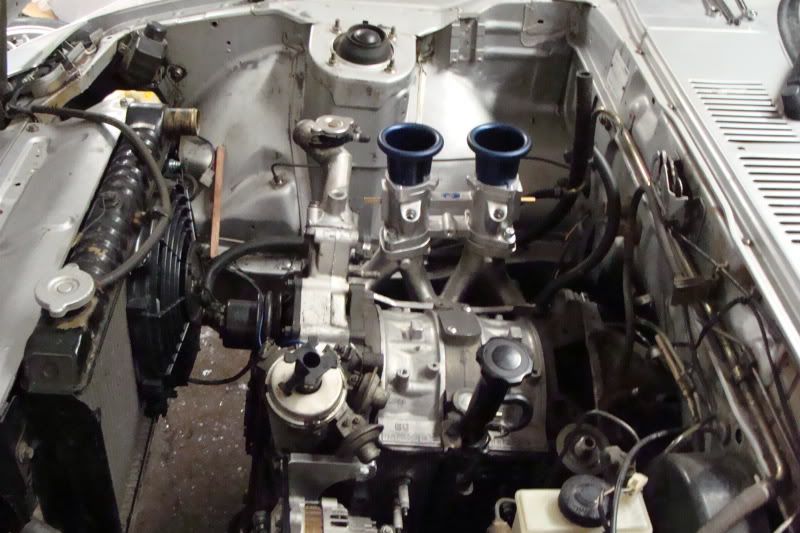
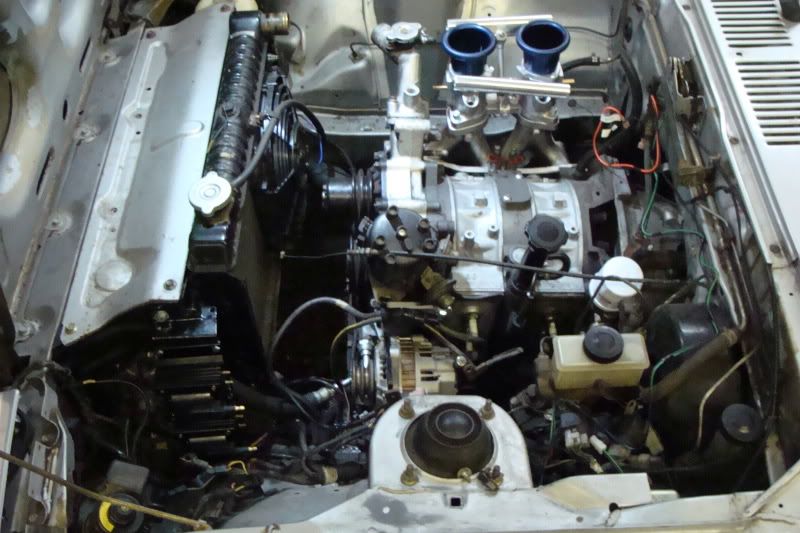
TWM Downdraft style individual throttle bodies
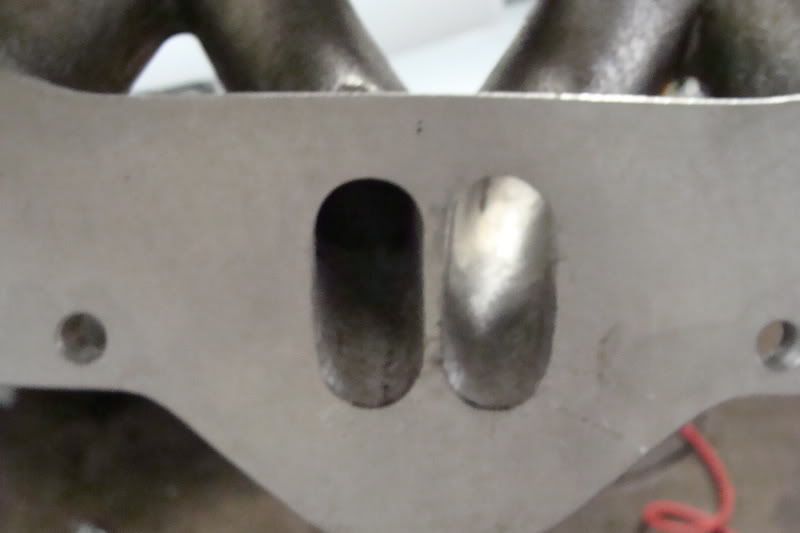
TWM Downdraft 6 port manifold
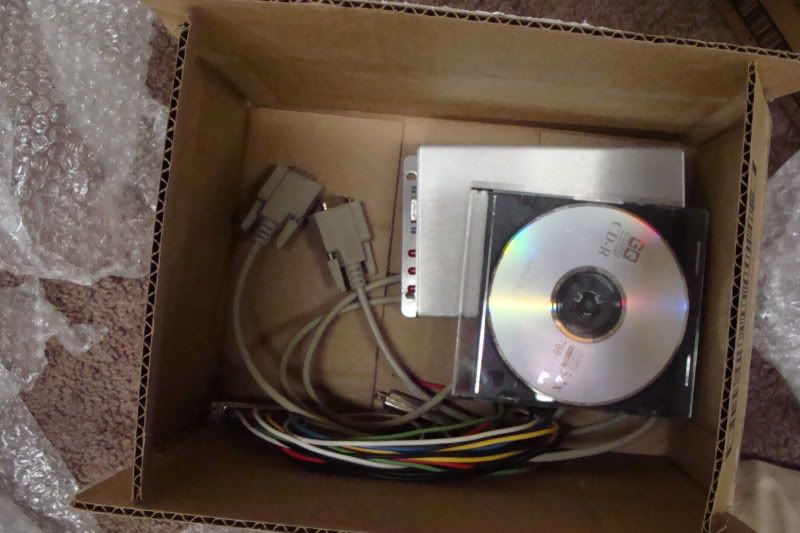
Megasquirt
Summit Racing EFI fuel pump
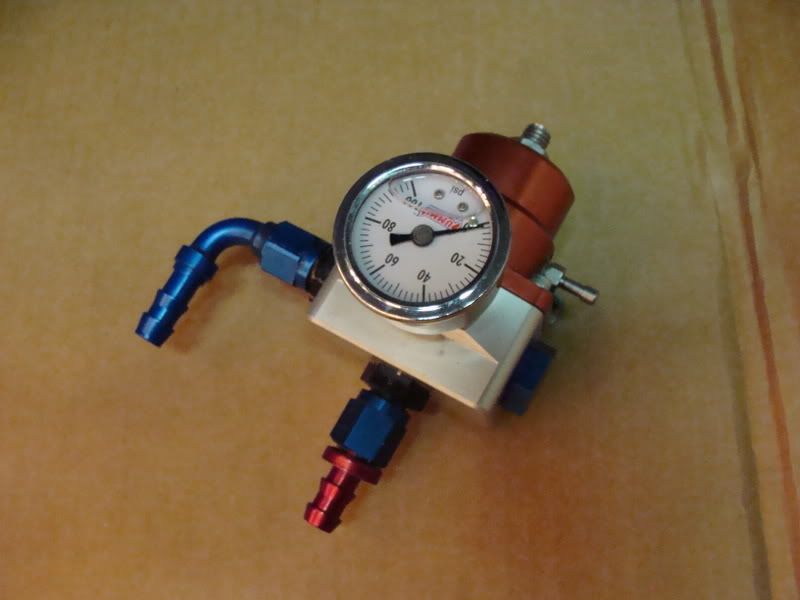
Aeromotive 13109 FPR
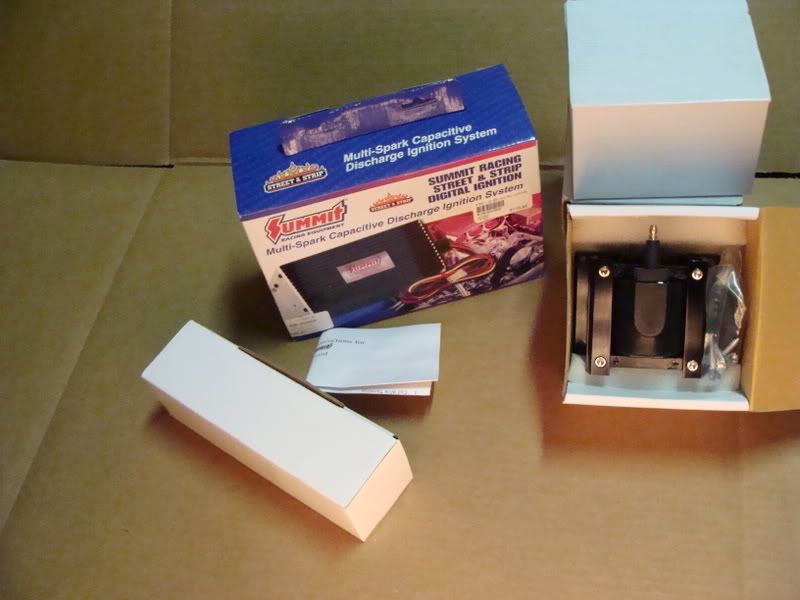
Summit Racing CDI box
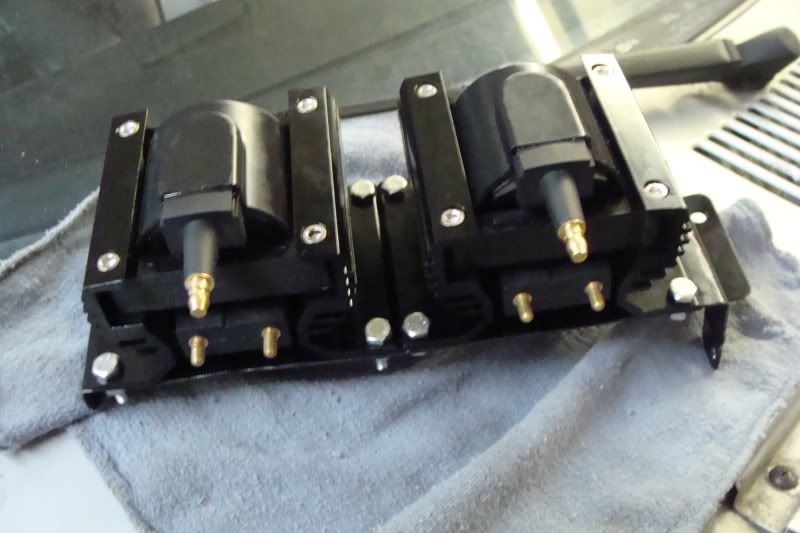
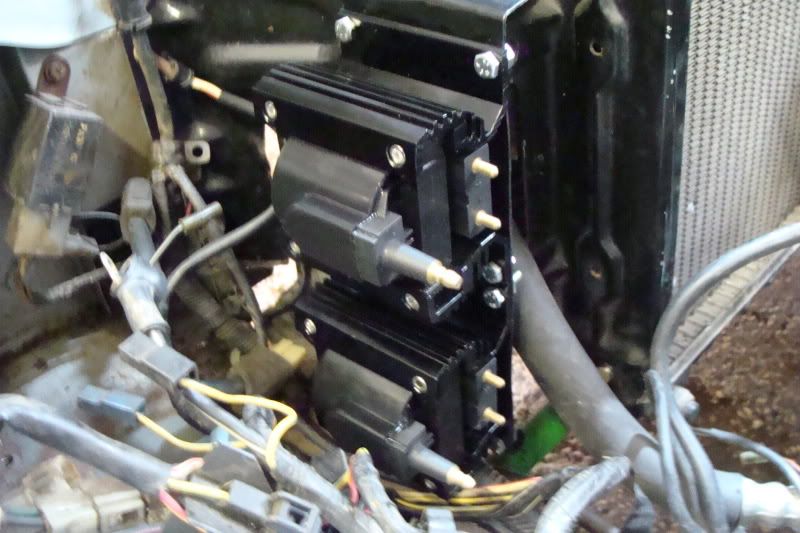
(3) Summit Racing Coils (LS1 style ones)
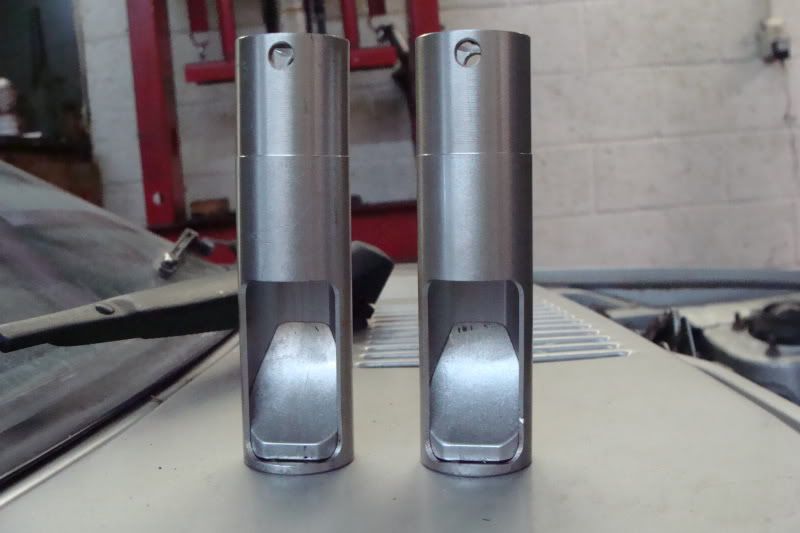
Pineapple Racing Aux Port Sleeves
Pineapple Racing MOP block off
Pineapple Racing Oil Injector Plugs
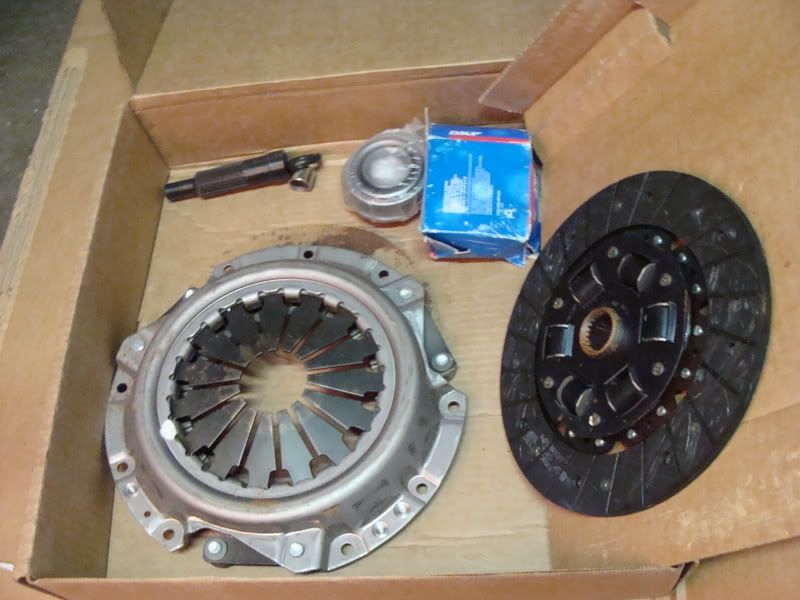
New Exedy oem replacement clutch
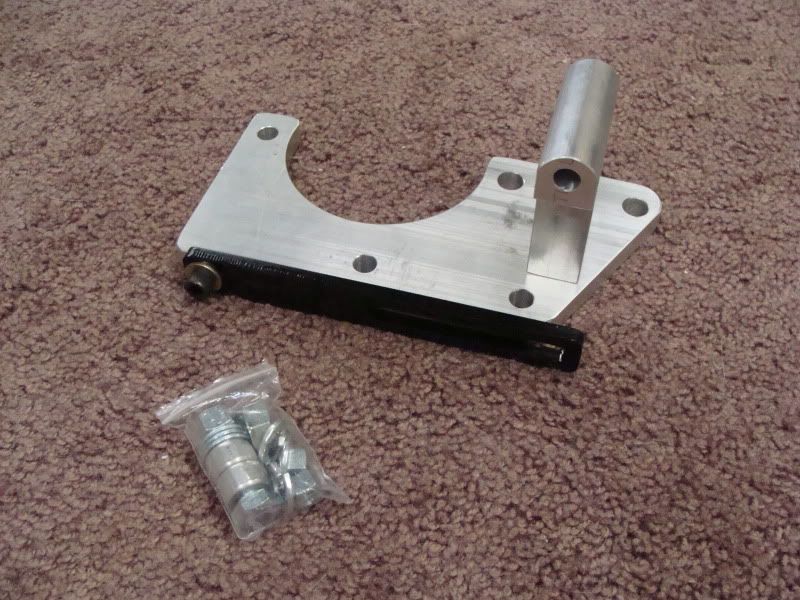
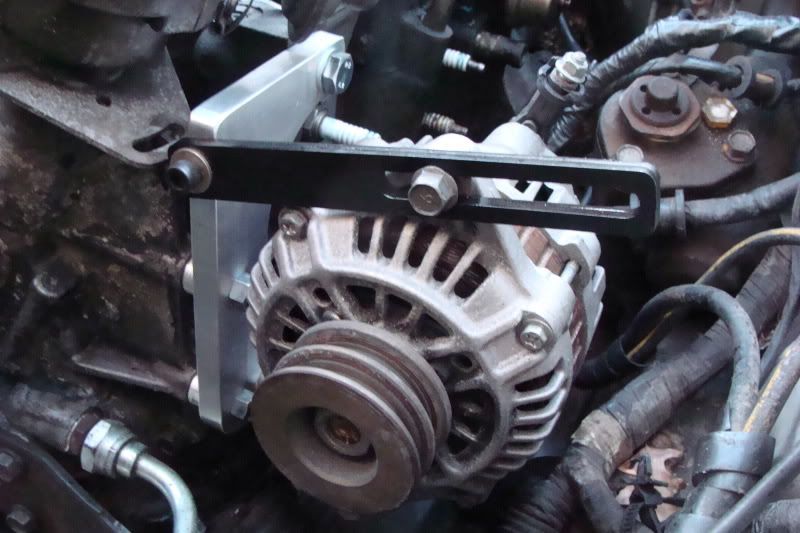
Atkins Side mount alt kit
S5 alt with double pulley
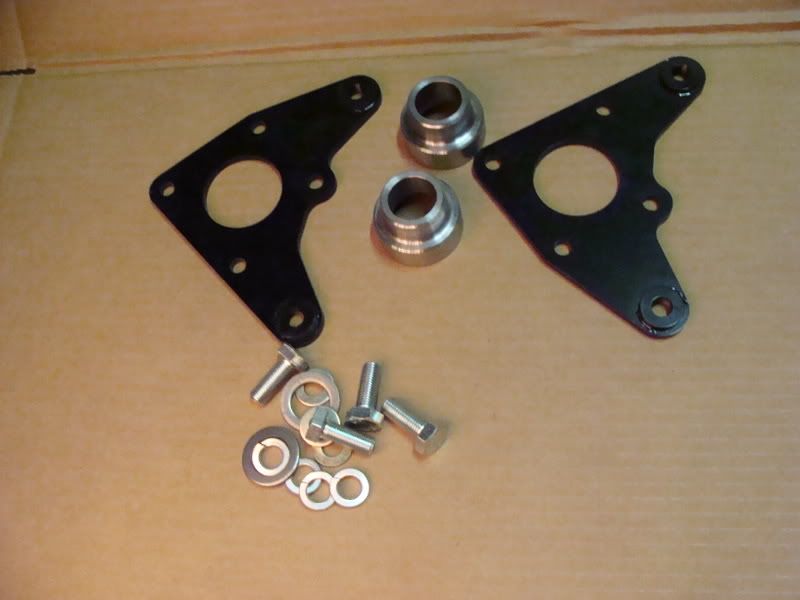
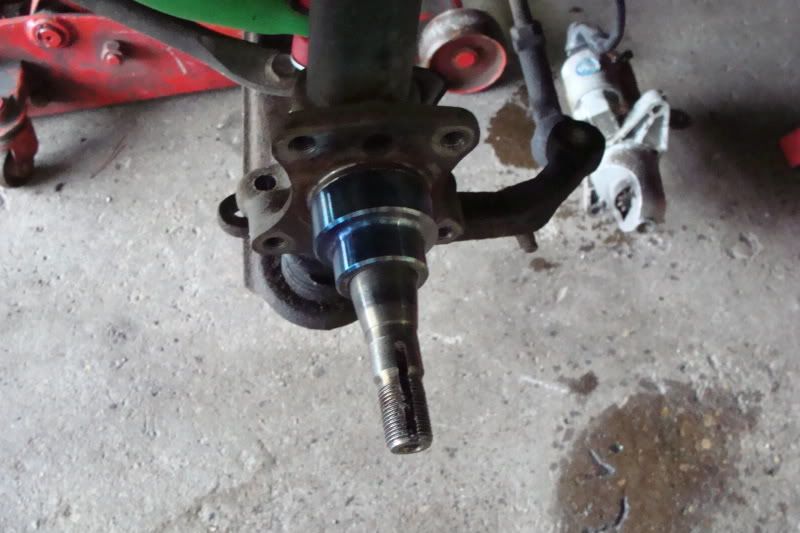
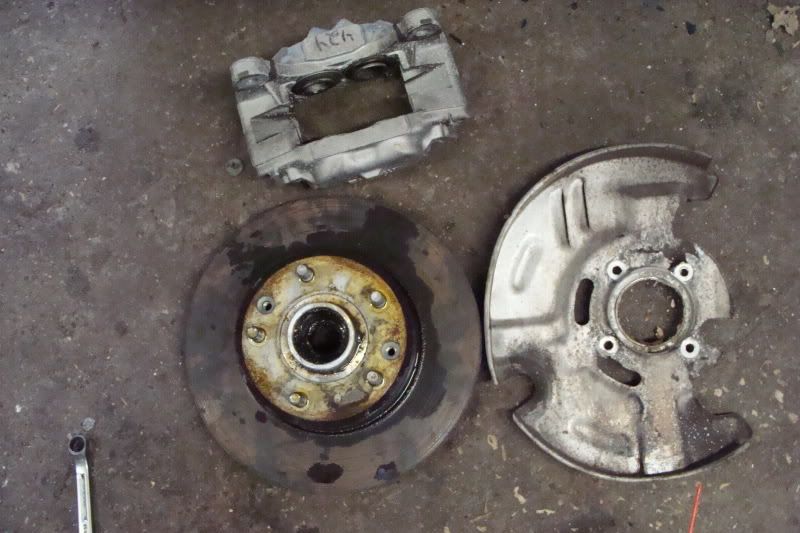
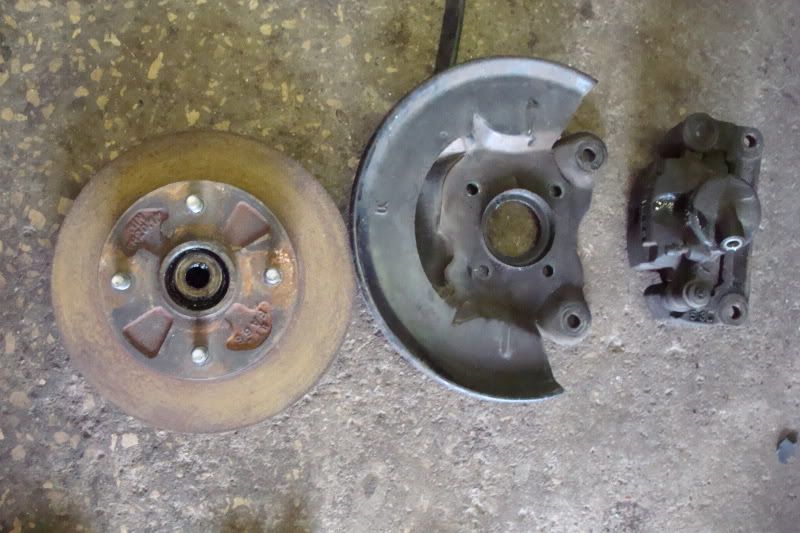
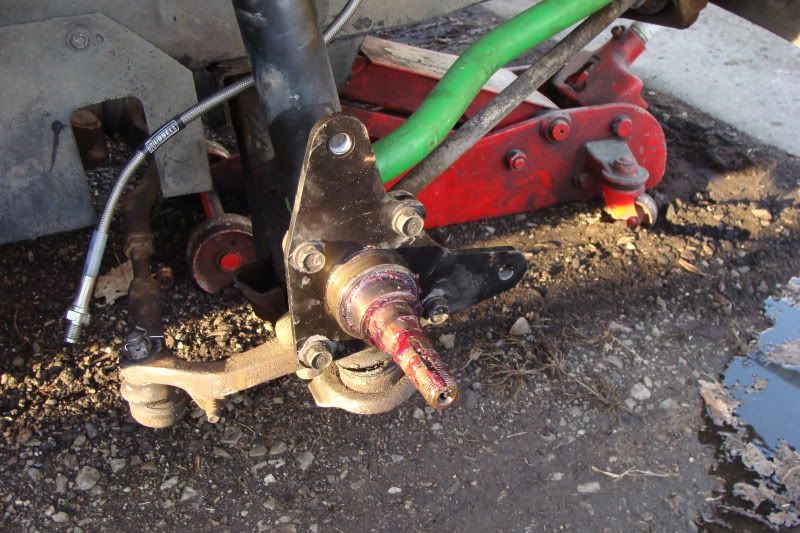
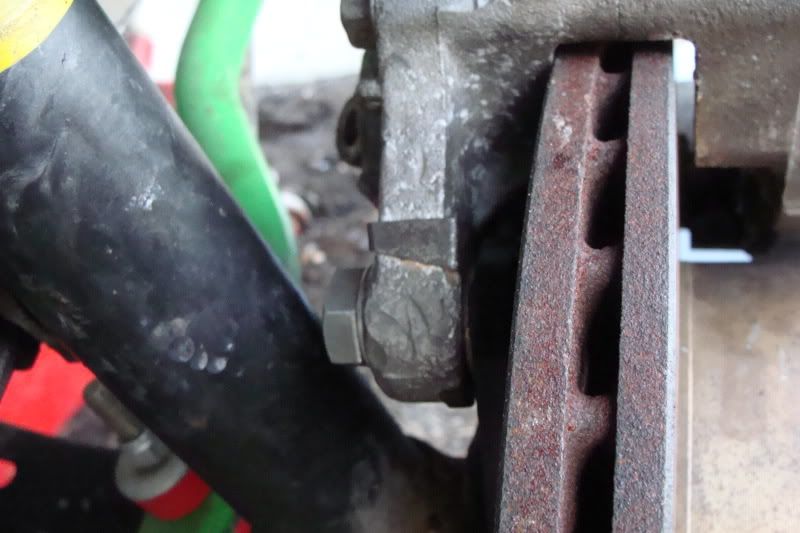
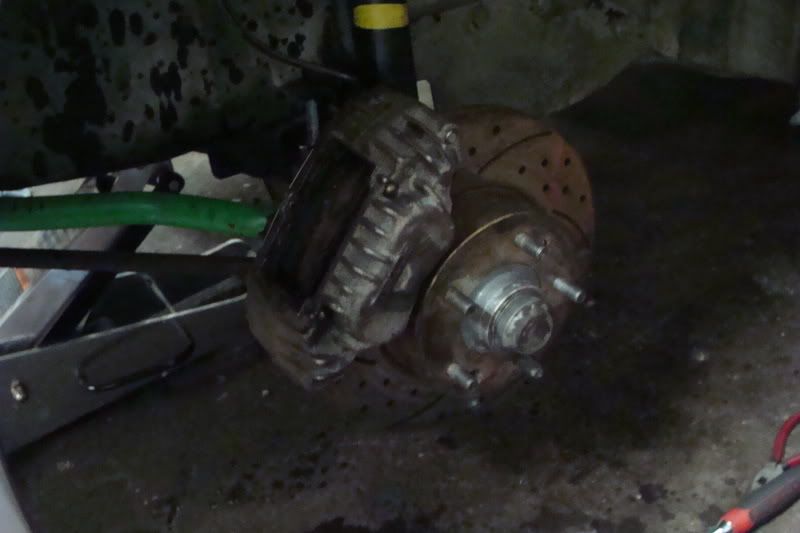
RE SPEED front big brake kit w/ 5x114.3 hubs, 10.7" rotors, and 4 piston calipers.
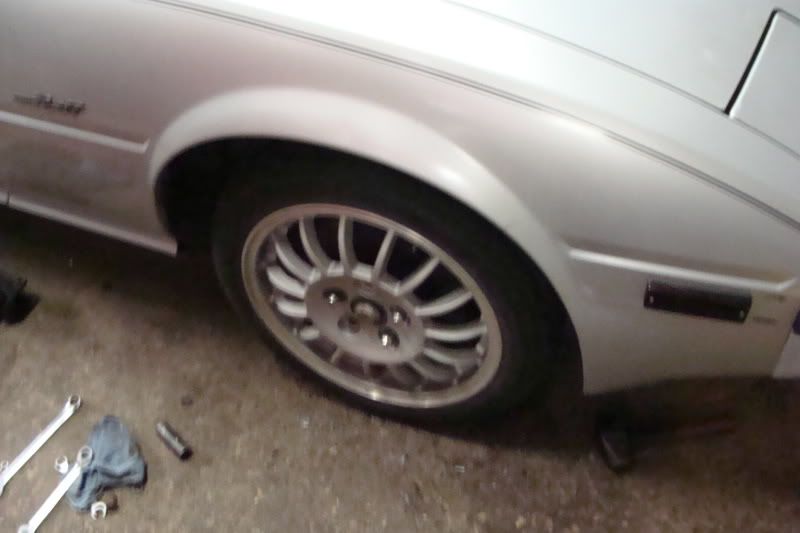
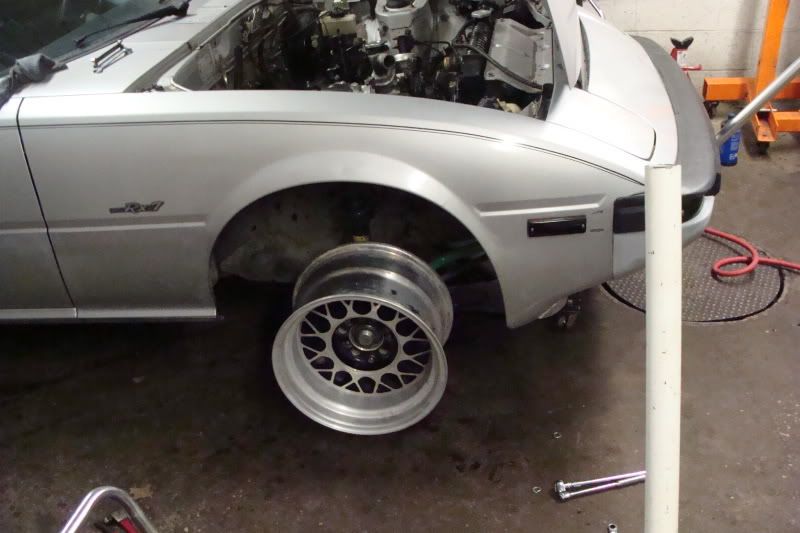
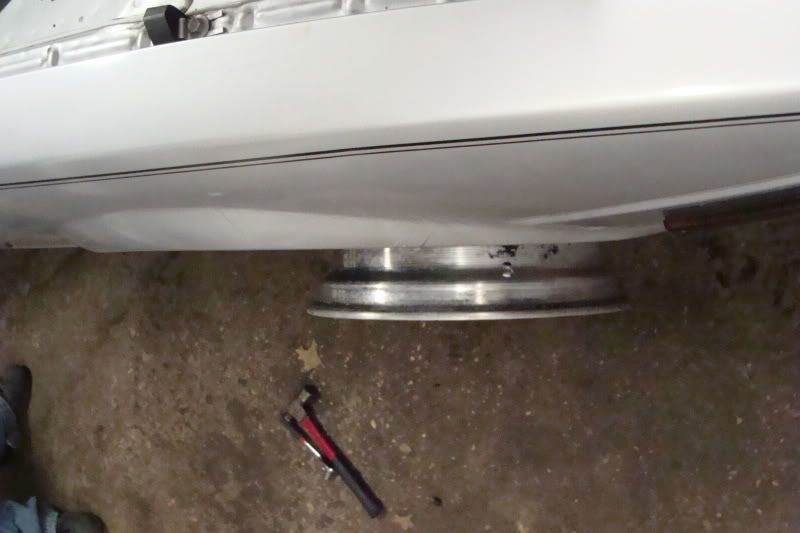
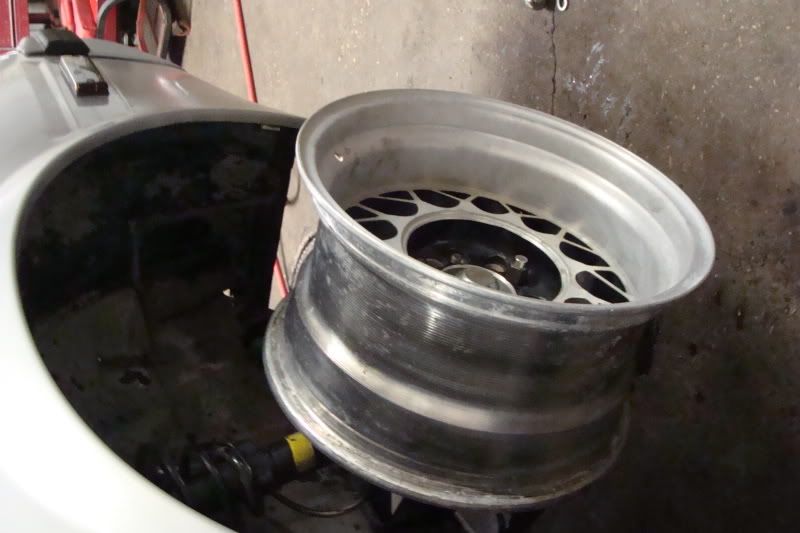
Vert BBS wheels
(2) Tokico struts for the rear
Stainless clutch line
This is addition to the stuff i have already done previously to the car:
Suspension Techniques front and rear sway bar
GSL-SE suspension
Stainless Braid brake lines
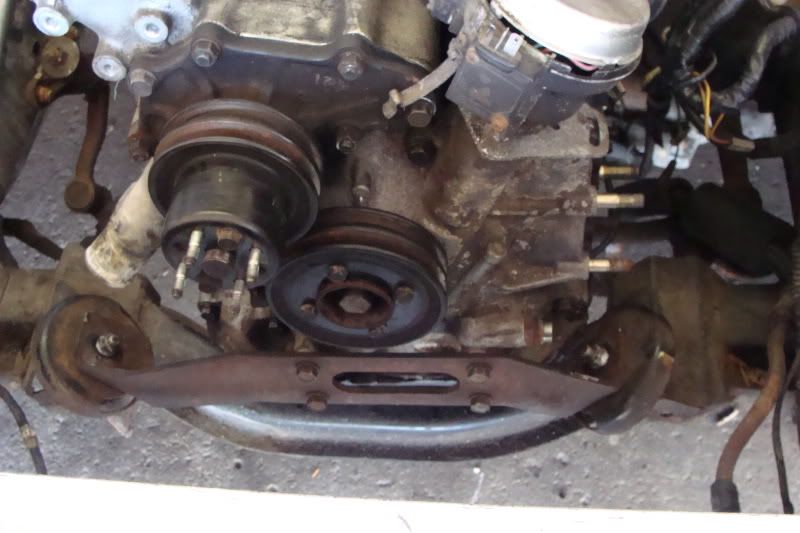
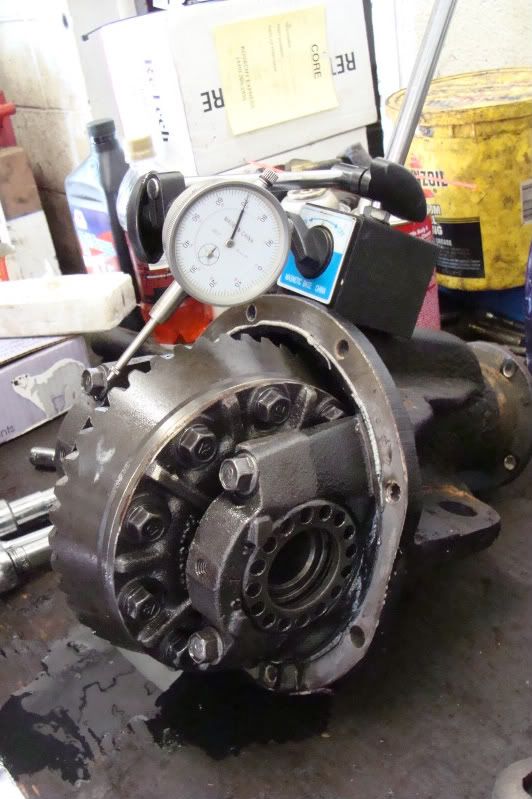
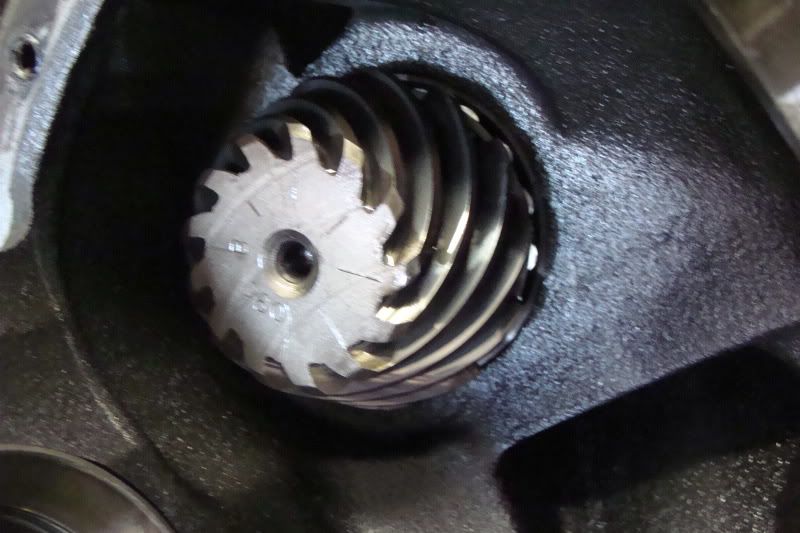
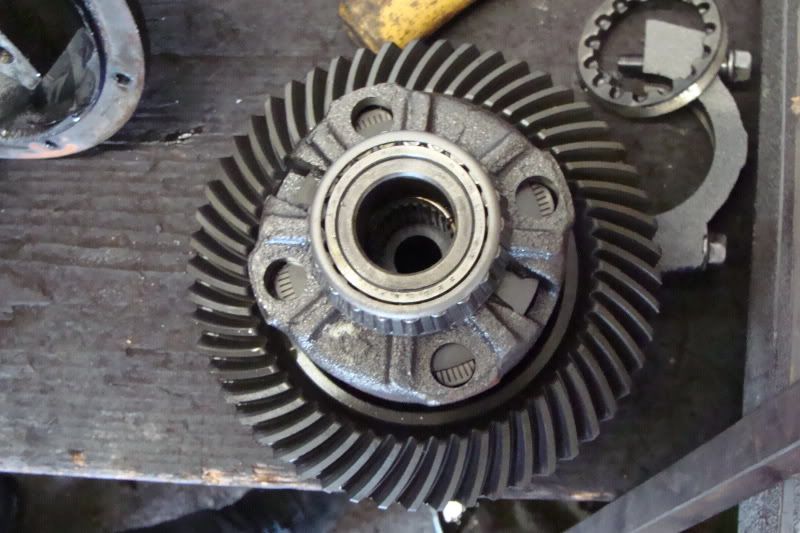
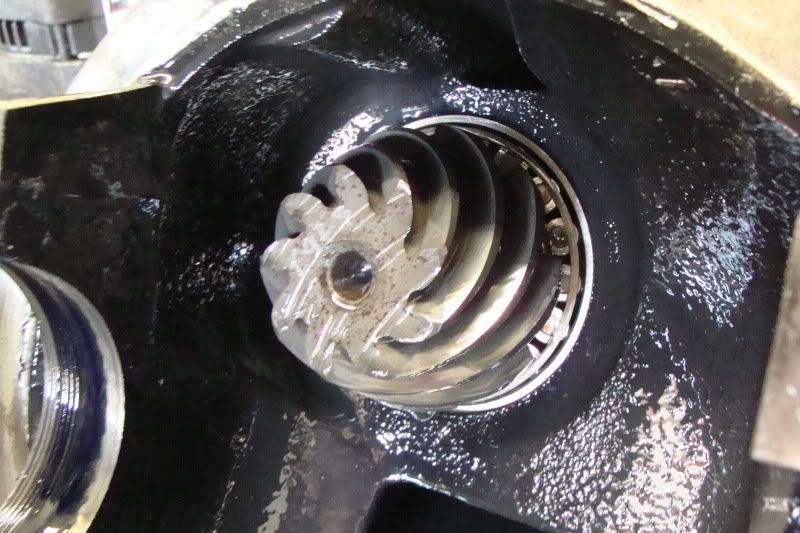
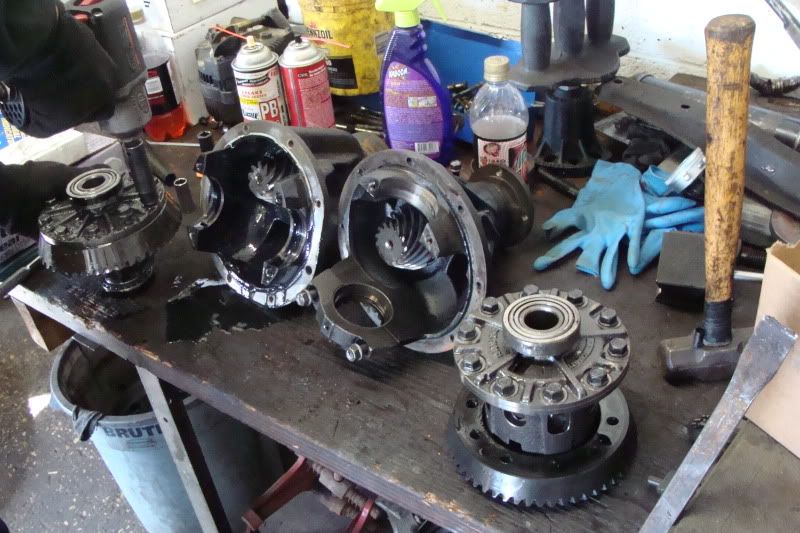
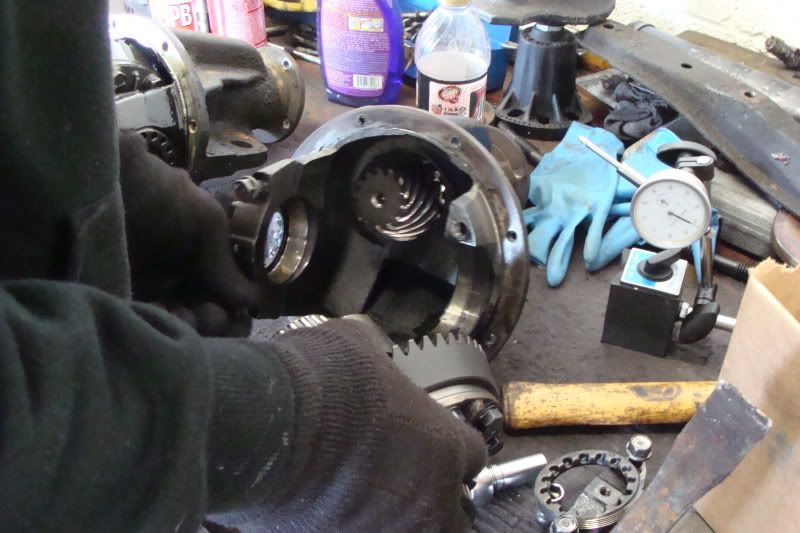
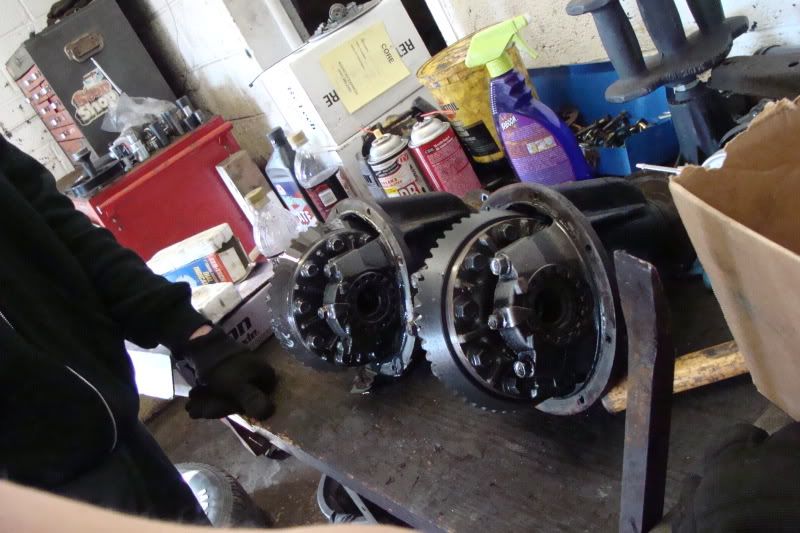
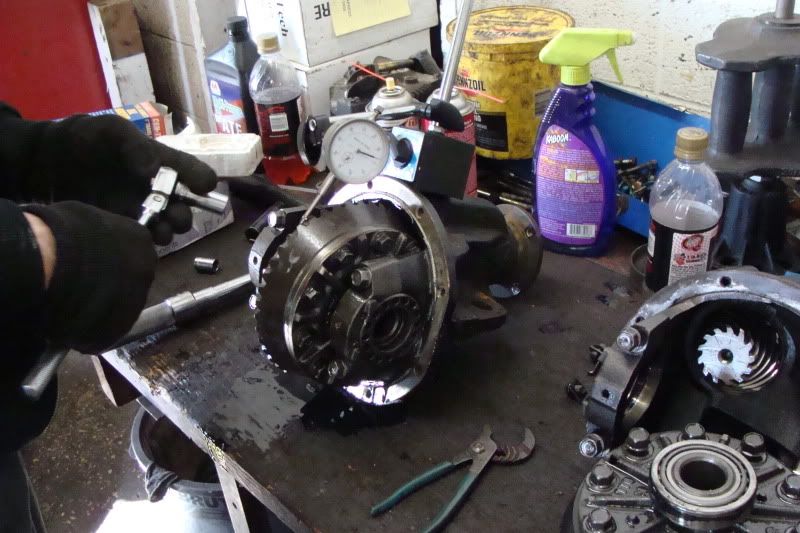
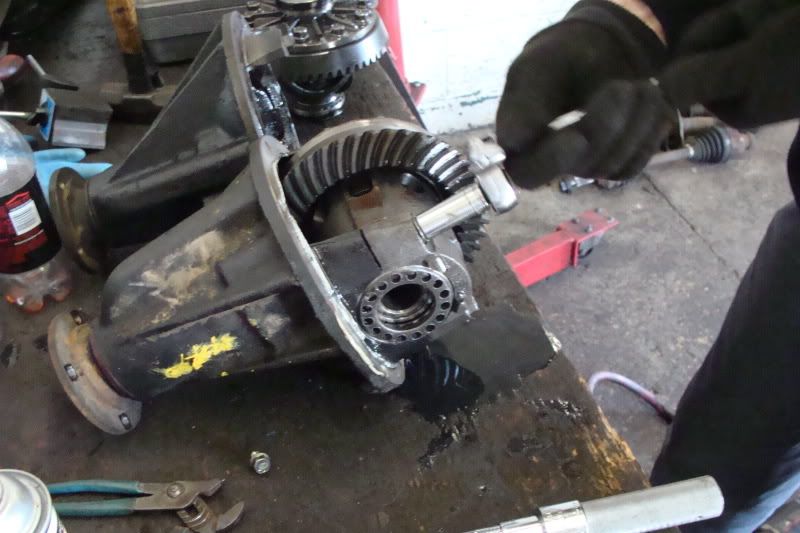
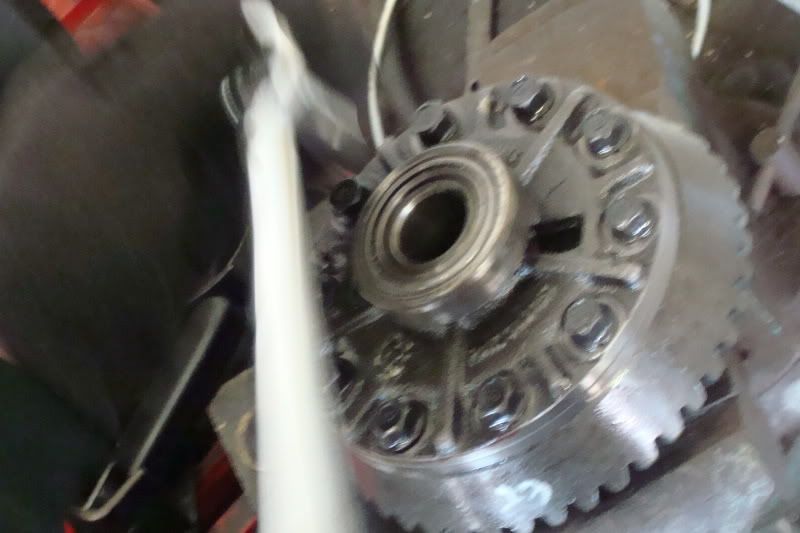
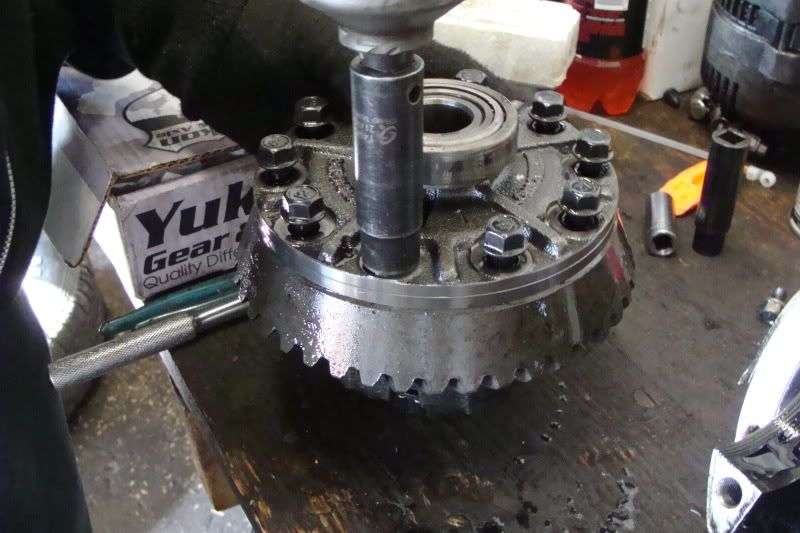
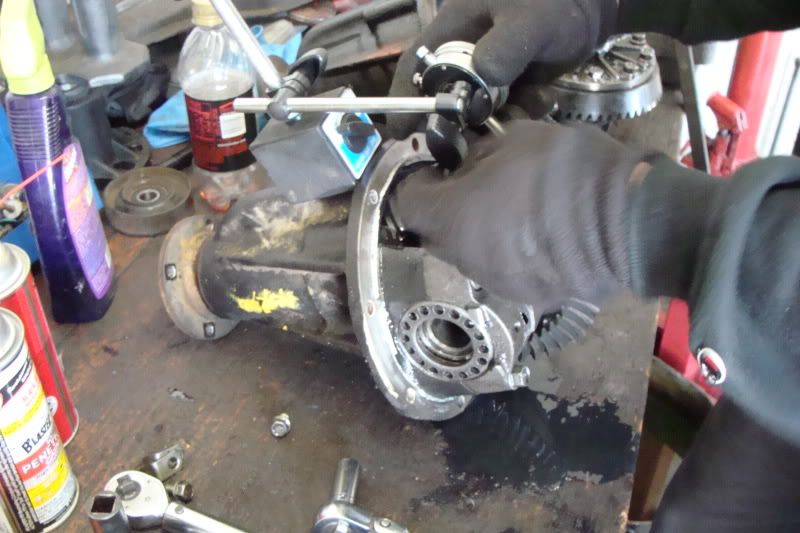
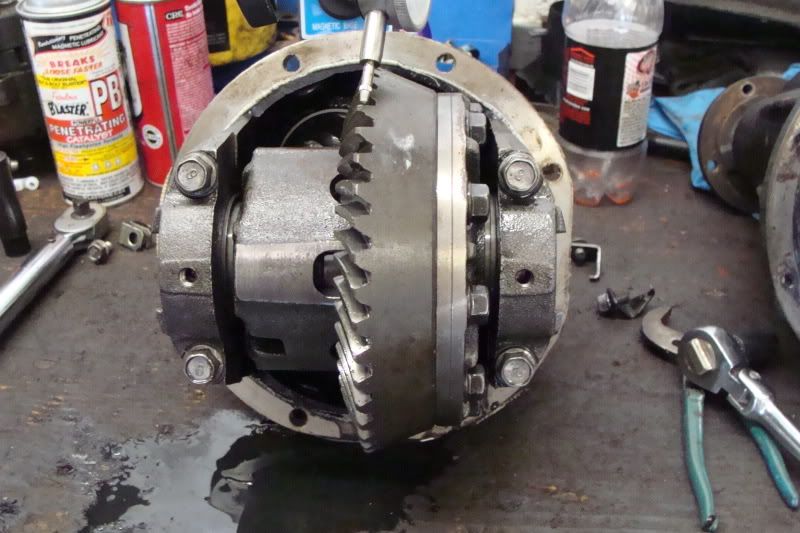
kia sportage 4.78 final drive 3rd member (getting the SE LSD this weekend)
Eibach springs
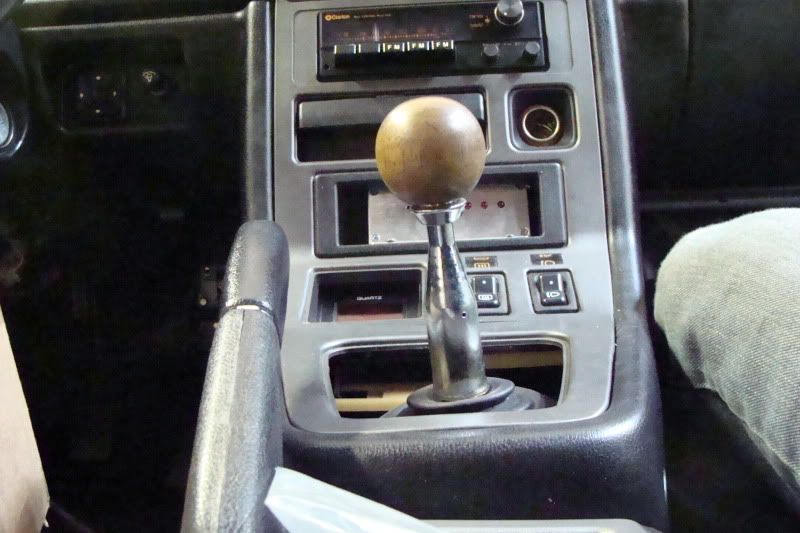
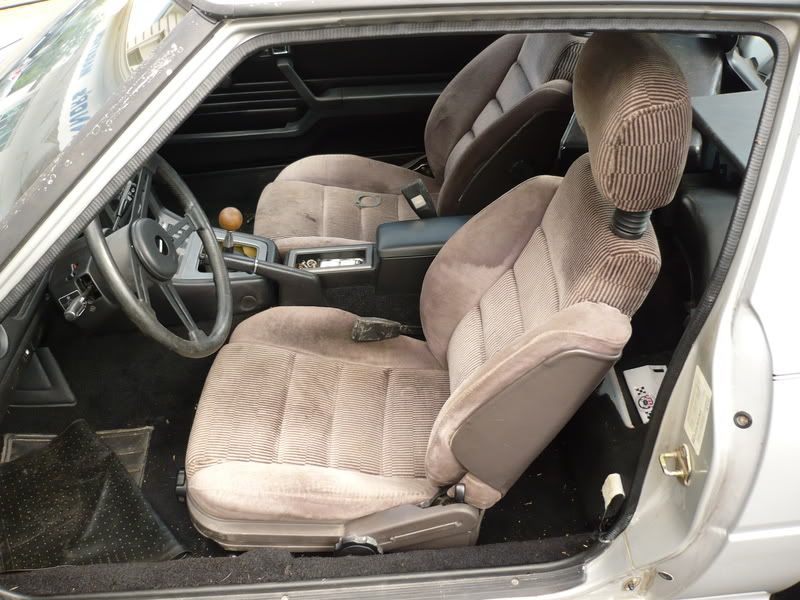
Hurst shift knob
Isuzu Impulse seats (hoping to replace with something nicer, at least for driver here soon)
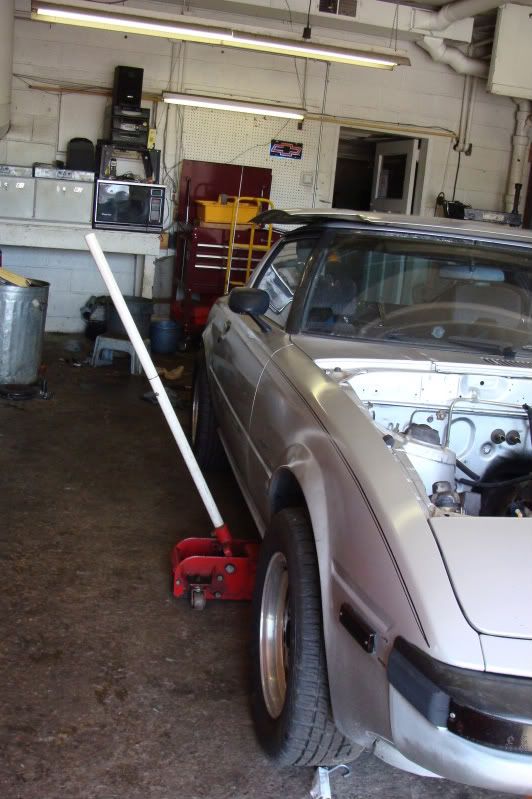
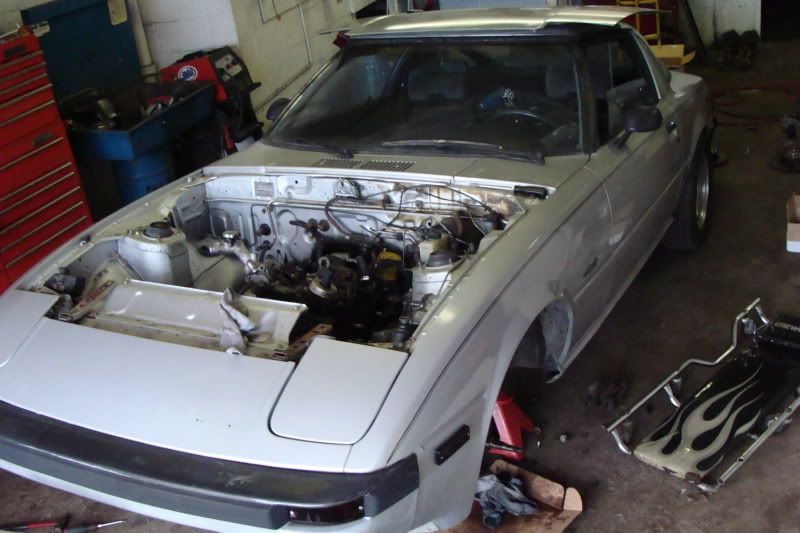
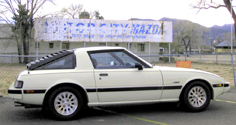
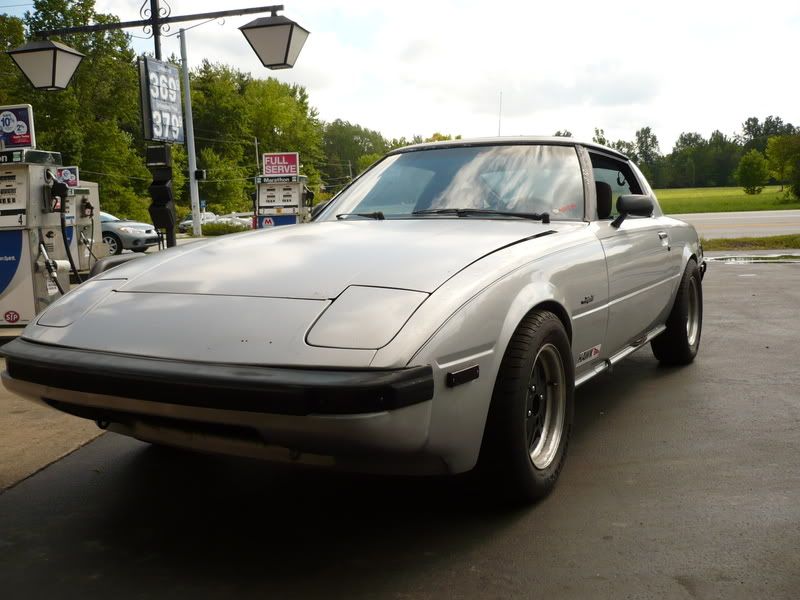
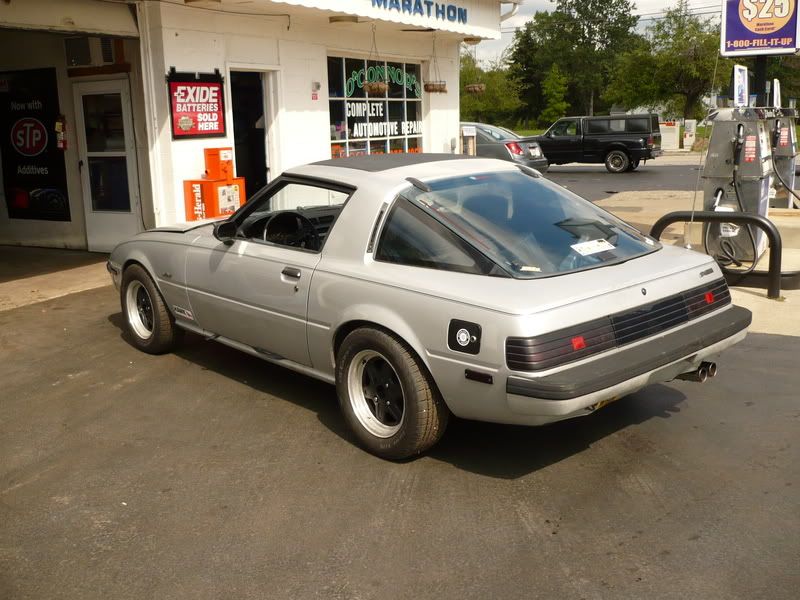
 1988 Rx7 Convertible: Current DD
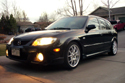
 1987 Rx7 Turbo II: motor down as of 10/28/08